
Category Archives: craft
Custom Tool Belt How To

I wanted a simple tool belt that I could wear working on projects around the house. It needed to be lightweight (that ruled out traditional leather ones), hold all my basic tools, and have a pocket for my phone. I had some nifty vintage floral twill that I thought would be fun, but any medium weight canvas or twill will work. All of the pieces are doubled to hide seams and give it more weight.

Here’s what you’ll need to make it:
- One 21 x 17″ rectangle to make the main body of the tool apron (all measurements have 1/2″ seam allowances included)
- One 17 x 14″ rectangle to make the large pockets
- One 9.5 x 7.5″ rectangle for the upper small pockets and slot
- One 6 x 6″ piece for the lower small pocket
- One 2″ wide strip that is long enough to go around your waist and tie. You can piece two strips together if you don’t have a long enough piece of yardage.
- All the tools that you will carry in your tool belt so you can determine sizes
- Sewing machine, thread, and basic tools

The first thing to do is to lay out the tools that you want to put into the tool apron. These are the basics that I frequently use around the house. You’ll want the main body to be long enough to fit all of your tools, plus an extra inch on each side. To determine the large pocket size, use a vinyl measuring tape to measure around the tools, leaving ease for each one. My large pocket ended up being 16″, plus 1″ for seam allowances (a half inch on each side).

To get started, take your two largest pieces (the main body and the large pocket), fold them in half right sides out, and iron. The fold will be the top of the tool belt itself and the top of the pocket. Turn the main body piece wrong side out and stitch all the way around with a 1/2″ seam allowance, leaving a 2″ opening at the top of each side. Use that opening to turn the piece right side out. You’ll use the opening at the top to put the tie through. In the meantime, turn the corners neatly and press.
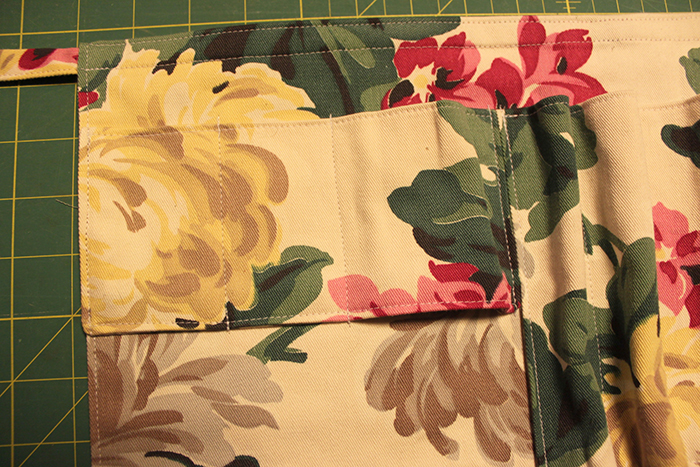
Do the same to the large pocket, leaving only one 2″ opening on one side. You’ll end up with this:

Next, make the tie. I hate turning tubes, so I always make my ties using the method here. Make one long tie. It will run through the body of the apron and give it more support.
Topstitch around the tie, and run it through the main body. Then you can topstitch around the apron. I stitched at the top and bottom of the tie to hold it into place.

The next step is to topstitch all the way around the large pocket, stitching the turning slot closed. Now line one edge of it up with the main body and pin it into place. Now you need to start placing your tools to determine the pockets.

Above, you can see that I grouped the tools by size to make best use of space. Also, keep sharp and pointy tools to the sides, so you don’t poke yourself. Pin the pockets in place, and stitch each one:

Here you can see the large pockets are stitched at the sides, but not the bottom. Sewing the bottom seam will be the last step. For now, we’ll move on to the smaller pockets at the sides.
The upper part contains a place to slot hang the measuring tape, and an open slot to hang the small cat’s paw (though it is awkward to carry, so I normally don’t use that slot). Below those pockets, I added two small pockets for nails and screws.
Once those pockets are in place and seamed at the sides, you’re ready to sew the bottom.

Form pleats to make the pockets lie flat. Pin them in place, and then sew the bottom seam. You’ll be sewing through a lot of fabric at this point!
Once the bottom seam is done, your tool apron is ready to go! I made my ties long enough to wrap around and tie in front. You could also add a buckle if you prefer.
— Loryn

A White Scarf and a Cold
So, I have finally caught the cough/cold that has run rather rampant through my family. I think I was getting a little cocky when I didn’t get it over Christmas (when they all had it) and thought I was home free. So, other than an empty box of tissues, I haven’t made anything today. I thought I would take a couple of photos of my current project though.
It is an inside scarf. I have a VERY cold office and decided that I needed a scarf that I could wrap around myself. It is about 7″ wide and I haven’t yet decided how long it will be (I have 5 skeins, so who knows). The yarn is 100% alpaca and is just amazing. I mentioned the yarn in a previous post and at the time, I had planned to make a lace shrug out of it. A little ambitious for me, but a lace scarf is right on track. I haven’t done any real complicated crochet stitches, so this is a first for me.

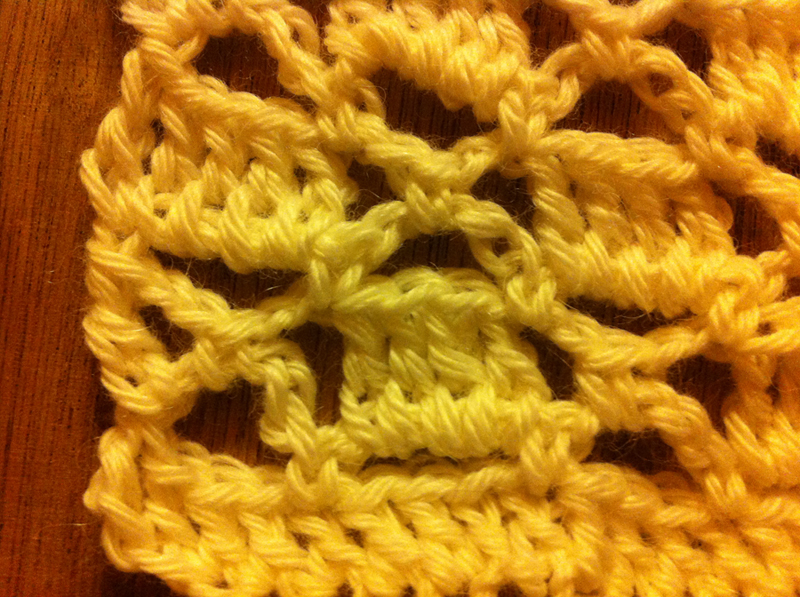
The scarf is started with a double crochet foundation stitch and is then the Arch 11 pattern from a wonderful crochet pattern book I picked up at Half Price Books, Super Stitches Crochet by Jennifer Campbell and Ann-Marie Bakewell. I really like their book, the patterns are very easy to understand and for once, I understand the crochet symbols.
So, I have at least made progress on a project, and now back to bed.
Happy Creating and Stay Well!
Kristin

Earring Display
I had an old earring display that I made several years ago that had some really bad fabric on it. I was in a hurry at the time and just wanted somewhere to hang my earrings. I decided that it needed to be updated. I also figured in the process that I would show you how it is made. I have a larger version of the earring display on the other side of my sink where I hang my necklaces. It is done in the same new fabric, but does not have the ribbon embellishment.
Materials:
Ceiling Tile (cut to size needed, I used a utility knife to cut my tile)
Fabric (enough to cover ceiling tile)
Ribbon (or any embellishment)
Scissors or Rotary Cutter
Staple Gun
Pins

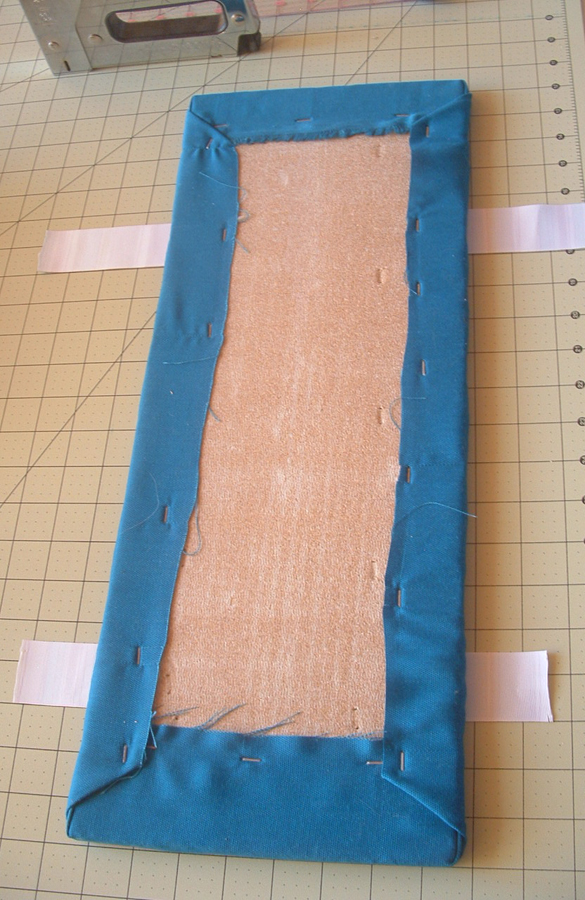
I ironed my fabric and rolled it for dust, lint and pet fur. The fabric has been sitting out for a while and needed a quick lint-rolling.

I left about 2 inches of extra fabric on each edge to wrap around my tile board.
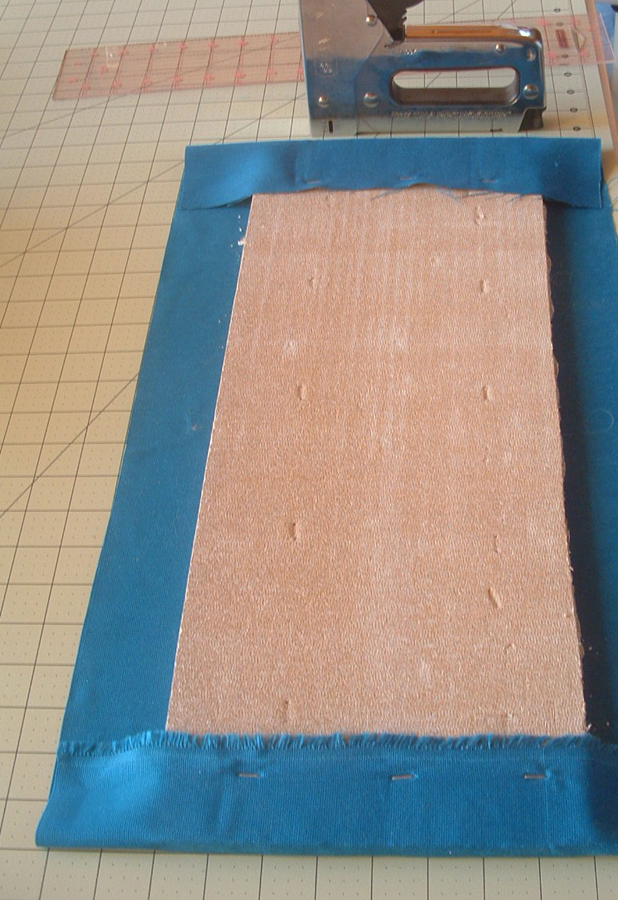
I stapled the sides of the board first. It really doesn’t matter if you do the sides or top/bottom first.
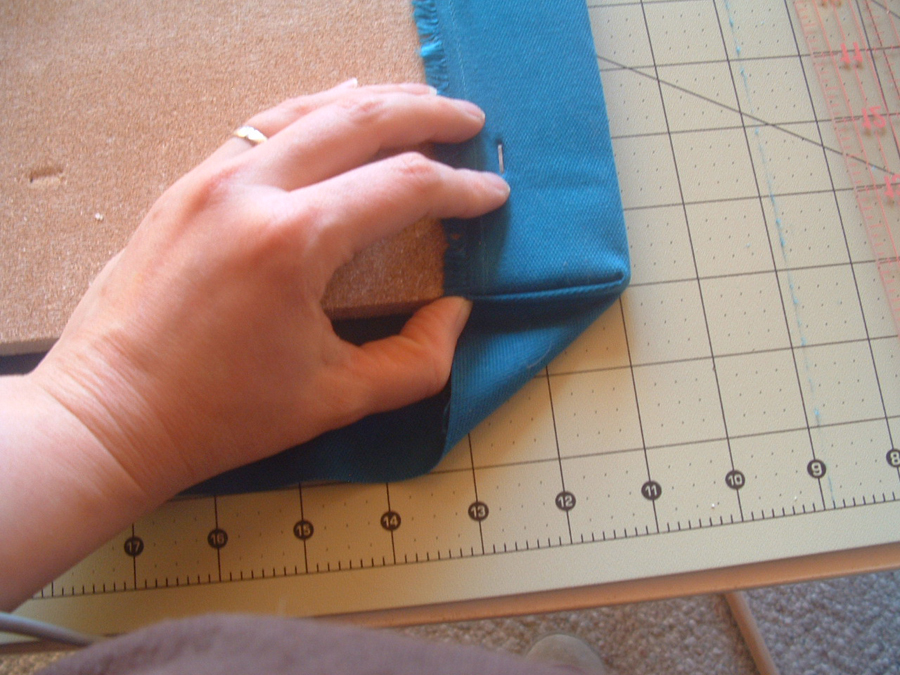
I folded the corners like you would a present. I am sure there are fancier or neater ways to do this, but I like the end result.
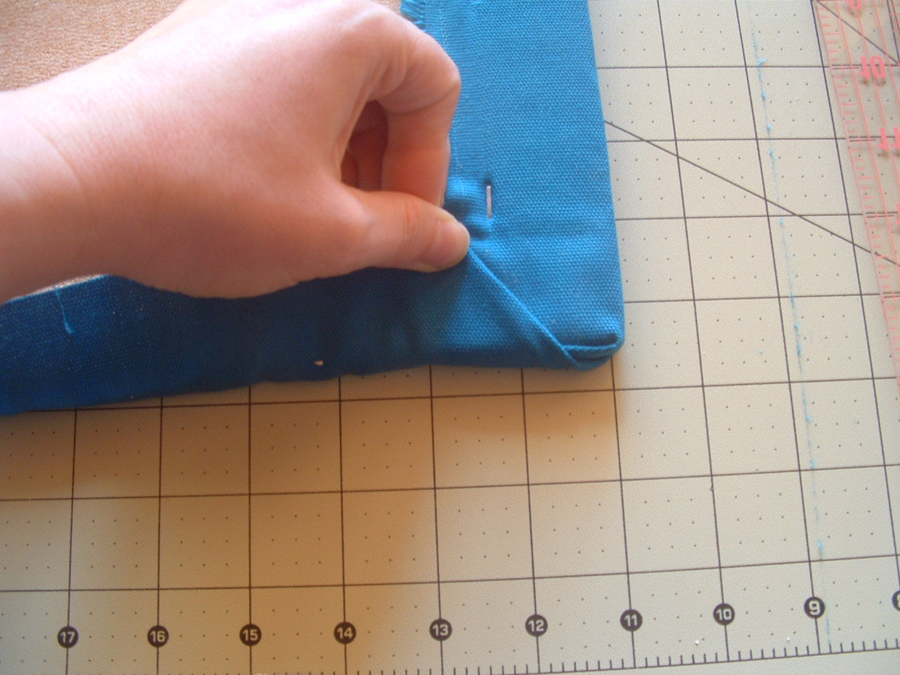
Fold up the bottom edge and hold to staple.
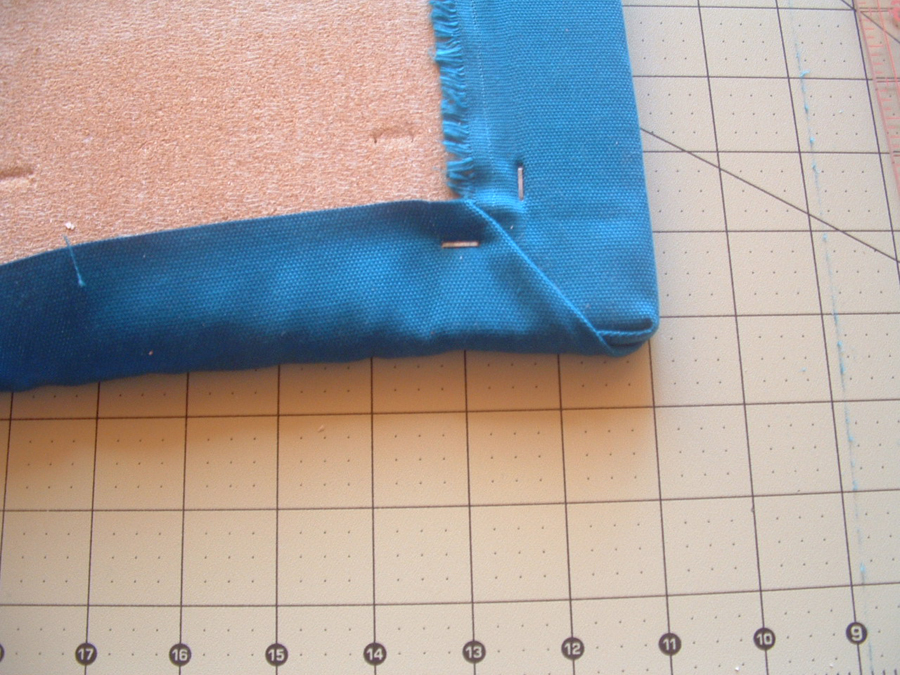
Repeat this same procedure for the other three corners, then staple the rest of the top/bottom fabric.

I decided that I wanted to have a bit of embellishment to my display, so I chose some ribbon I had left over from a previous project and cut it to fit my tile board.
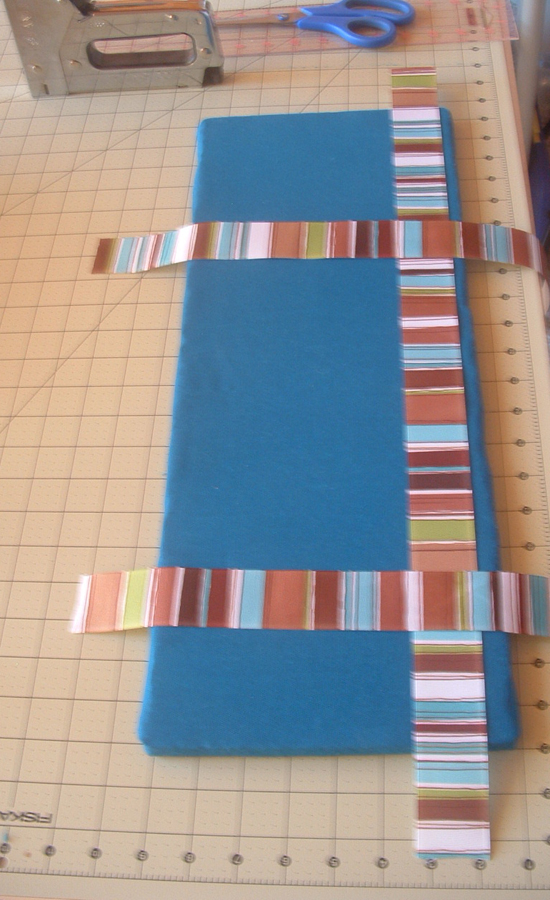
Once I had decided on my placement, I used my cutting mat to make sure my ribbon would be level and even on my board.
I stapled the two vertical ribbons to the board and then added the horizontal ribbon in the same manner.
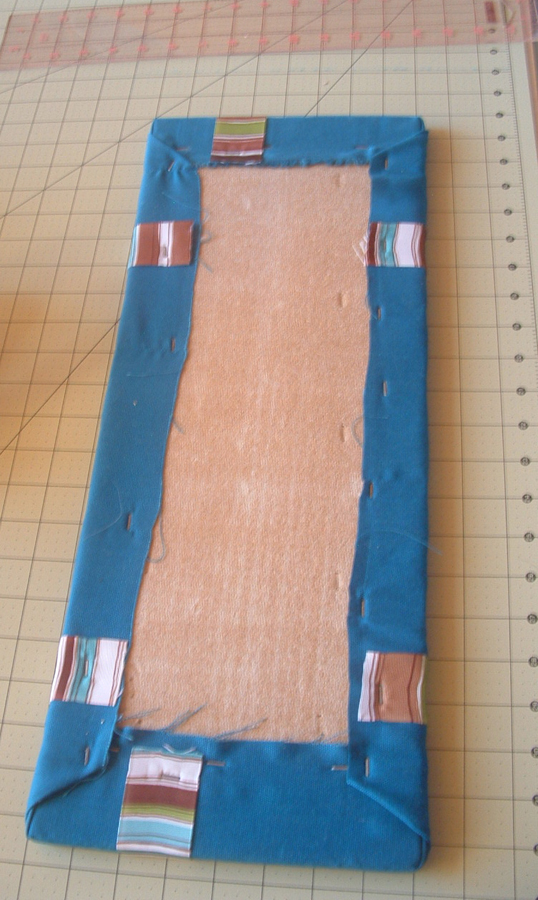
And here is the board all ready to go. I just need to add the pins and earrings!

I had been working in the loft at my craft table, but as all the pins and earrings were downstairs, the project shifted to the dining table.

I used a wide earring and a long earring to help decide the placement of my pins. I have a lot of earrings and needed to be able to display long and short earrings.
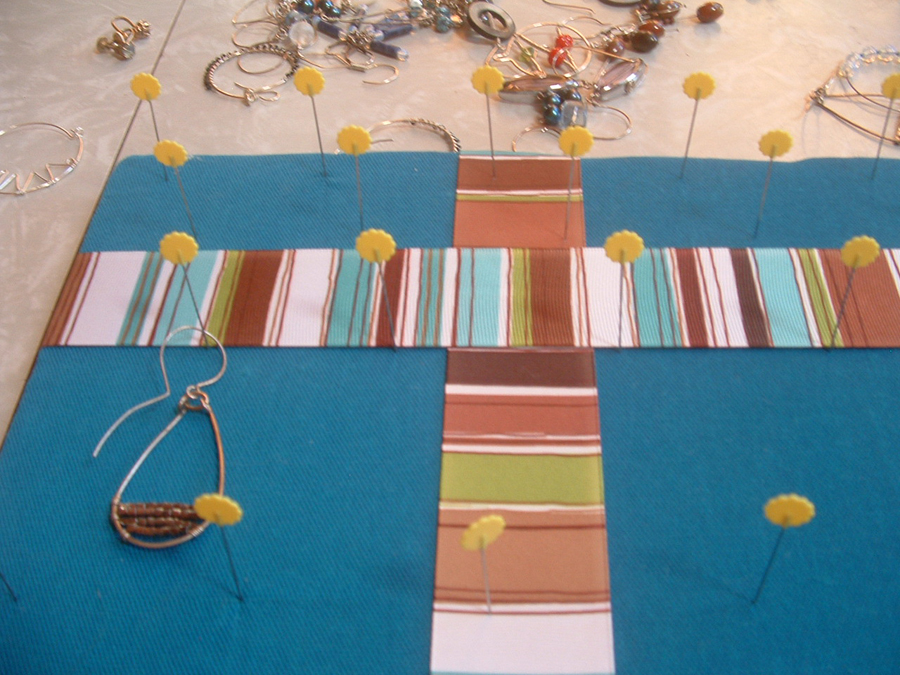
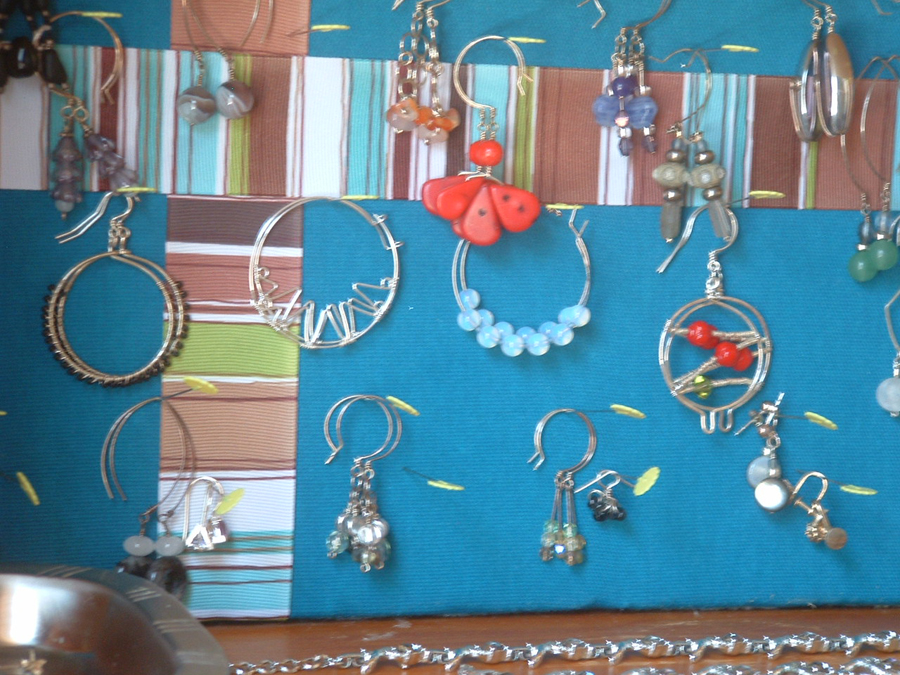
Now the display is ready to go. I pushed it in place and hung my earrings!

If you cannot tell, the earring display is in the over the toilet shelf. I have more necklaces hanging all over the shelf itself as my other necklace display is already full, another project?
I like the color, I have lots of stained pine in my house (a LOT of it) and the more color I can add, the happier I am. As I cannot paint, I will add color wherever possible.
I am really happy with my finished Tile Board Earring Display!
Happy Creating!
Kristin

ZigZag Hoop Earrings
After much whining (and an exhaustive search), I have realized that however convenient it may be, I just cannot take photos of my projects that I like with my iPhone. Some people may be able to do it, I am just not one of them. I did have to search my house pretty thoroughly for my real camera, it was in hiding. It is fairly old (Fujifilm FinePix), but it still takes good photos. I am much happier with the results for today.
If you have been watching the news, you would have seen the massive cold weather system that tromped all over the Midwest yesterday and the extreme cold that has followed it. Due to this, my place of employment closed for the day and I have had a wonderful day at home, staying out of the cold. After a big breakfast and some lazing around, I made these wonderful hoop earrings with a zigzag in the center.

I am really happy with how these turned out. They are made out of 21 gauge sterling silver wire. I wrapped the hoop around a mandrel to make the main frame of the earrings. Then I used a 4″ piece of the same wire to make the zigzag which is connected to the hoop frame with 26 gauge sterling silver wire. After the zigzag was wrapped to the frame, I used a plastic mallet to harden the hoop and zigzag so that they wouldn’t get bent too easily.

Have a great day and stay warm!
Happy Creating,
Kristin
Sterling Silver Hammered Ring
I have been slowly adding to my metalsmithing supplies and have finally reached a point where I am able to make rings (well, almost, I do not have a ring mandrel yet). I made my very first 4mm sterling silver, hammered ring today. As it is my first attempt, I already see many things that I can improve upon, but for a first try, it isn’t half bad, especially since it fit from the beginning. I did not have to make any size adjustments. I will have no qualms about wearing it until I make a better one.

After putting my photo lights to rest, I realized that the inside of the ring could have used some polishing and the outside could have used some additional polishing, but you get the idea.
I have had this idea for a ring for years. It is to be my anniversary ring. I thought that it would be much more fun to make one rather than to buy one. No, this is not it, but it is the first step in my plans. Now, I just have to practice making rings. It is going to be a fun year getting everyone’s ring sizes for Christmas presents next year!
Happy Creating!
Kristin

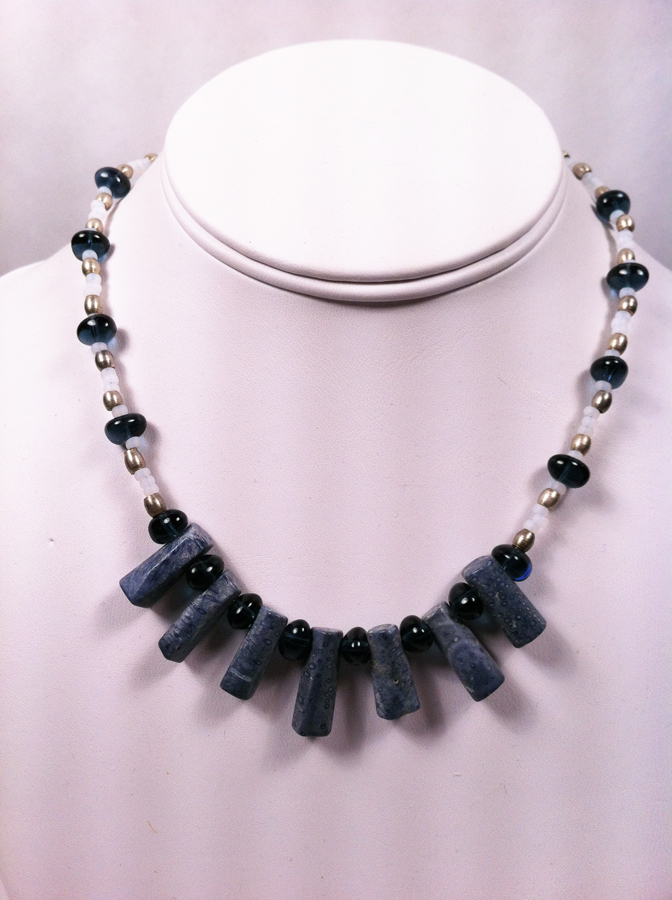
Blue Coral Necklace and Earrings
I love matching earring and necklace sets. As far as I am concerned, you can never have too many.
I made the following earrings and necklace out of sterling silver for the earwires, wire hoops, and necklace hook, blue glass and zinc tube beads for the drops of the earrings, blue coral, blue glass, zinc tube beads and white seed beads for the necklace.
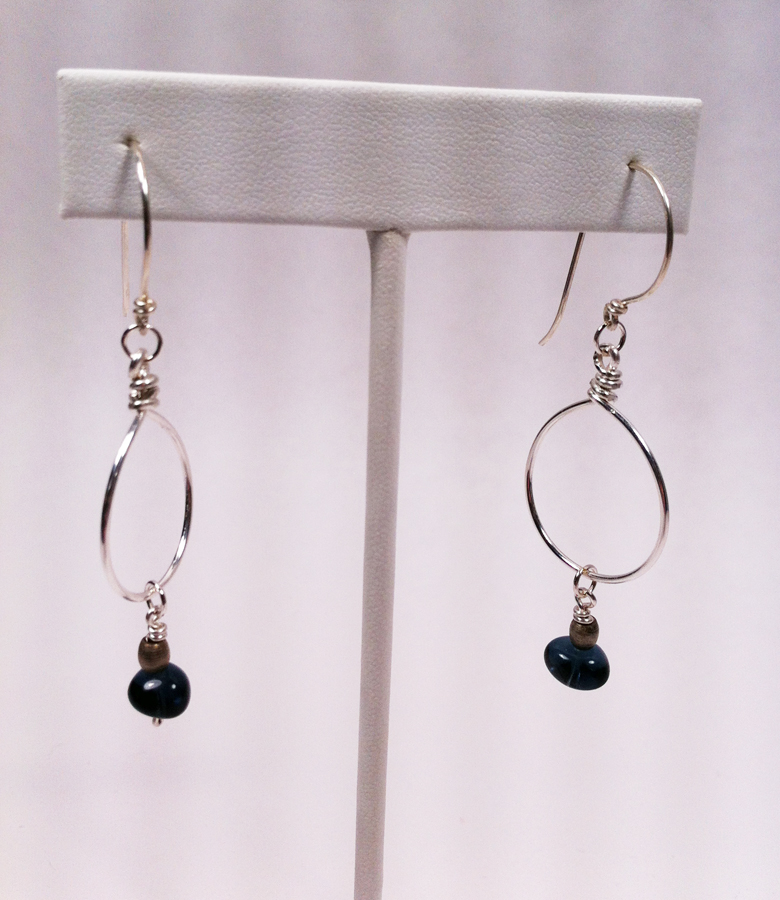
You cannot see it, as it is the back of the necklace, but I used a small length of sterling silver chain to make the necklace a variable length. I wear a LOT of blue and wanted to be able to wear this with many different styles of shirt.
Happy Creating!
Kristin
Winter Scarf and Earmuffs
I will probably ruminate on creativity a bit here when I have the time and the thoughts behind it. It may get a little rambly and may not always make sense, as it is a sort of stream of consciousness to rediscover and define my creativity.
For me, creativity can mean so much. It can be the act of making – whether it be new invention, remake, improvement, it doesn’t matter. It can be doing, I imagine before the year is out, I will figure out how it is a state of being. I have also discovered over the years that frequent small creative successes can be so much better for my psyche than one or two large successes, at least as far as crafting goes. So for today, I finished a scarf and earmuff set. I have had the earmuffs completed for over a year now, but the scarf started as a infinity scarf that was a pretty good failure. I ripped it apart and have recreated it for today. I am much happier with the second attempt and I hope you enjoy the result.
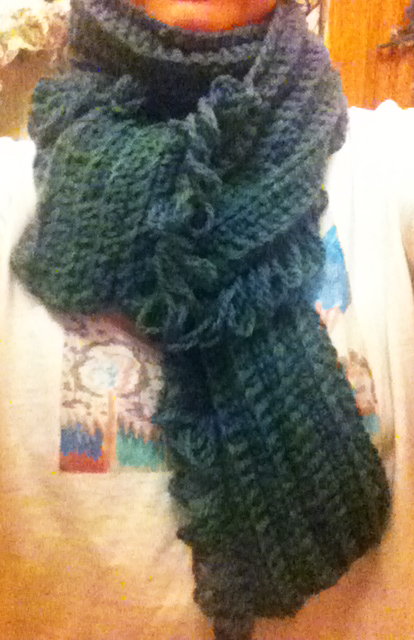
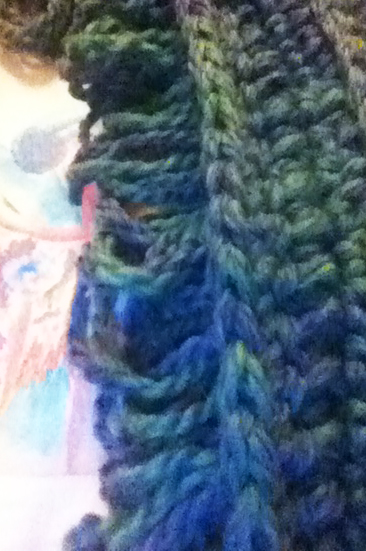
I made the scarf in single crochet in the back loop, crocheted in the long. This gives a false ribbed appearance. I think it is approximately 210-250 stitches long and is nine rows, not counting the bouclé row. The scarf could be made with however many stitches and rows you prefer. I wanted a fairly chunky scarf, so this is two worsted weight wool yarns crocheted together. There is a blue yarn and a green yarn of the same type.

The last row is a bouclé stitch that creates a nice fringe that runs the length of the scarf.
You can read about how I made the earmuffs in a previous post here.
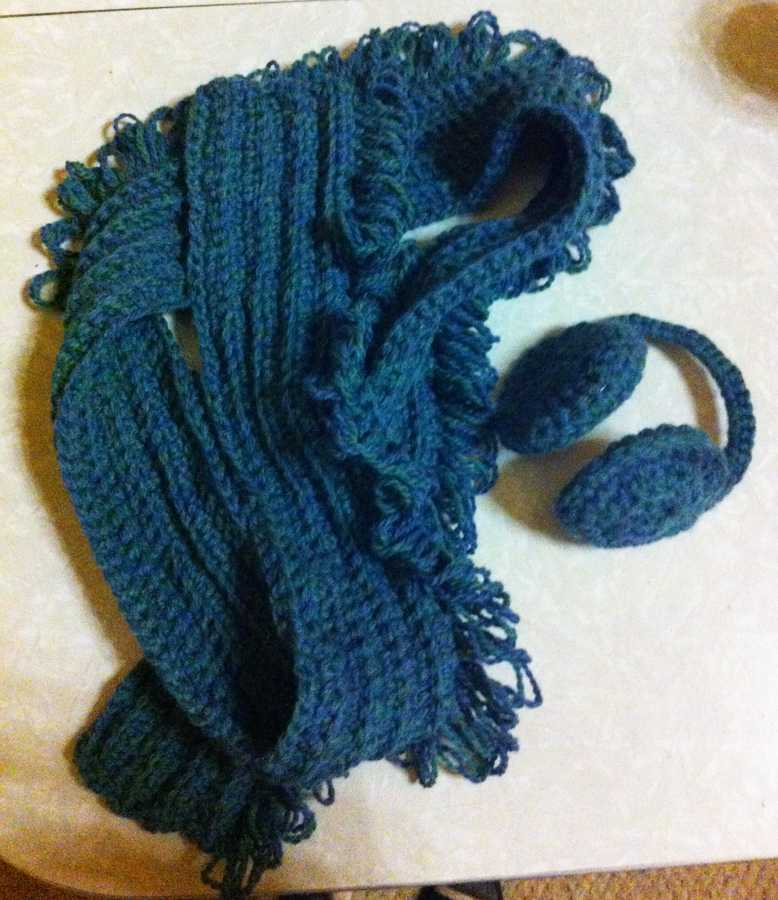
With the seriously cold weather that is imminent here in Indiana, I think that I will truly appreciate the scarf and earmuffs. I finished them just in time.
Happy Creating!
Kristin
Wow, that is a lot of New Years Resolutions. What a cat!

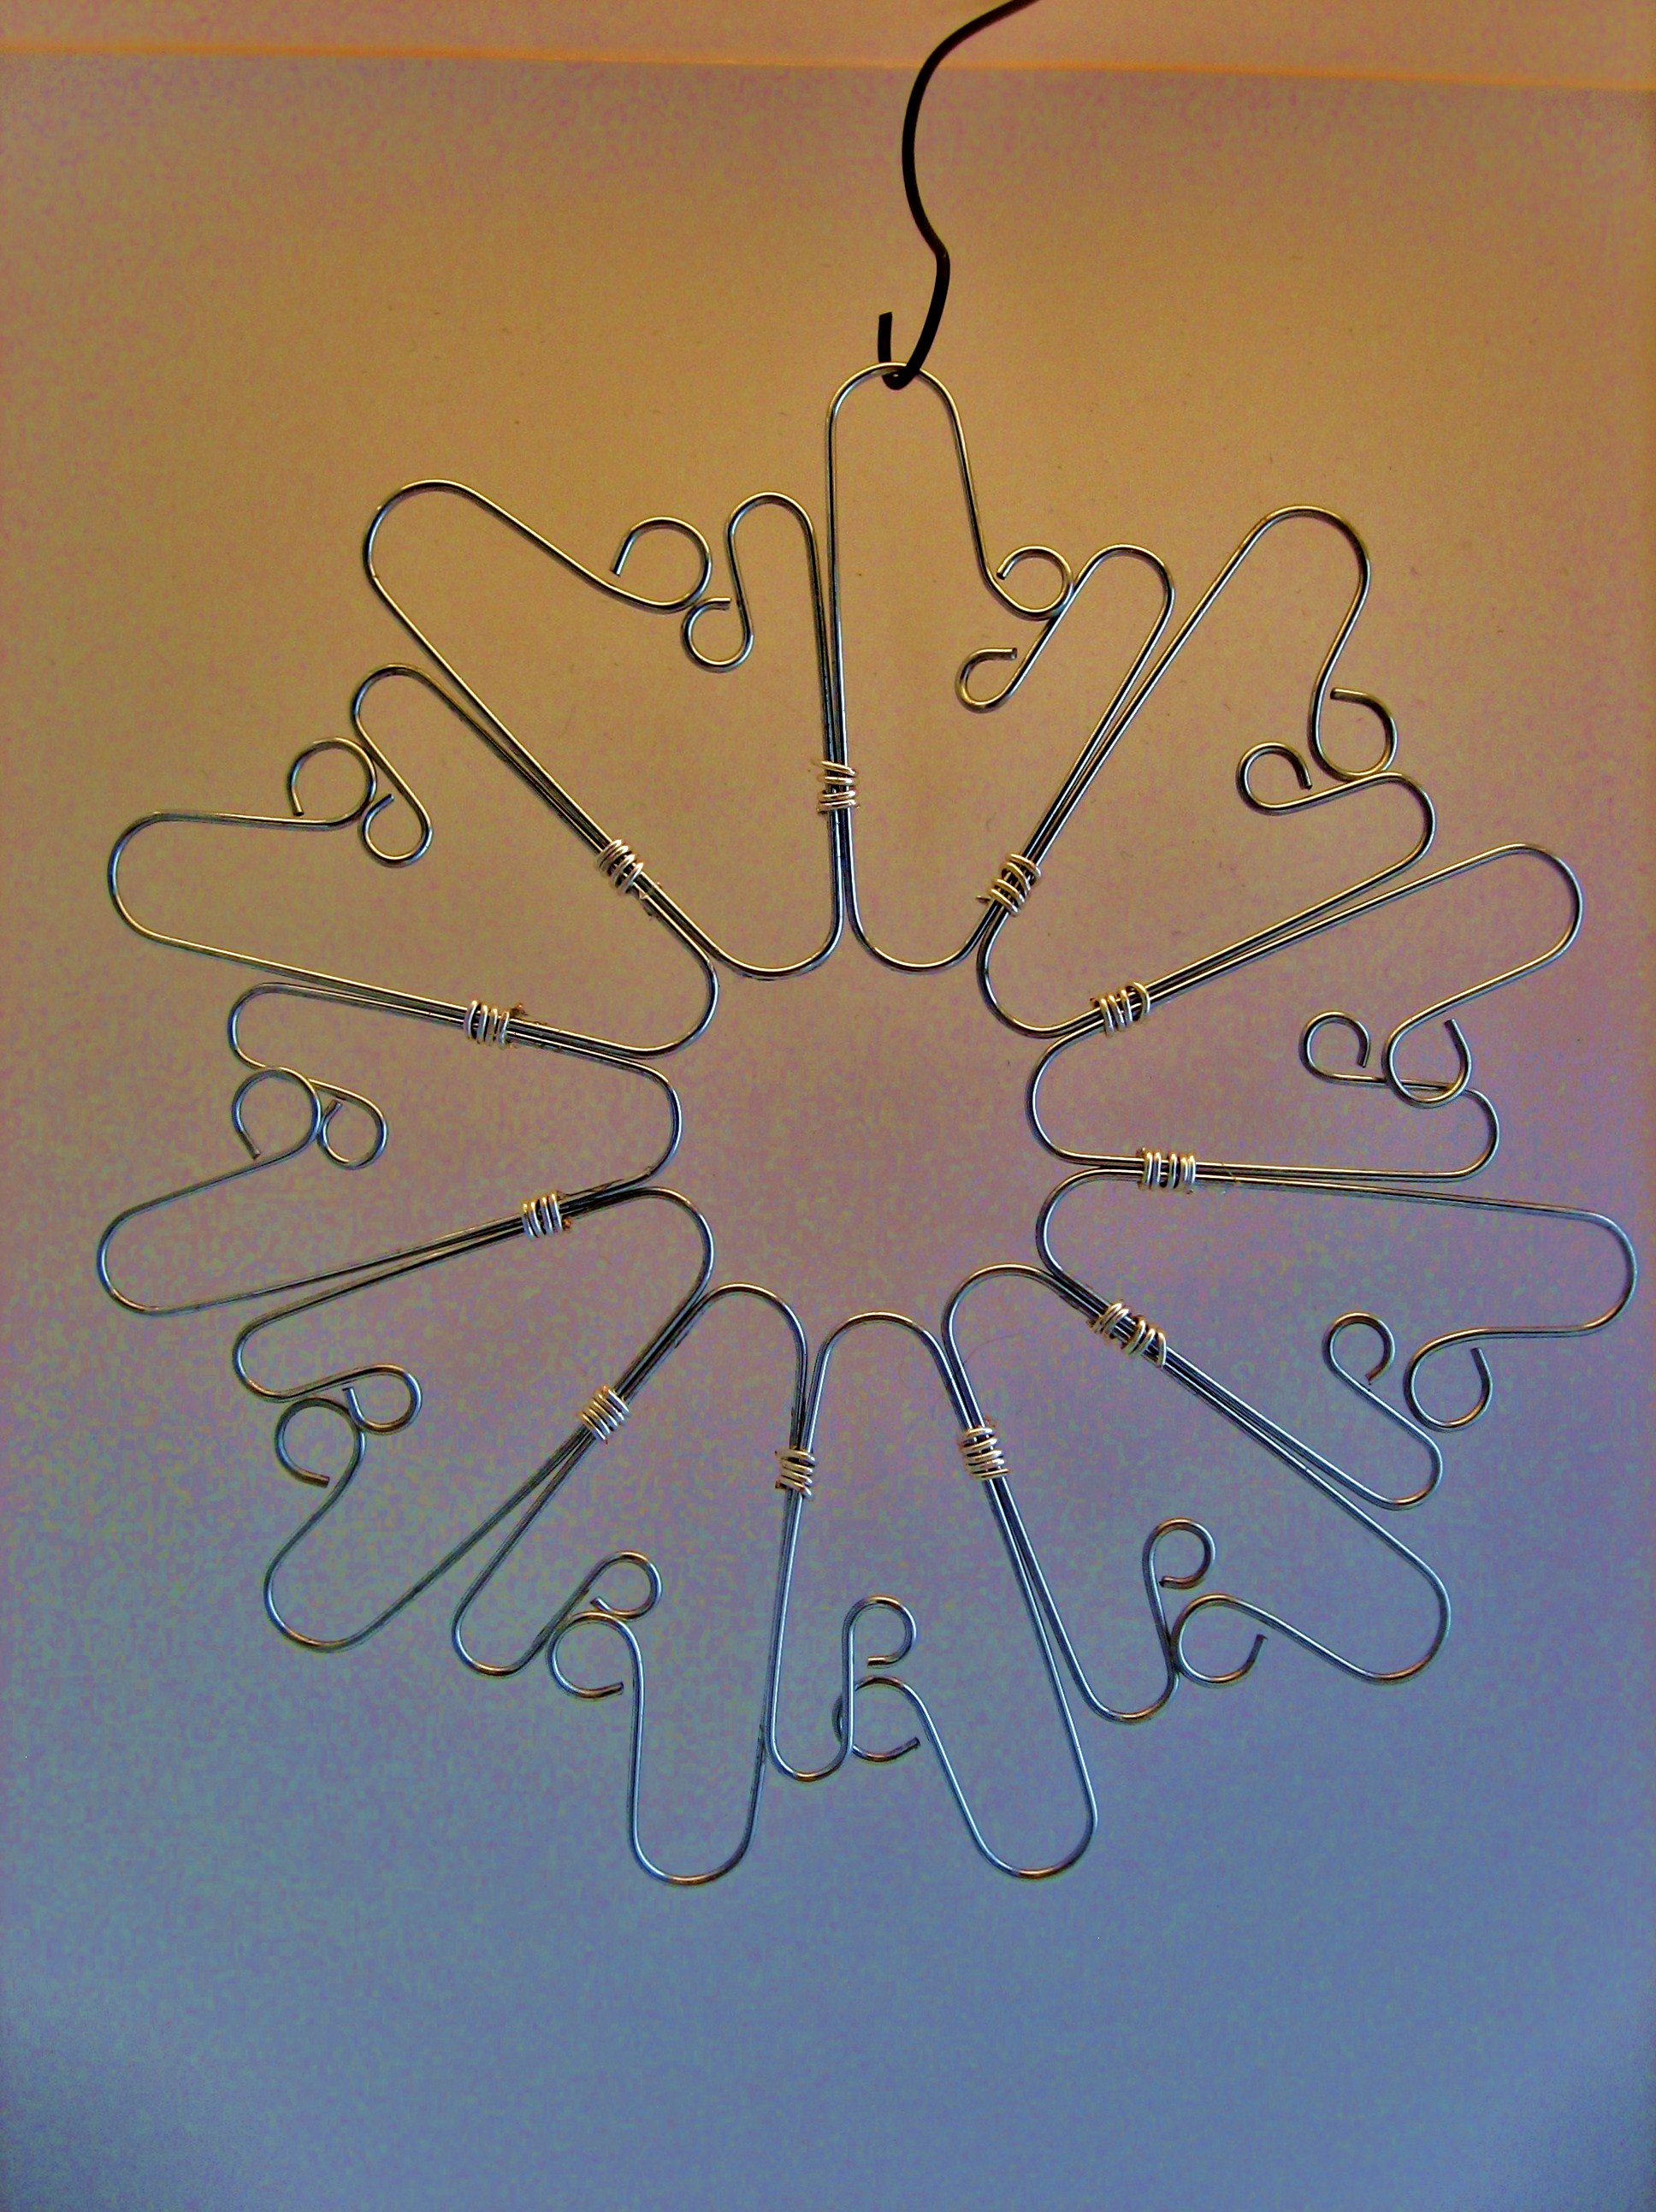
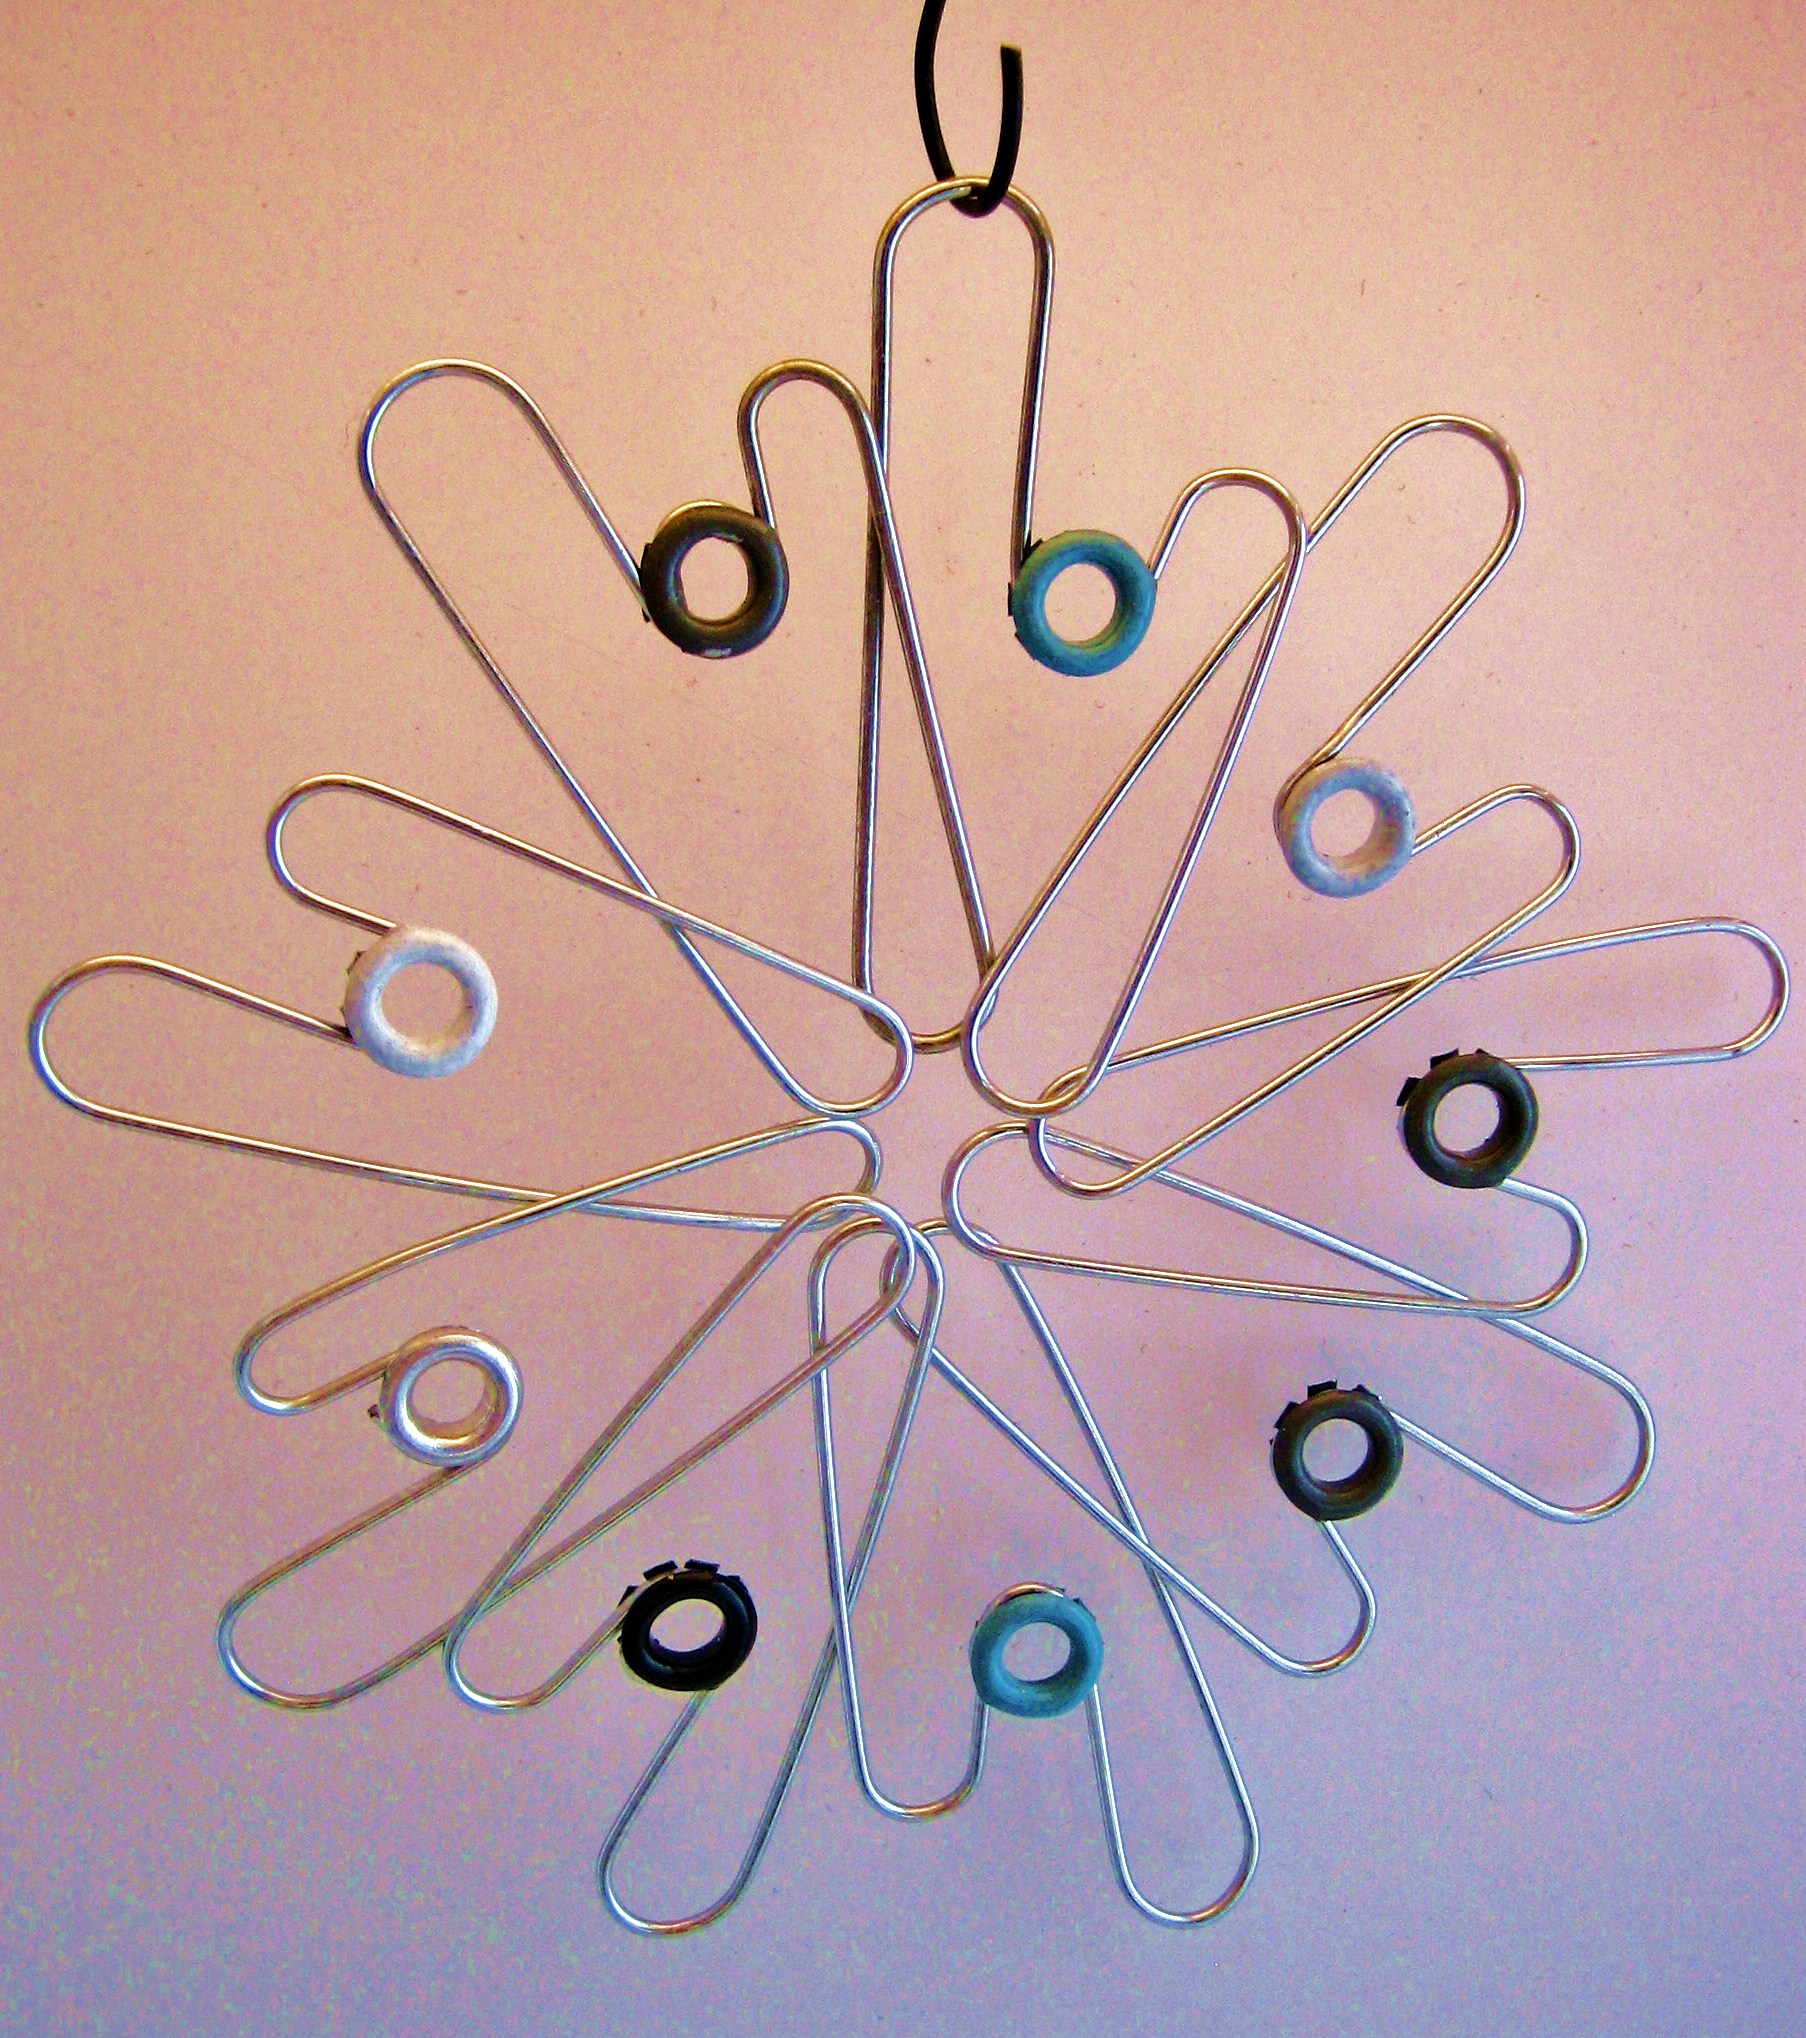
Paper clip snowflakes
Cheri-I hope everyone is having a wonderful Holiday Season so far.
These are two ornament that I made from paper clips.
Supplies
Large paper clips
Round nose pliers
Grommets
Small gauge wire
Glue
I first started by experimenting with different paperclip bends. I knew that I wanted to make a snowflake so I made sure that I would have a way to connect them to each other. After I had a pattern I liked, I began to work on the connection. The grommets worked great for the 2nd snowflake as I had a loop to affix it to. The top one I decided to wire, after I wired it I put a drop of E-6000 on each wire. This stabilized the connection.
Hope you are enjoying our Christmas countdown and again Happy Holildays.
