Welcome to Day 1 of my Clean-Up Advent!
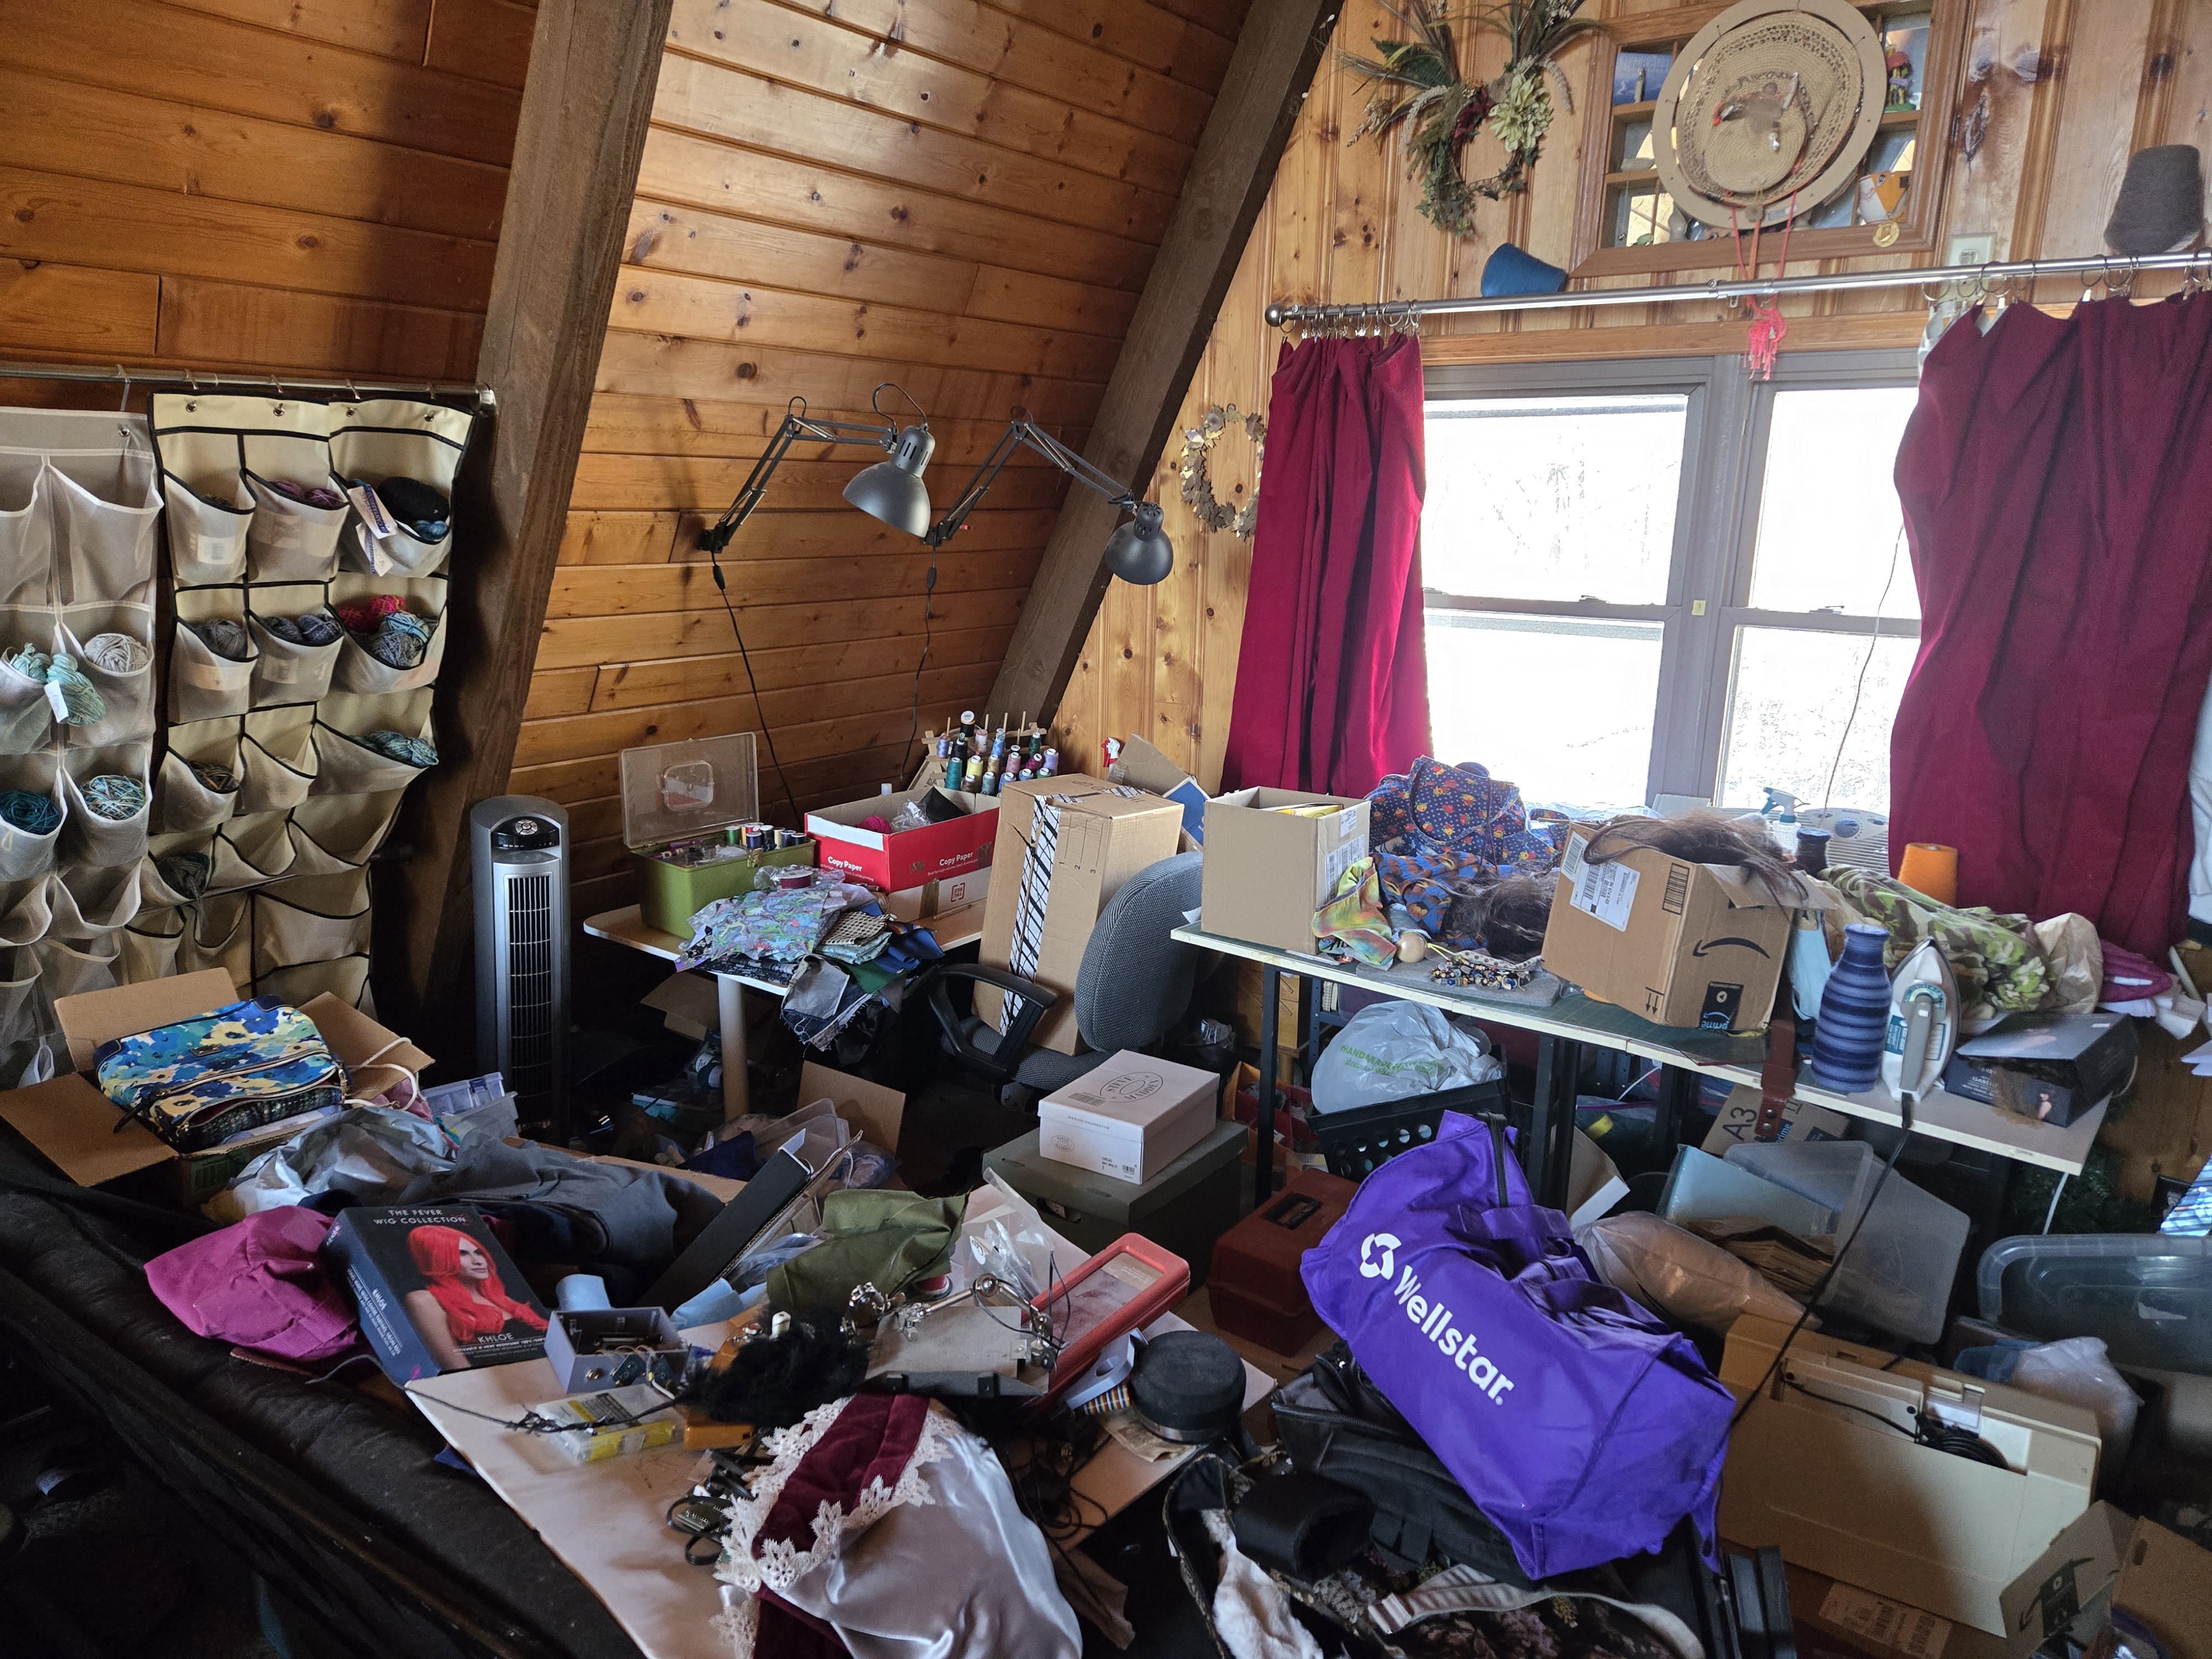
I am an older Thespian Society geek who comes by her costume addiction through theater, Halloween, and now RenFaires. I have worked theater costume departments, actual costume shops, and now just make for myself and my SO – Rob. I don’t tend to make the core of the costumes from scratch, I usually thrift shop for dresses or outfits then alter to make these into costumes. Then I make all the accessories and add-ons needed. I am starting to delve into patterns for dresses and outfits, but that will be slow going, not going to push to much into that until next year.
All this interest in costumes means I have quite a few. I am trying to keep myself to 4-25 gallon tough storage bins in Dana K. White’s container method. I have had these 4 bins for many years now and it seems to be working. However, starting last year, I really started getting into RenFaires, so I now have a whole new set of costumes to deal with.
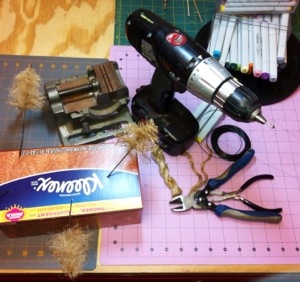
Today was all about getting the bins emptied, sorting as I went into trash, donate, keep, and “if there is still space.” Thankfully, I had already washed and hang-dried my costumes that were used during the past 3 months or so. All I needed to do for those was fold and put in the bins as clearly, they were definite keepers. A few weeks ago, I had tidied up the great room and had a pile of costumes ready to put away – into the bins they went. Then I ran through the craft room and grabbed all the costume stuff that was just sitting around within easy reach and got those bits sorted. Even just doing that has made a nice dent in my declutter start. The dining table is cleared, the hanging rack in the laundry room is empty, and my bins are now nicely stored in their usual spot behind the futon.

As you can see, the space where the bins sit is still nicely cleared out to hold just the costume bins and costume weapons storage. I am really dedicated to taking a pic after each day to really demonstrate to myself how much of a difference just a little bit of work each day makes. In total, I spent about 2.5 hours on the costumes which is really one of the biggest sections I am setting for myself. My target is at most 1.5 hours per day, with a more realistic 20 minutes per day being satisfactory.
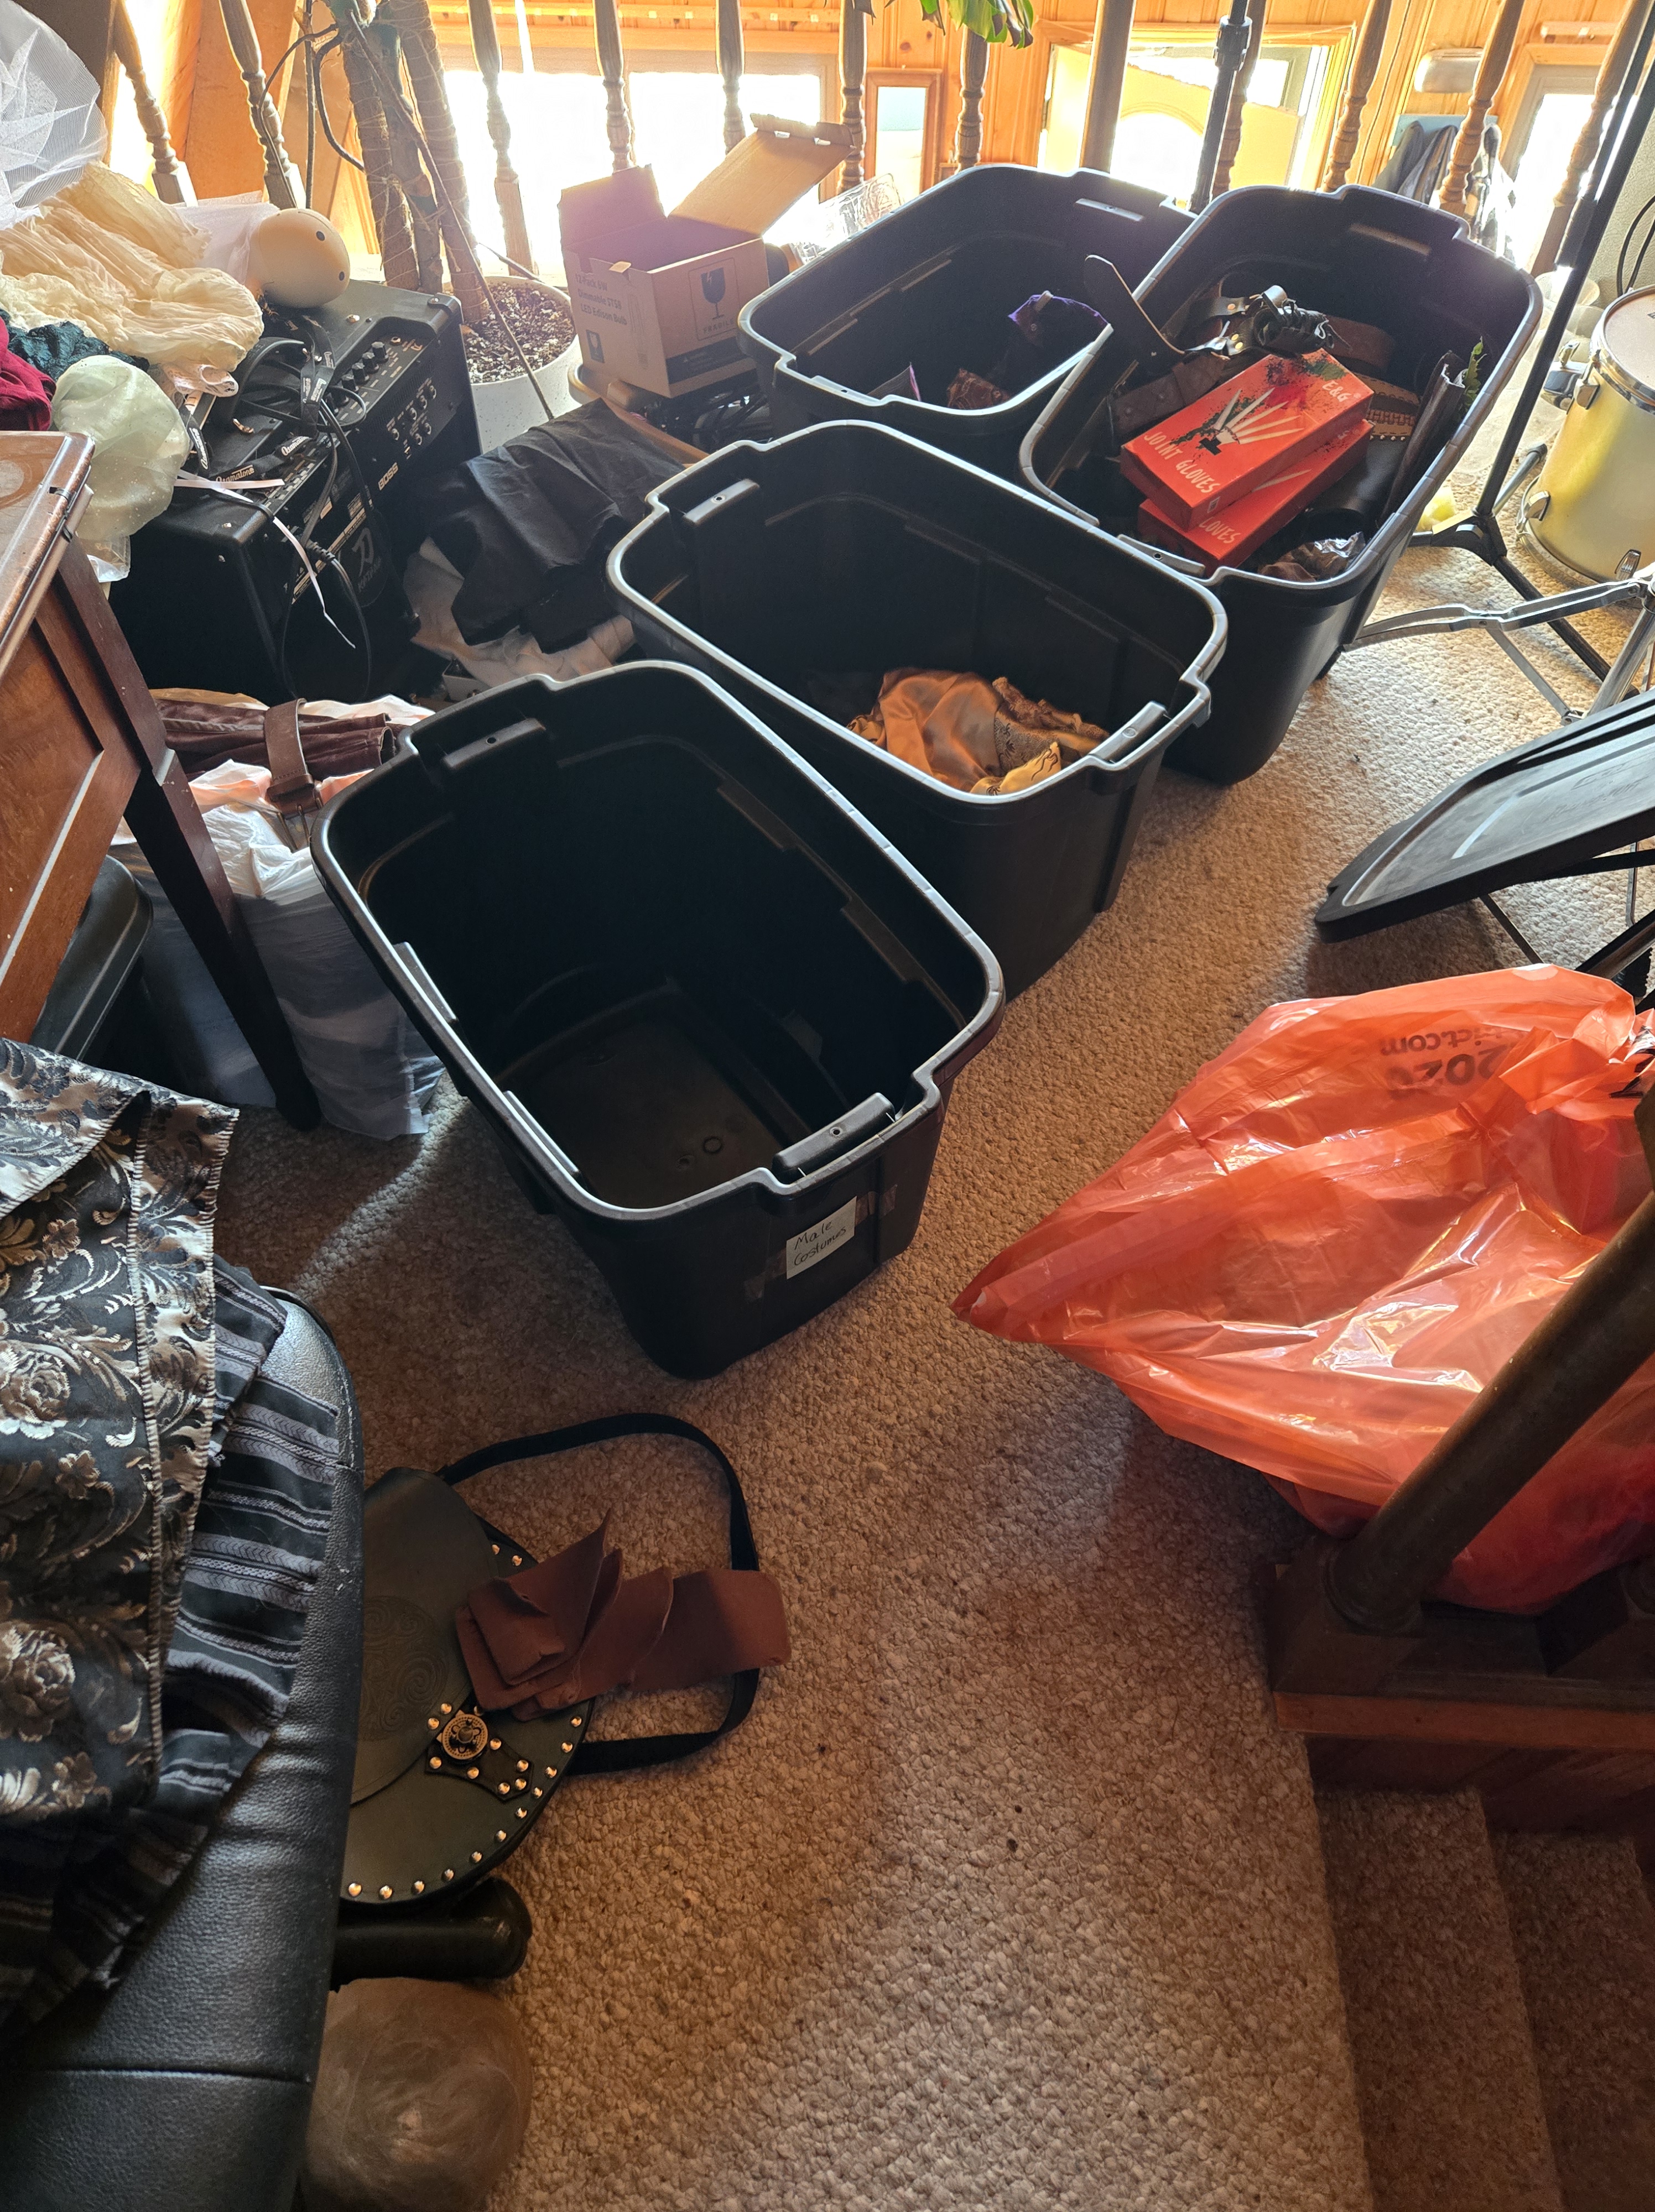
I have sorted out two bins of finished costumes, one bin of accessories, and one bin of materials to be made into future costumes. I am really happy with my progress so far!

I do have boot trays that I have repurposed to sit on top of the bins behind the futon for side tables of a sort. They work really well. Only one is in place at this point, the other is buried in the mess on the futon which is the Day 3 project!
Day 1 – Costumes
Day 2 – More Trash
Day 3 – Find the Futon
Day 4 – TBD…
Happy Crafting!
Kristin