Tag Archives: christmas

side view of completed wreath

Christmas Advent 2015 – Day 13 Icicle Wreath

Halfway done now, which means 12 days to Christmas! Start singing!

Years ago, I found in my possession some 12″ plastic icicles with loops on one end. By “some” I mean around 400 of them. I have used a few for my own holiday decorations, but there was no way I was going to use all of them easily. I also had a foam wreath form and I decided to use this and the icicles to make a wreath.

Materials:

  • Icicles (mine are plastic, wood dowels would work as well)
  • Foam circle
  • Silver spray paint
  • Green paint and brush
  • Tacky Glue
  • Hobby lichen in various shades of green
  • Mod Podge Acrylic Spray
  • 12″ piece of heavy wire (about 15 gauge)

finished wreath

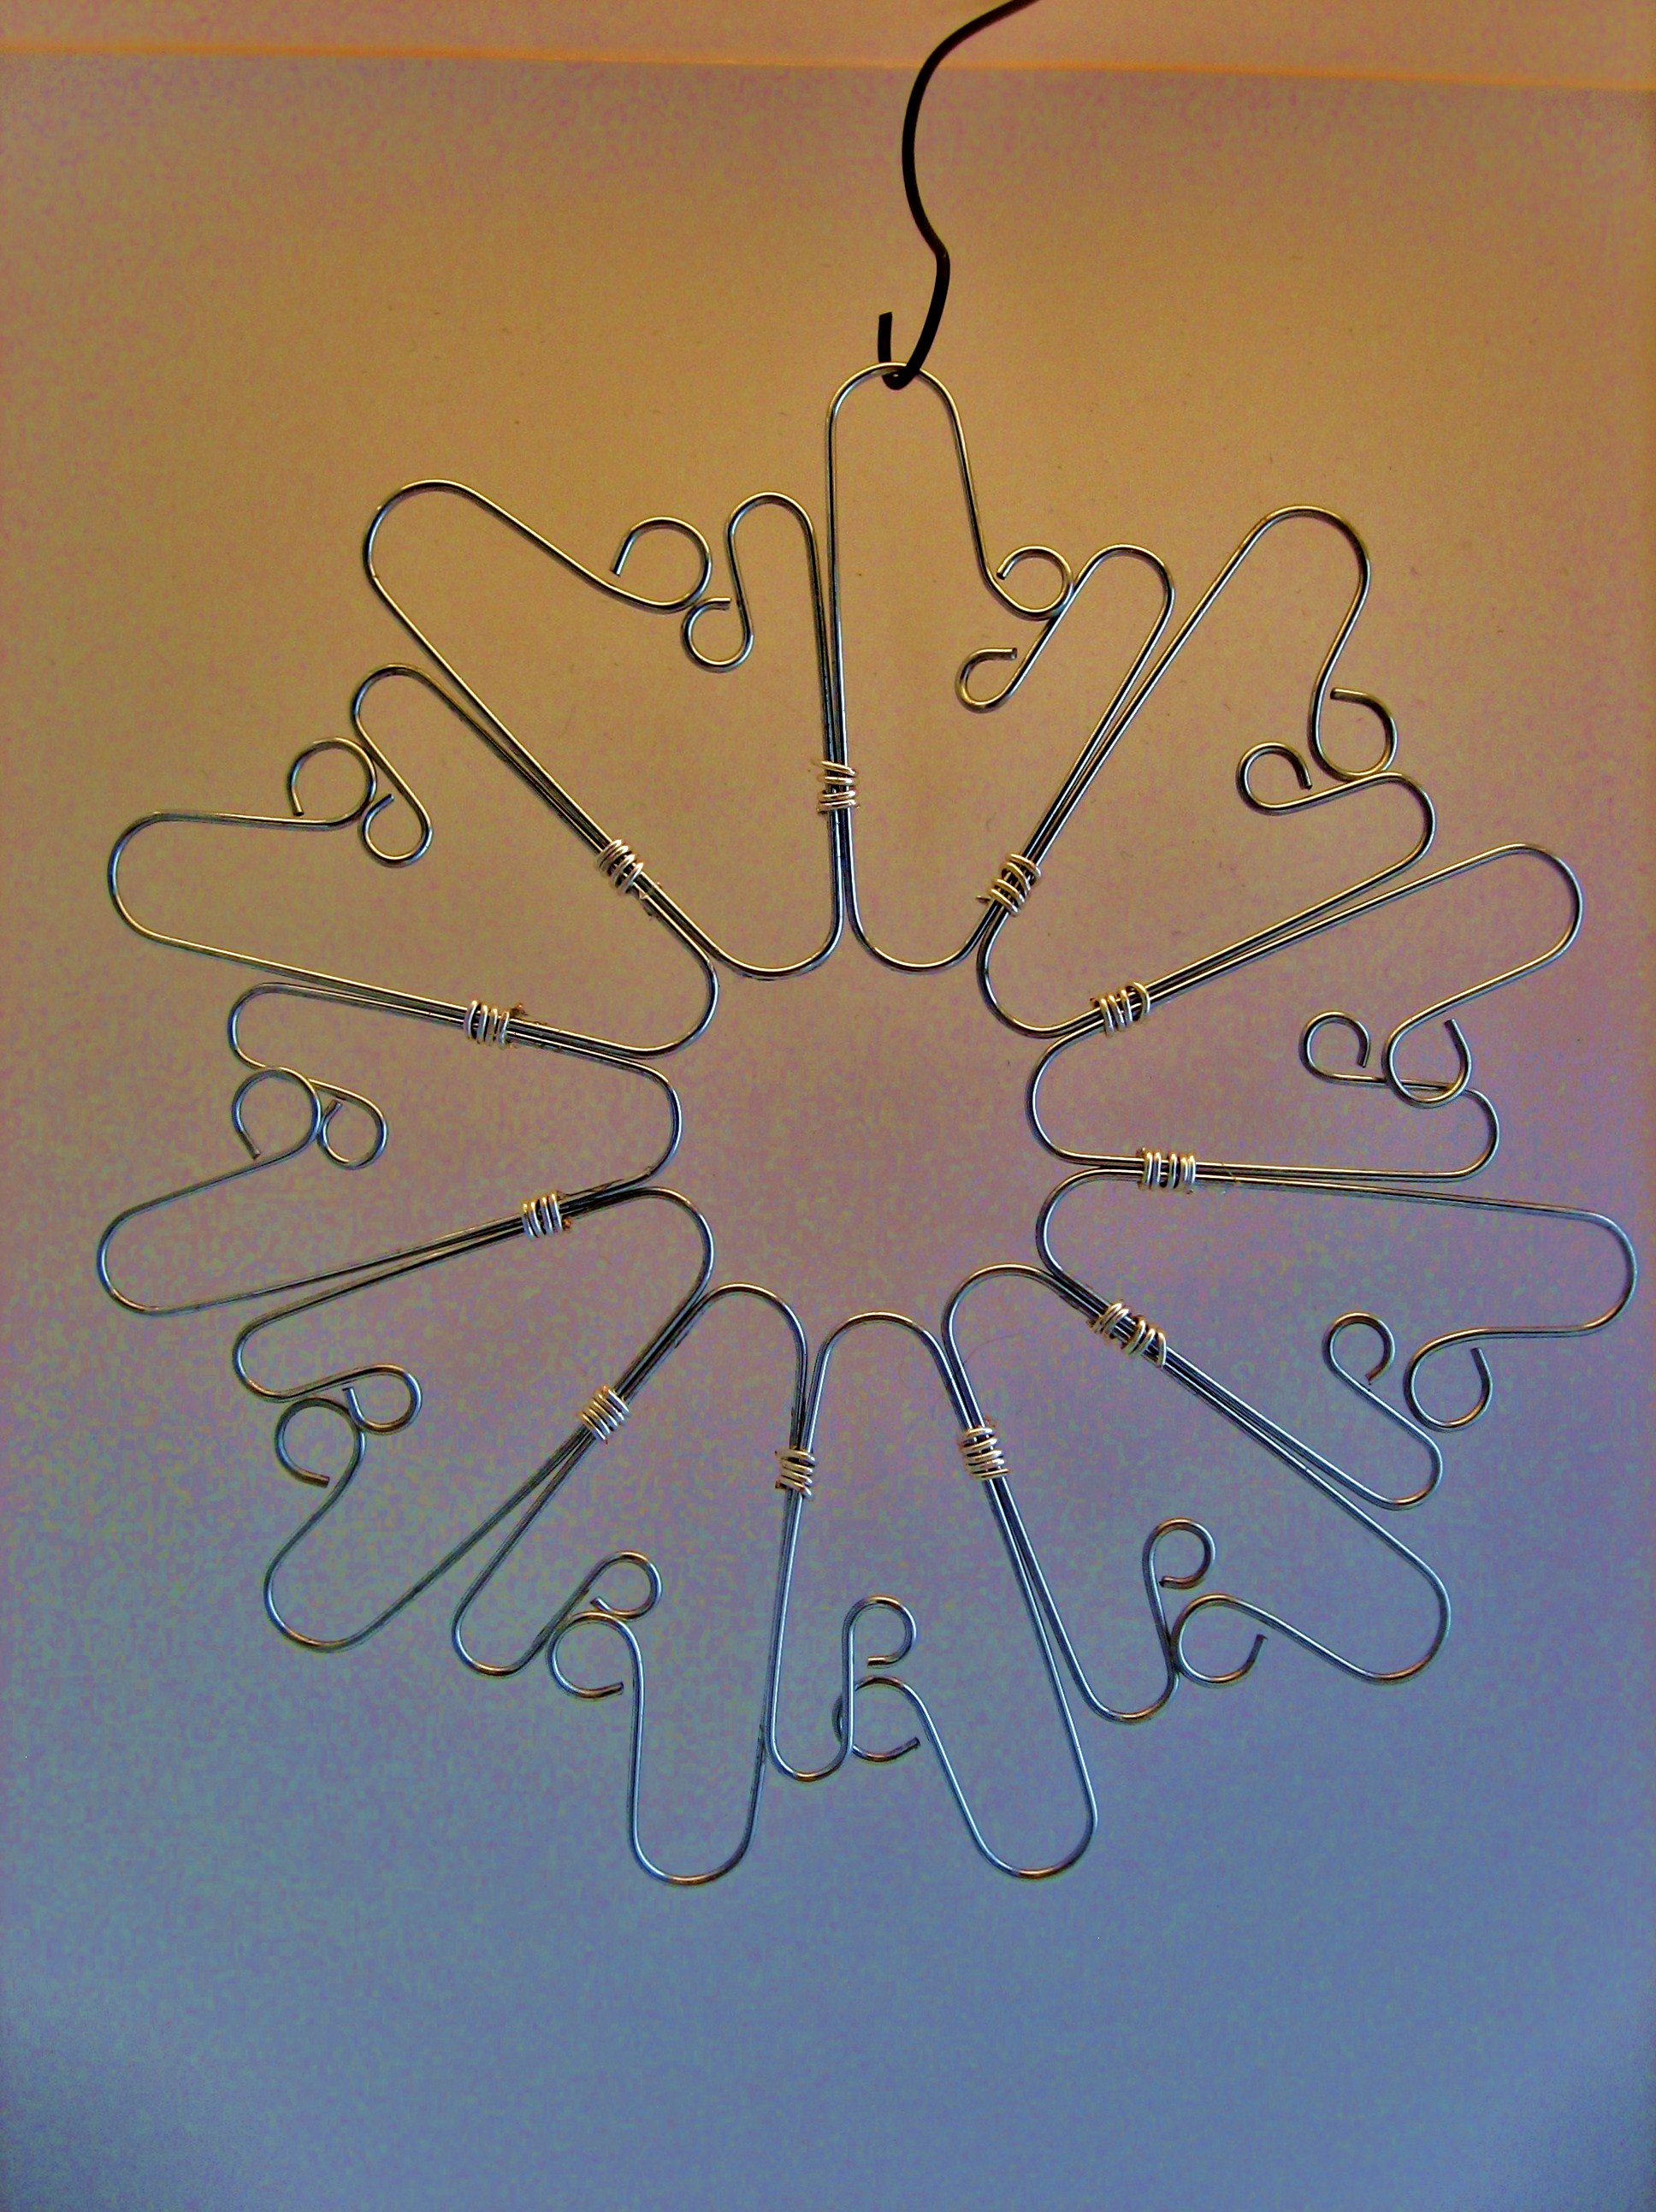
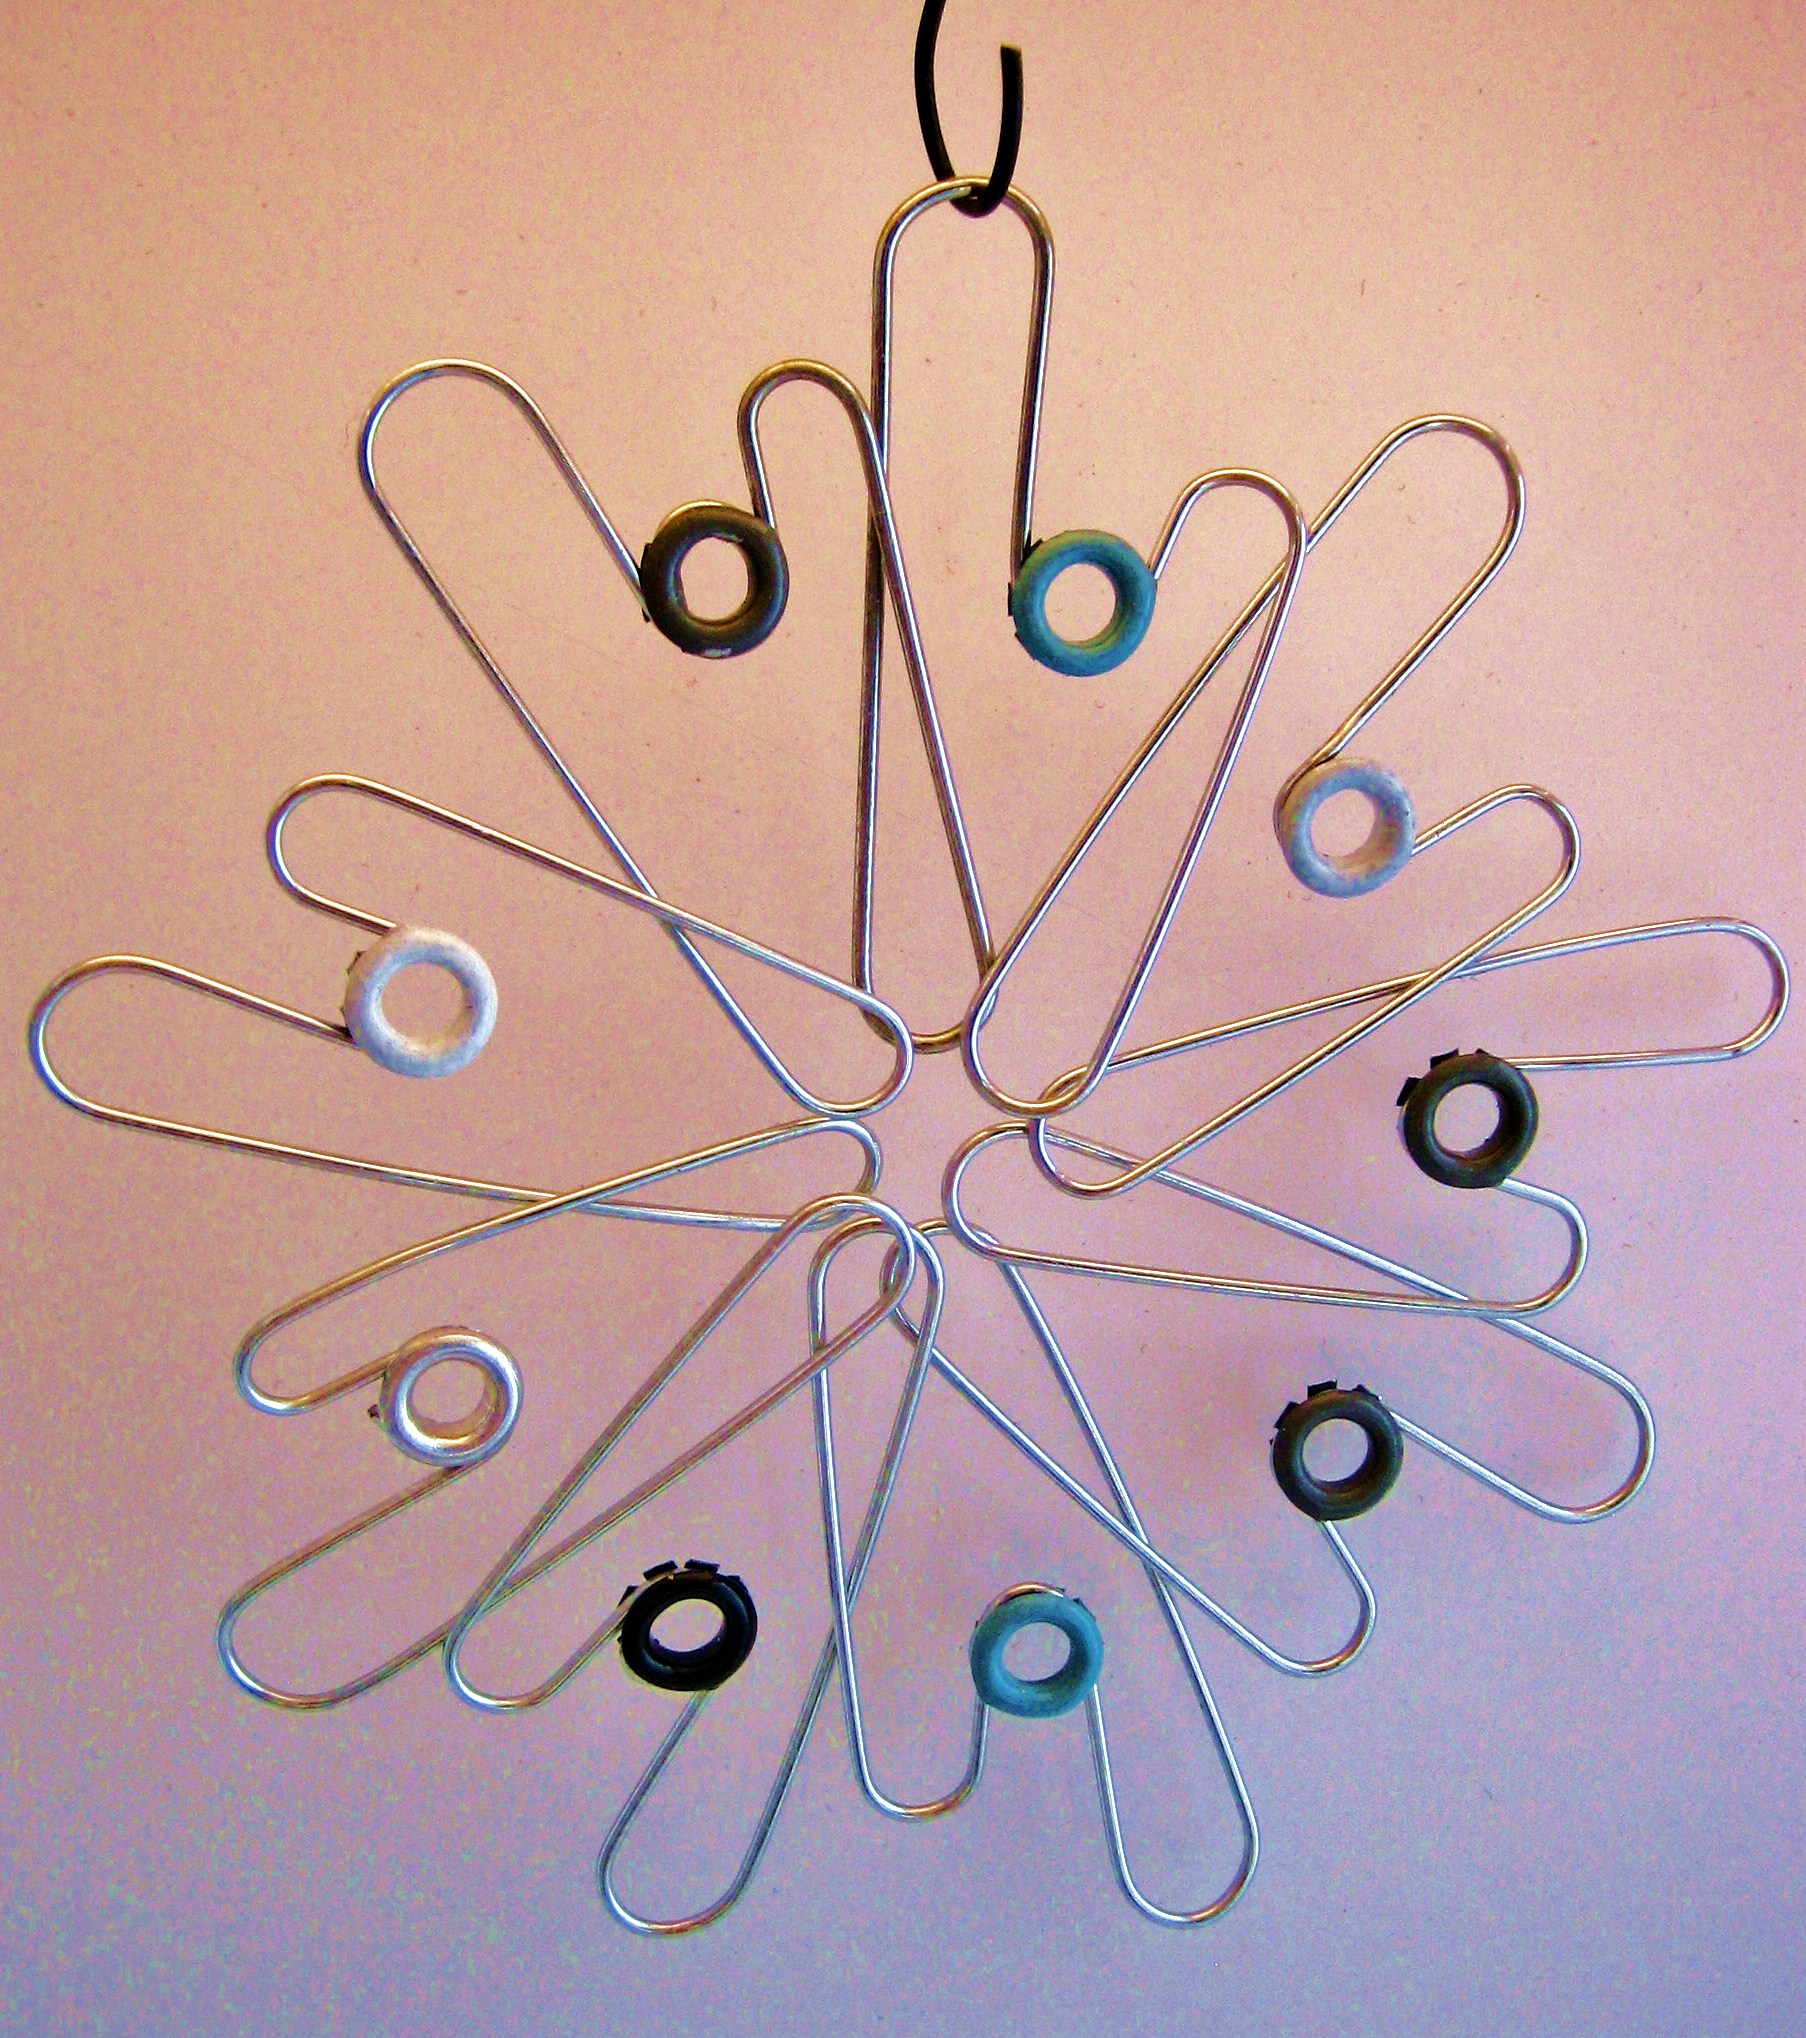
First, I pressed the plastic icicles into the outside of wreath form, removed them, dabbed tacky  glue into the hole, and pressed the icicle back into the hole. I did this all around the wreath form alternating so that one was close to the front edge of the wreath and the next was close to the backside edge of the wreath. After this, I left the wreath for a couple of days to make sure the glue was dried really well.

icicles glued into foam circle

icicles glued into foam circle

Then, I covered my outdoor, cheapy, plastic patio table with wax paper and laid out my wreath in preparation for painting. I sprayed the icicles with the silver spray paint. I did a very light coat as I wanted the bubbles in the plastic to show through. I also just wanted to hint at the silver color. Once it was dry, I flipped the wreath over and sprayed the other side.

You should also add the hook for the wreath here. I did mine later and it was much more complicated to add. It would have been so much easier to do it before I started adding the lichen. I bent the heavy gauge wire into a hook and wrapped it around the wreath form with a hook at the top to hang it.

silver spray paint, last coat

silver spray, first coat

Fortunately, we have had some beautiful weather here and spraying outside has been very easy and enjoyable. I did not have to do this in the garage.

Next, I started squeezing on tacky glue and then adding the lichen to the foam wreath form, mixing the colors and styles of lichen that I had. This took several days as I took my time, and again, made sure that the glue had plenty of time to dry. I would gently shake the wreath occasionally to dislodge any loose pieces and add glue and more lichen where needed.

acrylic spray, first coat

Once the glue had dried, I carried my wreath back out to my wax covered table and sprayed Mod Podge Acrylic Spray. This gave a nice top coat and helps to hold the lichen in place.

close-up view of finished wreath

Then, I hung it (I knew it was big, and I was pleasantly surprised to find that it fit on my door, I will be hanging it from my loft later) and took some final photos.

I am still trying to use materials I have in my house and spend as little money as possible on this advent event. The lichen we had was from about 10 years ago when my husband and I made some set pieces for our role playing gaming. We hadn’t used it in years, so I finished it off with this project. Plus, it suits us, our hobby of role playing games and artistic talent all in one wreath! I like it!

side view of completed wreath

Happy Crafting!

Kristin


napkin rings

Christmas Advent 2015 – Day 7 Napkin Rings

Loryn has been doing lots of entertaining lately and has the most awesome table. It is gigantic and sits our family very well. I decided that for this advent, I would make the table decor for Christmas family dinners. Today I made the napkin rings.

napkin rings

Materials:

  • Scrapbook paper
  • Tacky glue (white glue)
  • Foam sheets
  • Mod Podge
  • Sponge brush
  • Wax paper

I cut strips of scrapbook paper in three different styles to 1 1/2″, 1″, and 1/4″ wide by 7″ long. I used a sponge brush and some watered down tacky glue to glue the papers one on top of the other. I then squeezed these flat between some wax paper and heavy books.

I cut 1 1/2″ by 6″ long strips of the foam sheets and once the paper strips were dry, I used some more watered down tacky glue and the sponge brush to glue them to the foam strips. I again squeezed these flat between my sheets of wax paper and heavy books.

I then trimmed the paper on one end to evenly match up to the foam and left a 1/2″ edge of paper on the other end. I smeared straight tacky glue on the inner side of the leftover edge of paper and a bit on the end of the foam and curled it around the tacky glue bottle (nicely doing double duty here) and glued the ends of the foam/paper strips together, making sure the paper strips lined up, wiping any excess glue away, and ensuring the rings formed good circles.

napkin rings

After the glue was dry, I used another sponge brush and covered the rings with one coat of Mod Podge. I am not too worried about durability and if I need to make more next year, I will gladly do so. This was fun and easy and only took a couple of hours.

I only show five of the rings above as the others were all still drying. I only made a few to start to be sure I liked how they turned out. I also used several colors of foam sheets to add a little more color. (I know the insides of the napkin rings will be hidden by the napkins themselves, but they do spend a lot of time on the table with nothing in them after everyone pulls their napkins out.)

Stay tuned for napkins and other table decorations coming soon!

Happy Crafting,

Kristin

paper fold ornament

Christmas Advent 2015 – Day 5 Paper Ornament

Ha Ha! I got both my projects finished today! My project for day 5 is an ornament (Styrofoam base) that I covered with strips of red and green paper, then finished off with some wired silver/multicolor mini-garland.

Materials:

  • Styrofoam ball (3″)
  • Sequins
  • Sequin pins
  • Scrapbook paper
  • Paper cutter
  • Silver/multicolor wired mini-garland (trim ribbon)
  • Small piece of wire
  • Super glue

paper fold ornament

I took the small piece of wire and formed a loop at one end. I stuck the other end through one sequin then stuck the wire into the Styrofoam ball. Then using the super glue, I glued it securely. This gave me somewhere to safe to attach my tree hook at the top of the ball.

My next step was to cut lots of 1/4″ by 2″ strips of green and red paper. In reality, I only used 2″ x 10″ pieces of paper in each color and cut them all into my 1/4″ strips. I then folded these strips in half. I grabbed a sequin pin, put a silver sequin on and then attached the folded paper to the ball with the pin/sequin.

I did seven rows of these, with no particular spacing, just what I thought looked good, and covered about 2/3 of the ball, leaving the top uncovered. Lastly, I took the silver/multicolor wired mini-garland (trim ribbon) and pinned it to the ball in circles to cover the rest of the ball.

Since I had already put in the wire loop for the hook, all I needed to do was add a green tree hook and I was done!

paper fold ornament

I like this one and ended up curling the ends of the paper strips to give the ornament more depth. I think it looks like a Christmas acorn.

Happy crafting,

Kristin

Ribbon garland

Christmas Advent 2015 – Day 4 Ribbon Garland Finished!

Hey all! So, my SO and I went out for breakfast and then made a run to Joann’s this morning and I got the rest of the ribbon I needed to finish the ribbon garland. Of course, I go too much, so do not be surprised to see the ribbon in another project before this year’s advent is finished.

Materials:

  • Gold bead garland
  • Lots of ribbon
  • Scissors

Ribbon garland

In theory, this is an easy project as long as you have the time. It took me two days working about 10 hours total to finish 13 1/2′. I used a gold bead garland and tied 4″ strips of ribbon between each bead. My total yardage of ribbon was approximately 90 yards.

Close up of ribbon garland

You can see from the image above that I tied two pieces of 6″ ribbon between each bead. I am very happy with the result. It is going to look great on the Christmas tree. The start of this post (from yesterday) is here.

Happy Crafting,

Kristin

Three green foam tree ornaments.

Christmas Advent 2015 – Day 3 Foam Tree Ornament

I made it to day 3 of the Christmas countdown! This feels a bit monumental, as we have been absent from craft blogging for so long.

Today, I made little tree ornaments out of foam sheets (Foamies) in various shades of green.

First my materials:

Photo of materials used.
The materials I used to make my foam tree ornament.
  • Small plastic snowflakes
  • Head pins with eyes
  • Jump rings
  • Tiny jingle bells
  • 4 sheets of green Foamie sheets
  • Wire cutters and pliers
  • Pointed yarn darning needle
  • Circle cutter (Thank you Martha Stewert)
  • Superglue (not pictured)

I used my circle cutter to cut out 24 circles of various sizes of green foam from 1″ to 2″ in diameter. I then poked a hole in the center of the plastic snowflakes and the green circles with the darning needle. Using the head pins, I slid on one snowflake, one circle, and another snowflake, twisted a loop and cut the wire. I ended up making 24 of these and then using the jump rings, I strung them together for a total of eight green circles on each ornament. I attached a single jingle bell to the last foam circle with a jump ring to add a little fun and noise.

Lastly, I cut three more circles at 1 1/2″ diameter and cut them in half. I glued these into cones with superglue and then slid another snowflake on a headpin, then poked the headpin through the bottom of the cone, made a loop at the top of the cone and attached an ornament hook. I used another jump ring to attach the cone to the rest of the tree ornament and Voila! I was finished.

Green foam tree ornament.
Pretty green tree ornament.

I am very happy with how these turned out. My one recommendation is to use a circle cutter as cutting these out by hand makes them look very lopsided and wrong. The circle cutter makes them perfect and even.

Three green foam tree ornaments.
Just as easy to make three as it is to make one!

Happy Crafting,

Kristin

Red wreath, completed and hung on my door.

Christmas Advent 2015 – Day 2 Paper Wreath

Day 2, Hurrah!!

I have been making wreaths off and on over the years, but lately, for every season. I love all of the pretty scrapbook papers available and I have such a hard time not investing in every type of paper punch ever made. I have managed very admirably to keep this part of my craft collection to a small box that holds my paper and various cutters.

Materials:

  • Scrapbook paper (heavy and thin)
  • Paper punch
  • Glue
  • Wire
  • Wire cutters

I have this awesome petal paper punch that I have barely used and picked up on clearance some time ago. I needed an excuse to use it. After this project, it has certainly seen some usage. I started by making two green wreaths (I had a LOT of green scrapbook paper). I cut out 1 large circle (about 10″ for the outside diameter) from two pieces of heavy paper, glued them together, made a quick wire hanger that I attached to the circle, and then I started punching out petals. And more petals. And more petals.

First wreath in progress.
First wreath in progress. I made the other two wreaths much wider.

The first wreath I made is pretty thin, and while it looks great, I like wider wreaths better. When I started, I just randomly placed the petals to get a feel for the design. I found that I really liked the way the wreath looked with the petals pointing out on both the inner and outer side of the ring. Above you can see a few, but I had not quite gotten into the swing of placing the petals.

Close up of wreath hanger.
Here you can see my hanger and how I covered it up with petals.

I then found that I needed to cover the wire hanger and built up petals around the wire until I could hide it under yet more petals. You can also see the petals pointing inside and outside the wreath. I just kept layering until you could no longer see the paper ring underneath and until I liked the layout of the petals.

Green wreath, half completed.
Mostly complete wreath, still have to add the outside petals.

Above is the first wider wreath I did, again all in green paper. You can also see the start of hiding the wire hanger. I found it much easier to do all the inner pointing petals, then some of the middle petals, glue on the outer pointing petals, and then finish filling in the middle part of the wreath with the paper petals.

I was using the cut out center piece of the paper ring for my glue. I would pour some out, dip the wider end of the petal into the glue and then place it on the paper ring. In the picture above, you can see my bowl of petals. I punched lots and lots of these.

Green wreath, completed and hung on my door.

The finished green wreath looks great and I was very happy with the outcome. So happy that I immediately set out to make another one in more Christmassy colors, red and green.

Red wreath, completed and hung on my door.

So happy with it!

Happy Crafting,

Kristin

Gold spiky star on our tree!

Christmas Advent 2015 – Day 1 Tree Star

Hello! Kristin here. We are all still around. We had taken a break to work on lots of other projects (houses mostly) and we are back for the holiday advent!

Lynne and I put up our Christmas tree on Sunday and found that it needed a new tree topper. Our previous tree topper was part of our 2011 Christmas event Paper Star Christmas Tree Topper.

We did this project together and we had a great time. Our materials list:

  • Styrofoam ball
  • Heavy wire
  • 10″ Bamboo skewers – package of 100
  • Spray Glue
  • Spray Paint
  • Heavy bamboo skewer – 1
  • Wire cutters
  • Glitter
  • Green florist tape
  • Wire
  • Tacky glue

Styrofoam ball with wire stuck threw it.

I took the old topper apart and we reused the spiral wire from it and stuck it through the Styrofoam ball. At this point, I was using a lint roller to hold the topper to see what it looked like. This changed very quickly to something else that would actually hold the star up straight while we worked on it.

Styrofoam ball with lots and lots of bamboo skewers stuck through it.
Spiky Styrofoam ball!

We switched to one of Lynne’s weights (painted milk bottle filled with bb’s) to hold the star. A recommendation that we have after having finished the star, once you stick the bamboo skewer in the ball, pull it back out and dab the end in glue (Alene’s Tacky Glue) to hold the skewers in place. Otherwise, you will be picking up and replacing skewers every time you move the star.

We cut around 20-30 skewers in half and the rest in thirds with the wire cutters. When cutting the skewers, slant the wire cutters to make an angle for ease of stabbing into the Styrofoam ball. Also, put the shorter skewers in first and then the longer ones to avoid stabbing your hand or the need for a leather glove. (Always good to learn from someone else’s experience).

Painting the ball and skewers with Copic markers,
Starting the spray paint.

We then started spray painting the star with Lynne’s awesome Copic markers and air compressor to make them work as spray paint. This was long and did not need to be done, and didn’t cover the star nearly as well as we had hoped. We decided that this did not work and bought a $3 bottle of spray paint and sprayed it gold. Worked so much better! Then you spray the star with the spray glue and dust with glitter.

Star spray painted gold and re-glittered.
Spray painted gold!

The ball has been spray painted gold and covered with glitter. Lynne then covered the bottom part of the heavy skewer with green florist tape (matched the tree) to hide the length that goes into the tree and is wired down.

Gold spiky star on our tree!

The topper is now on top of the tree. Lynne and Loryn did this part as I had already driven home after the Thanksgiving break. It is wired to the top of the tree to keep it straight.

Photo of full tree and topper.
Our beautiful tree with all homemade decorations.

Our beautiful tree is now complete! The ornaments and garlands are all homemade and have been previously posted on The CraftySisters. It looks just wonderful!

Happy Crafting,

Kristin

Paper clip snowflakes

121513 001 121513 004

Cheri-I hope everyone is having a wonderful Holiday Season so far.

These are two ornament that I made from paper clips.

Supplies

Large paper clips

Round nose pliers

Grommets

Small gauge wire

Glue

I first started by experimenting  with different paperclip bends.  I knew that I wanted to make a snowflake so I made sure that I would have a way to connect them to each other. After I had a pattern I liked, I began to work on the connection. The grommets worked great for the 2nd snowflake as I had a loop to affix it to. The top one I decided to wire, after I wired it I put a drop of E-6000 on each wire. This stabilized the connection.

Hope you are enjoying our Christmas countdown and again Happy Holildays.


Erector/Steampunk tree

120913 006

Cheri-This tree was very simple and if you have an old Erector Set you can make as many trees as you want.

I adore Erector Sets and when I was little, my brother would build me little doll carriages out of his set.  I thought he was the most awesome brother that ever existed. Too bad he doesn’t have them anymore.

These happen to be some odds and ends that I picked up at a sale, they have the  most amazing patina. I ran screws down the center to create a color contrast.

My only regret is, these were the only ones I found.

I don’t think anyone will need detailed instructions because it really is self explanatory.

Hope you like it. And, you can never have too many odds and ends. Merry Christmas!