Cheri-I cannot believe that it is Christmas Advent already. Time to get back in the swing of ornament making.
In the last few months I have picked up another collection and this is an incredibly cheap one. I have begun to collect envelopes. Not for stamps, or anything like that, I collect them for the inside. the envelopes have amazing graphics that are printed on the inside. They are quite beautiful, and a great source for interesting paper, and I am always looking for a craft to make with is.
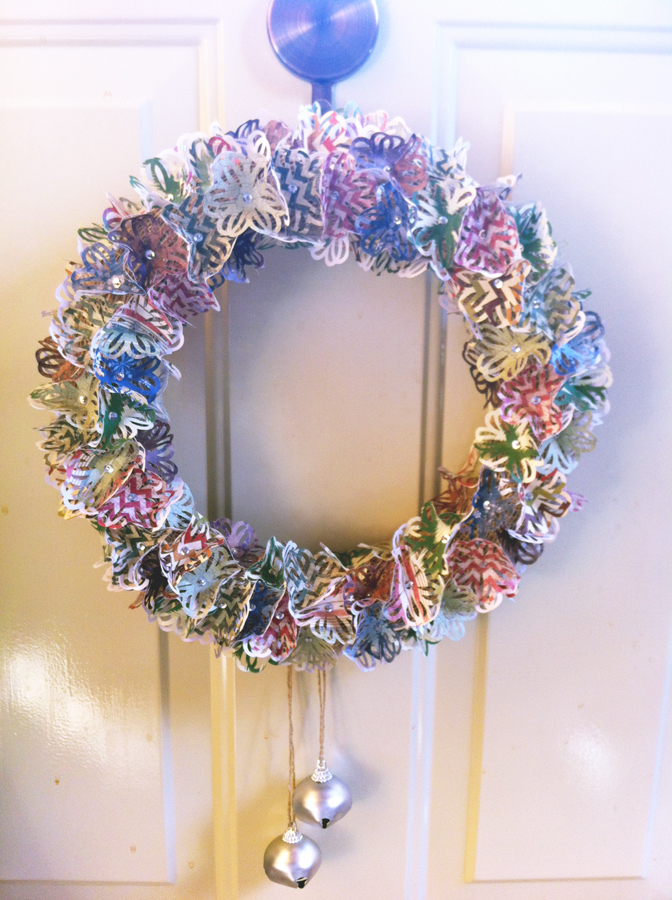
This is where my ornament comes in.
Supplies:
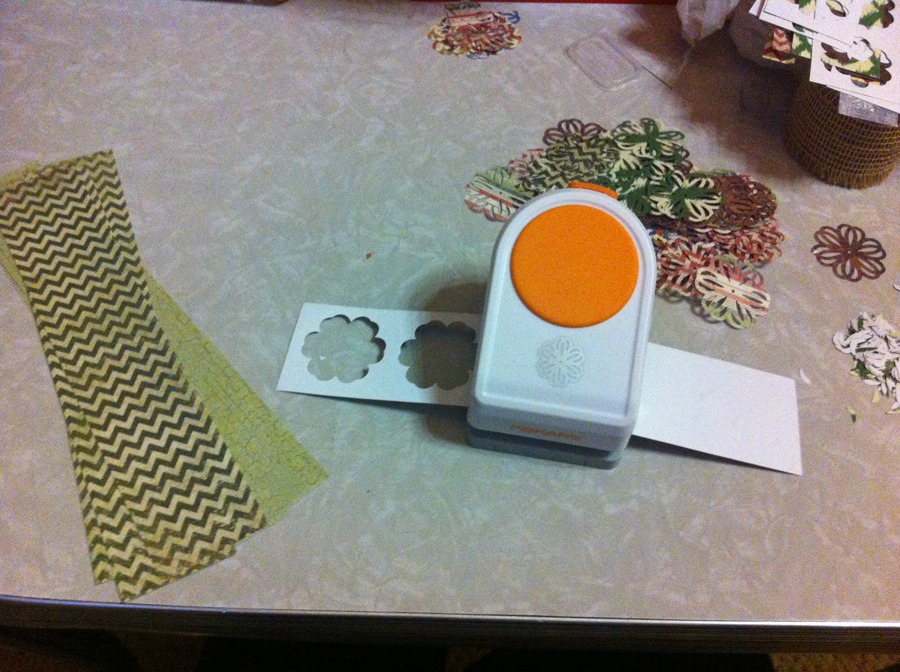
Interesting paper
Scissors
circle template
glue
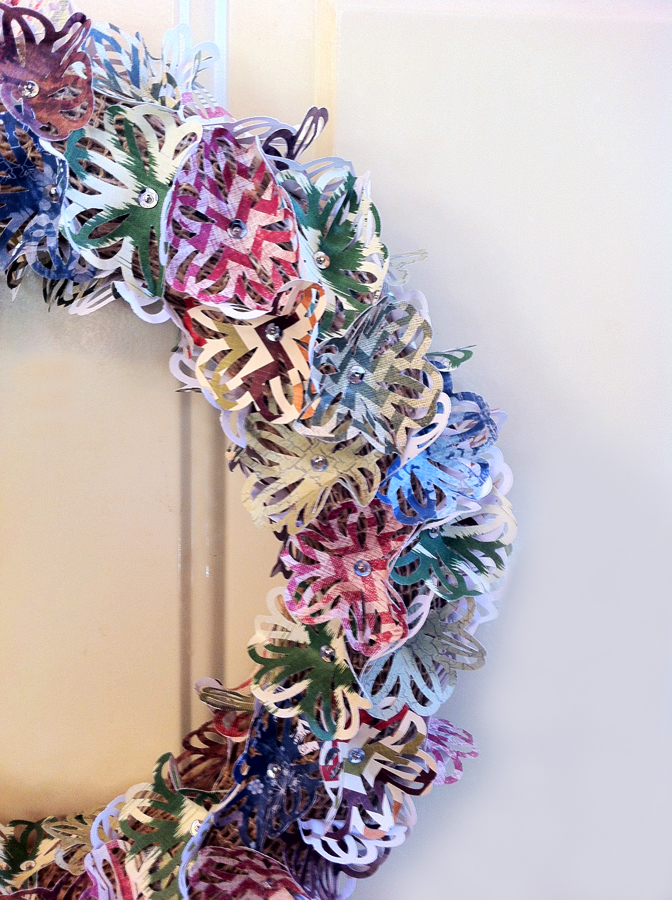
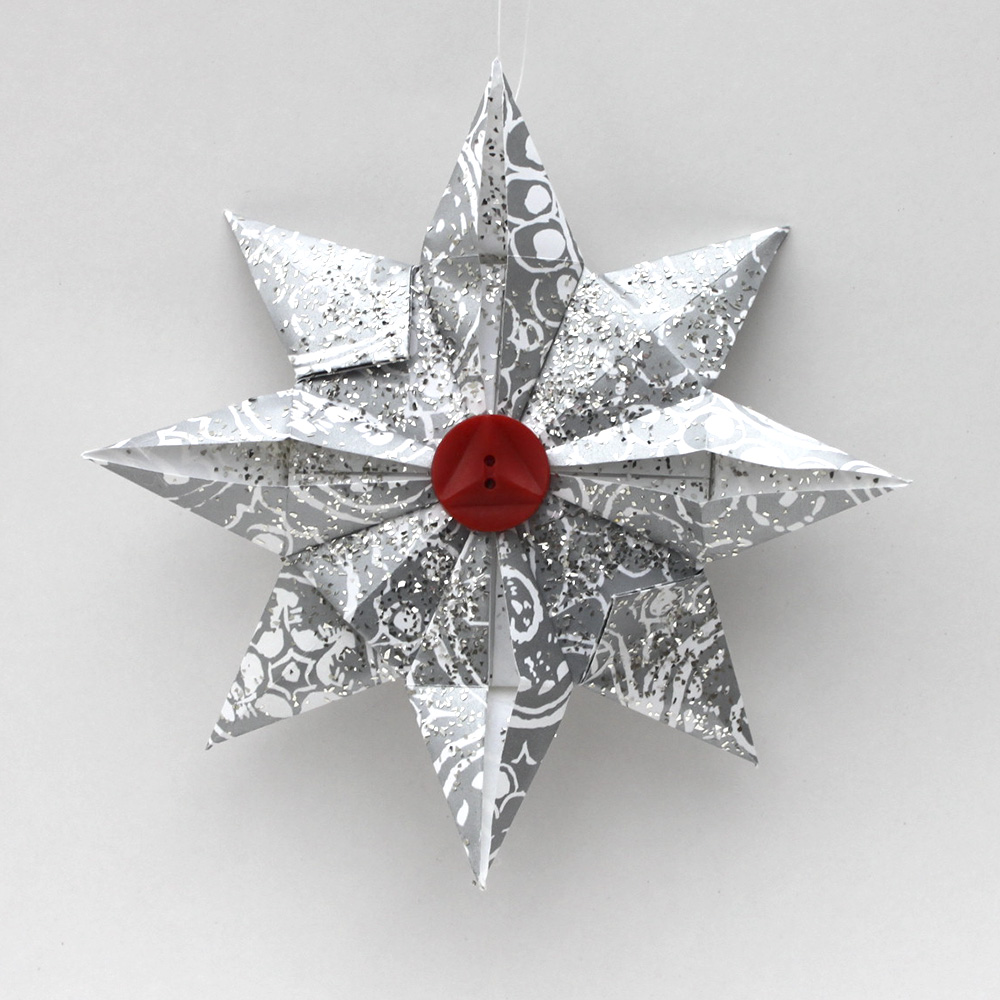
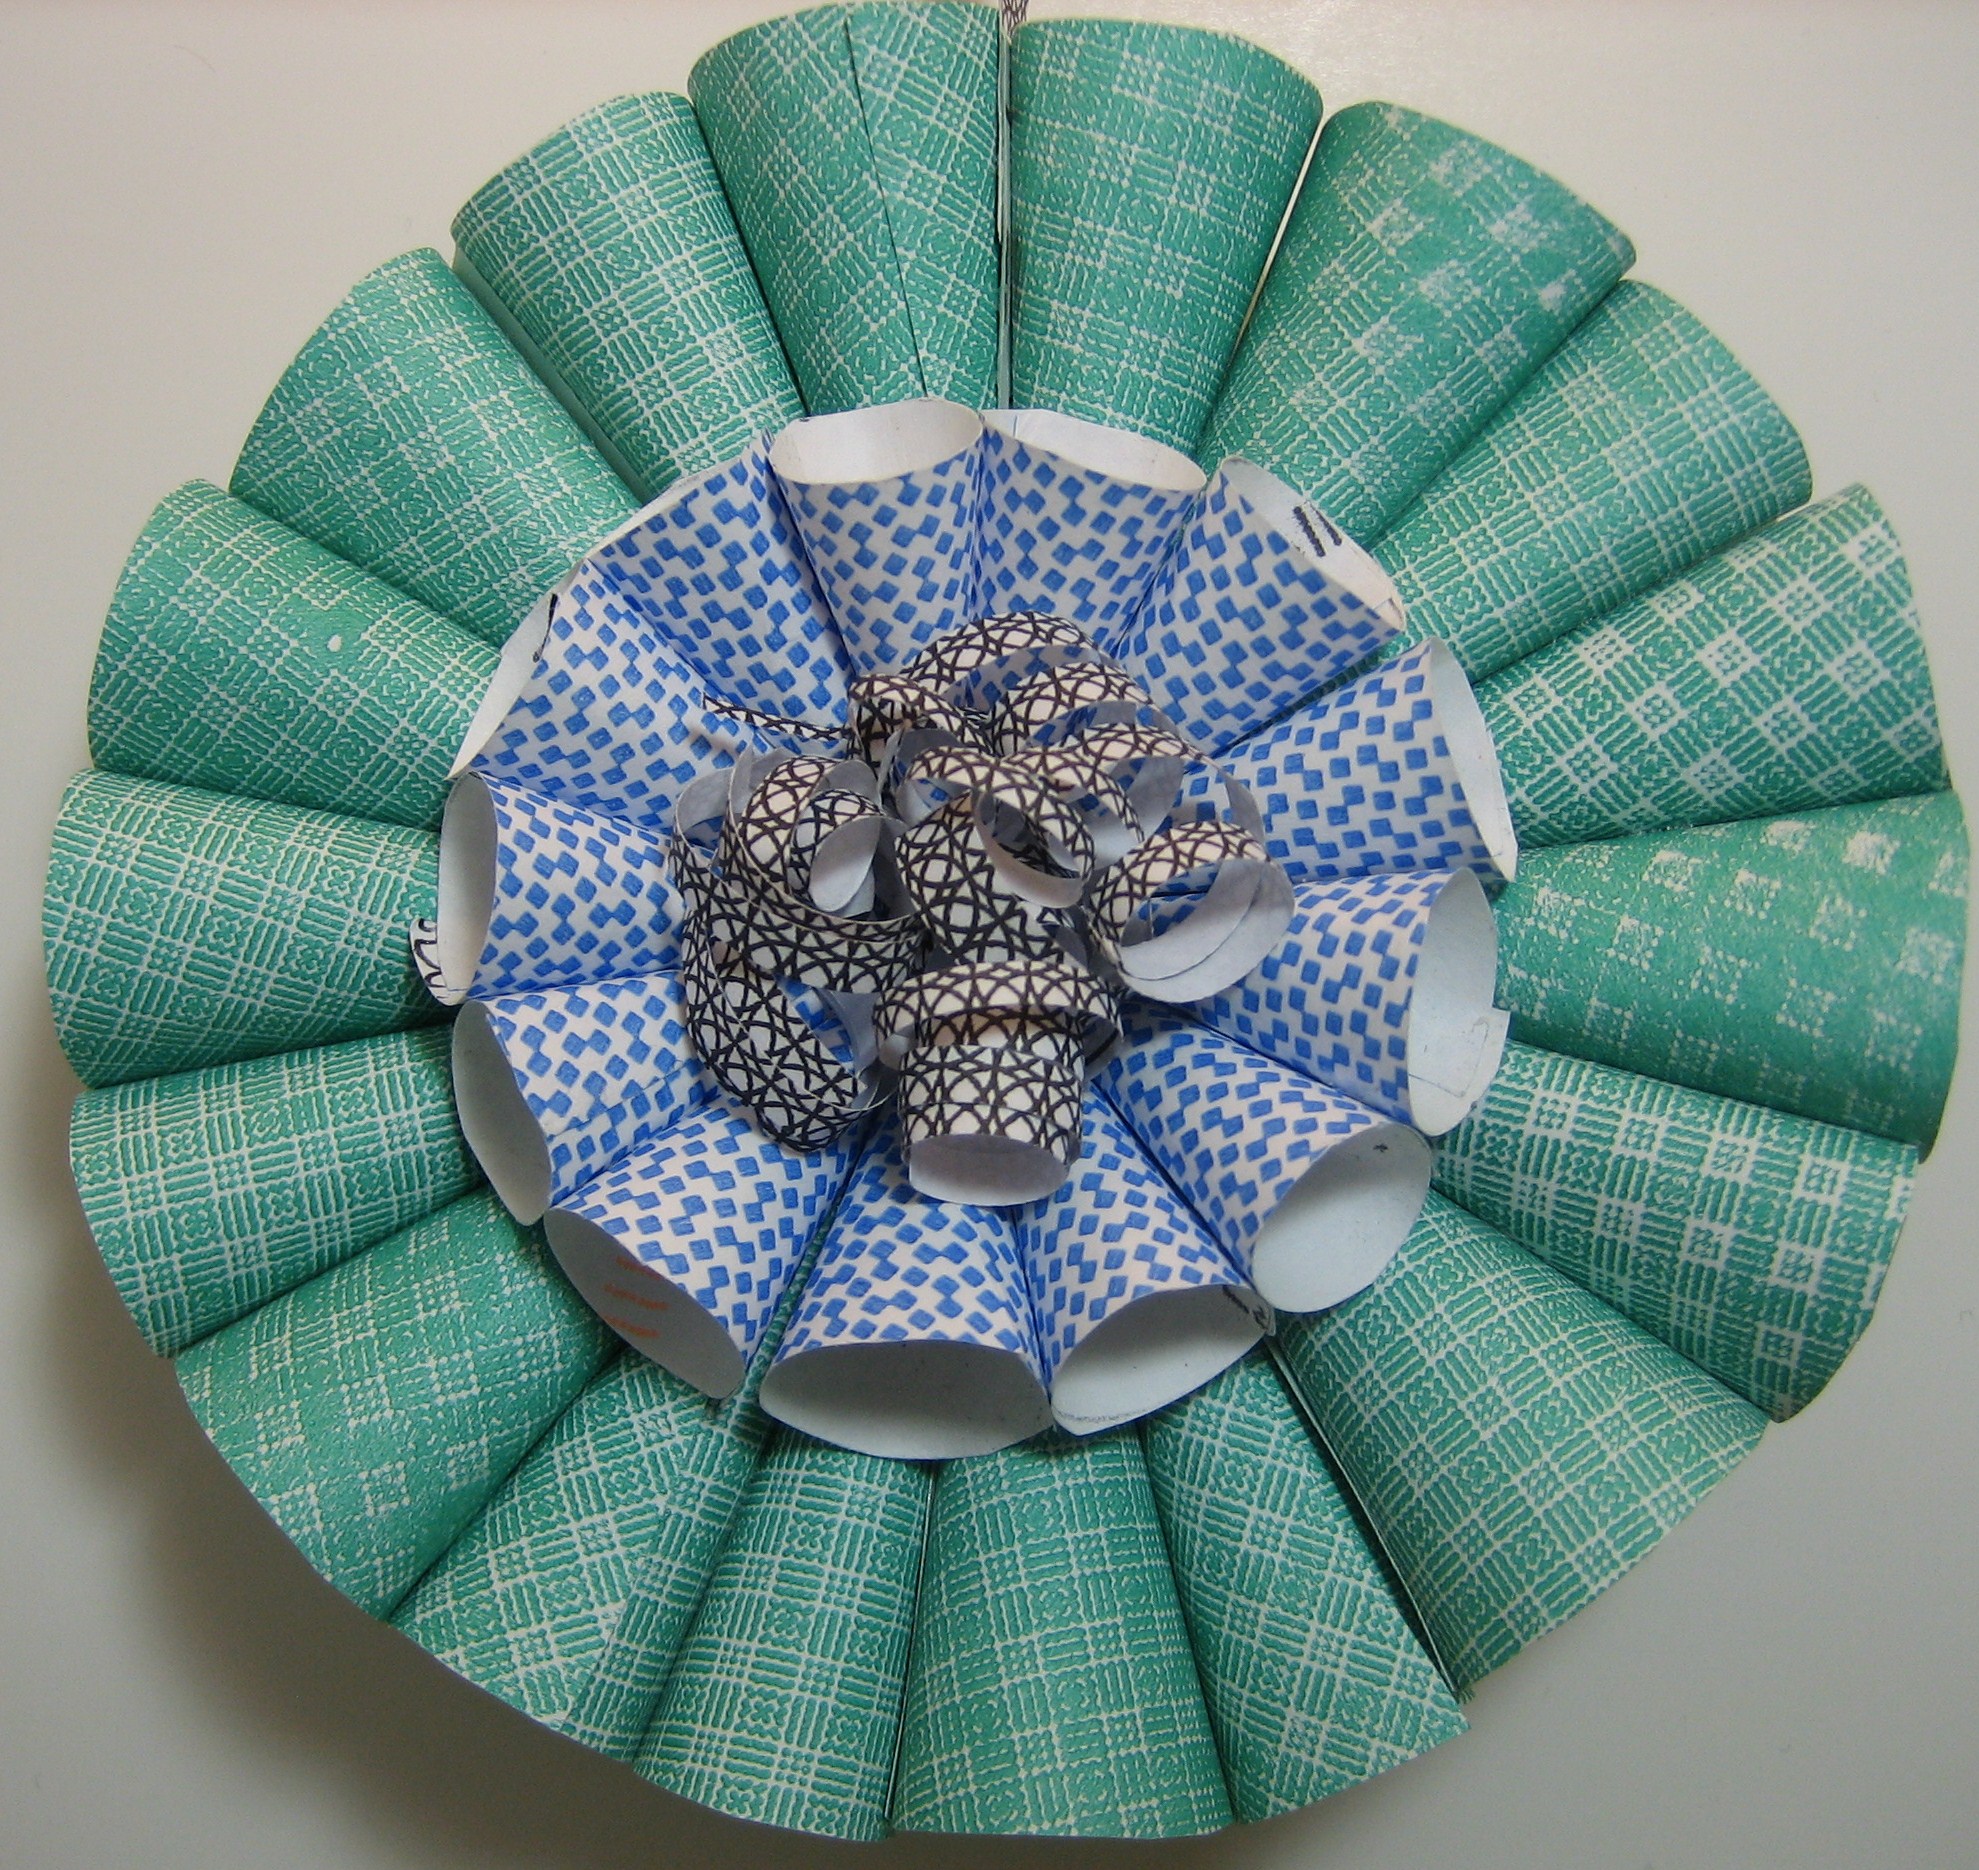
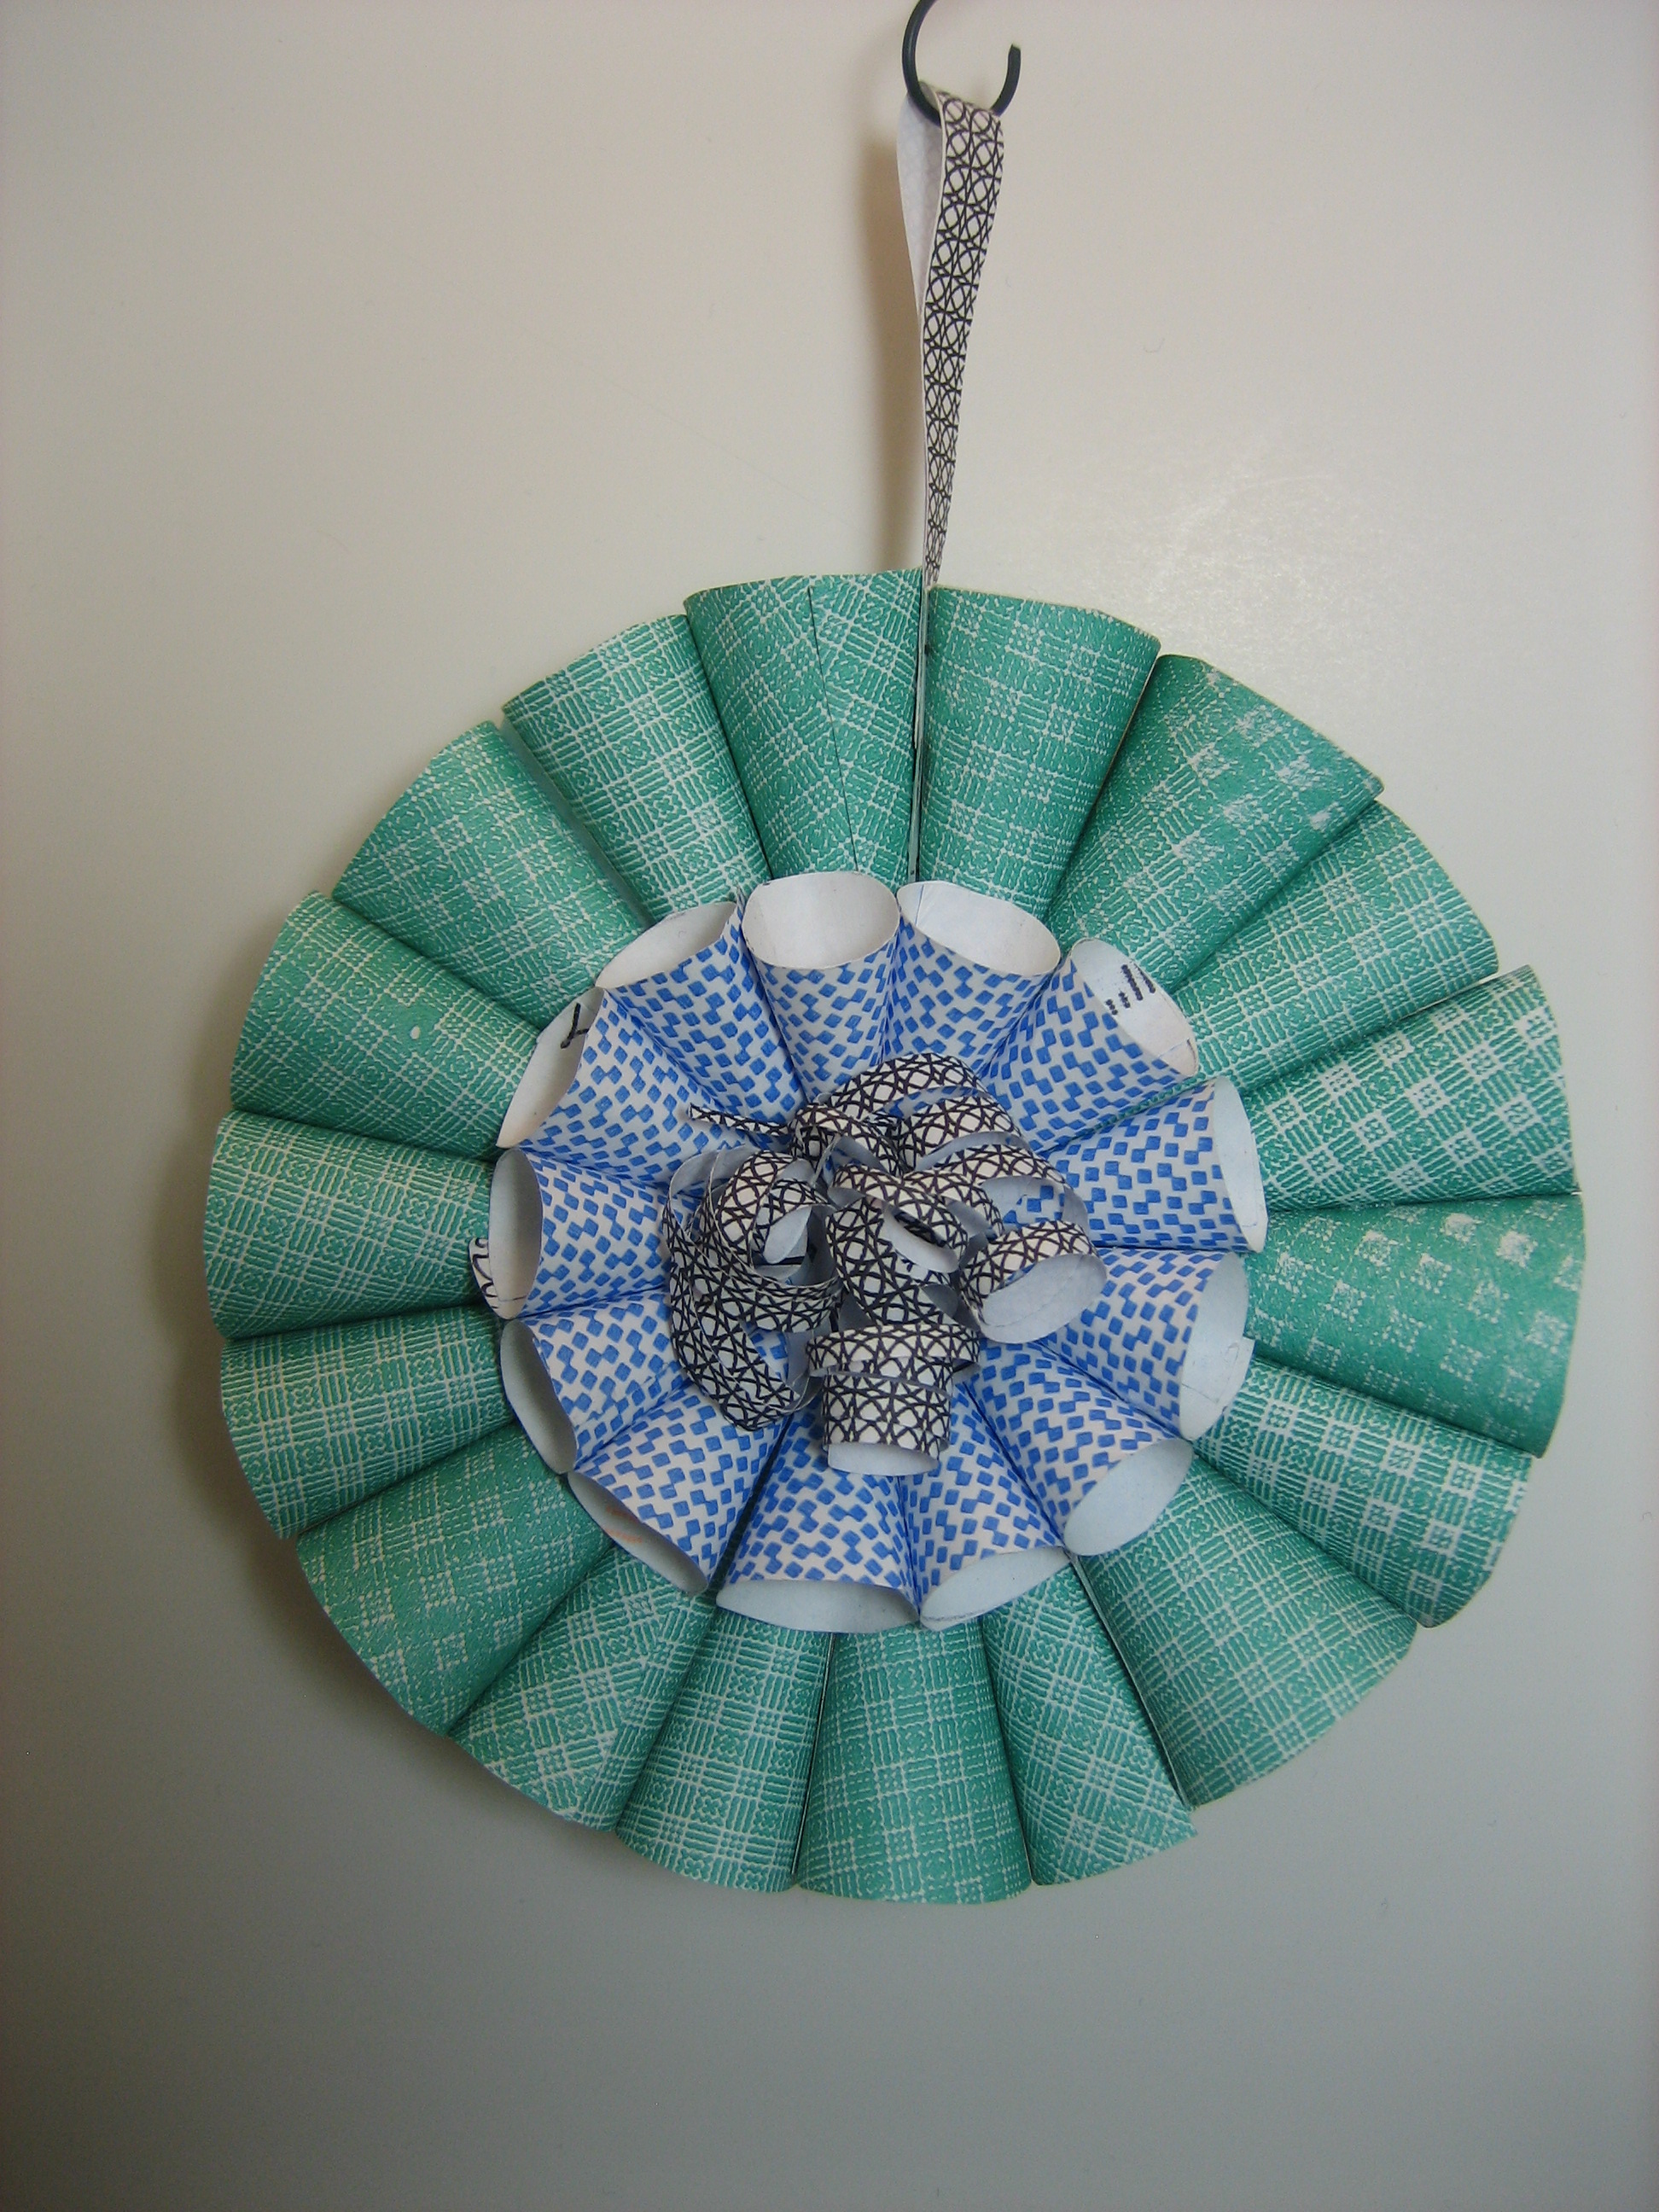
Start by cutting out circles from the patterned paper and cut them into four pieces. Then roll them into a cone and glue the edges together. I made 18 for the outer rosette and 13 for the inner rosette. Glue them together on the edges and form a rosette. Do the same with the smaller circles and put them on both sides. For the inner part of the rosette, I cut small strips from a different envelope and and curled it. There you go. Very easy and cost me nothing to make, but what an impact the pattern makes.
How simple can it be? Hope you like it and if you have any questions make sure to e-mail us.