Christmas Advent Paper Bird Ornaments
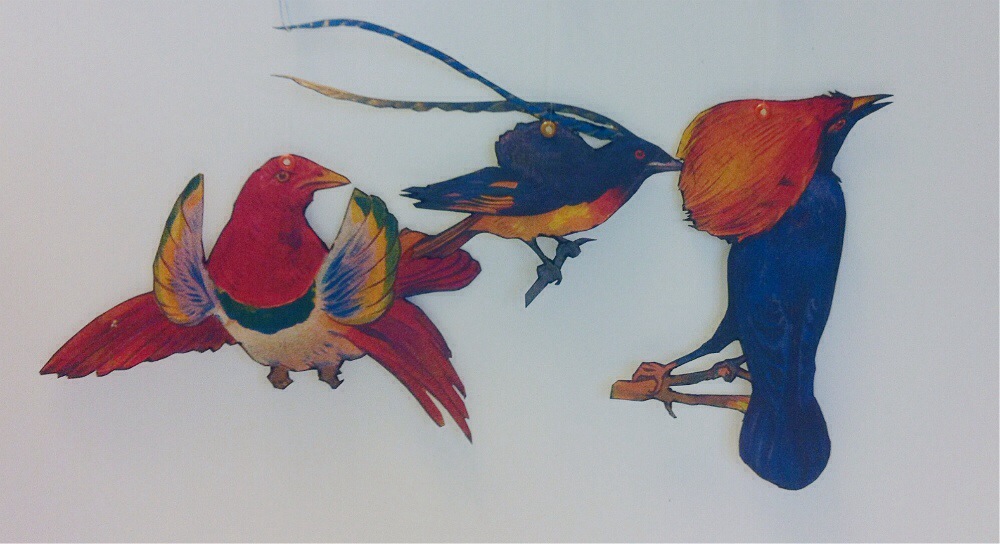
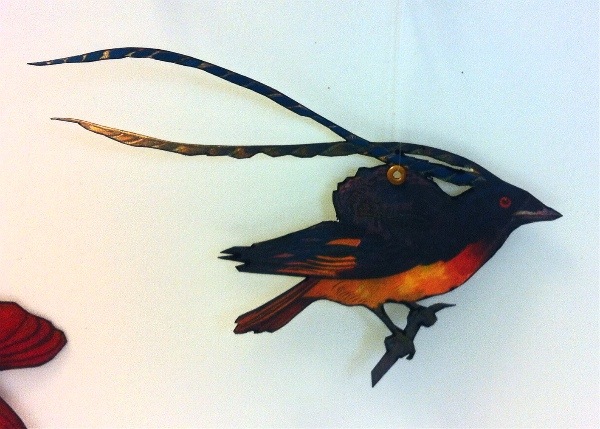
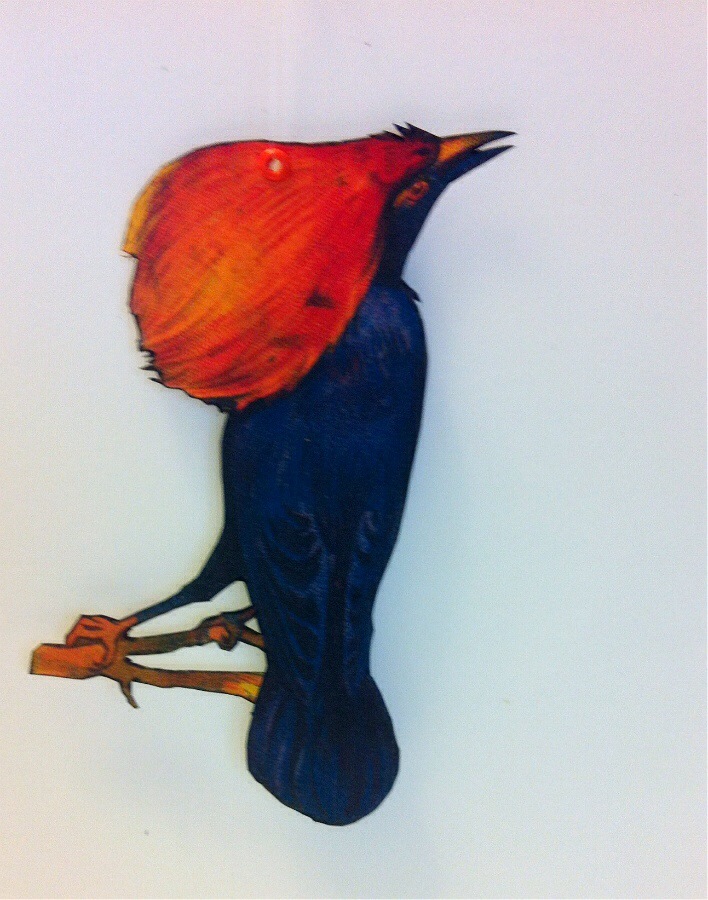
Lynne: I have always liked the old-fashioned glass bird ornaments with the real tail feathers, and for my third ornament of the season I thought I would like to do something with birds.
A couple of years ago my sister, Cheri, found an illustrated ABC book of birds published in 1916 and I was so awestruck by the illustrations, she gave the book to me. After a search online I found this tutorial for making paper bird ornaments:
Bird Ornaments from Country Living
I scanned my ABC book’s pages into Photoshop, sharpened and brightened the images and then printed them onto card stock.
I cut each one out with small scissors and an x-acto knife being careful to preserve as many details as possible. The edges were white and a little ragged from the cuts so I ran a black Sharpie around the edges to hide the white and to outline the shape of the bird.
I put a small grommet in the top of the bird and used fishing line for a hanger. I like fishing line because it is nearly invisible when an ornament is hung.
The ornament was so light weight, it floated oddly in the air and did not sit in its space properly. I have a plastic jug full of old curtain weights and I taped one weight to the back of each figure. Now they move as they should. I thought about sealing the birds with Mod Podge, but I liked the old worn patina they have. I can make more if these wear out or are damaged.
These ornaments were not too hard and I like that they can be used after the holidays. I’m going to replace the curtain weights with a piece of magnetic strip and put them on my refrigerator.
Have a happy ornament-making holiday.

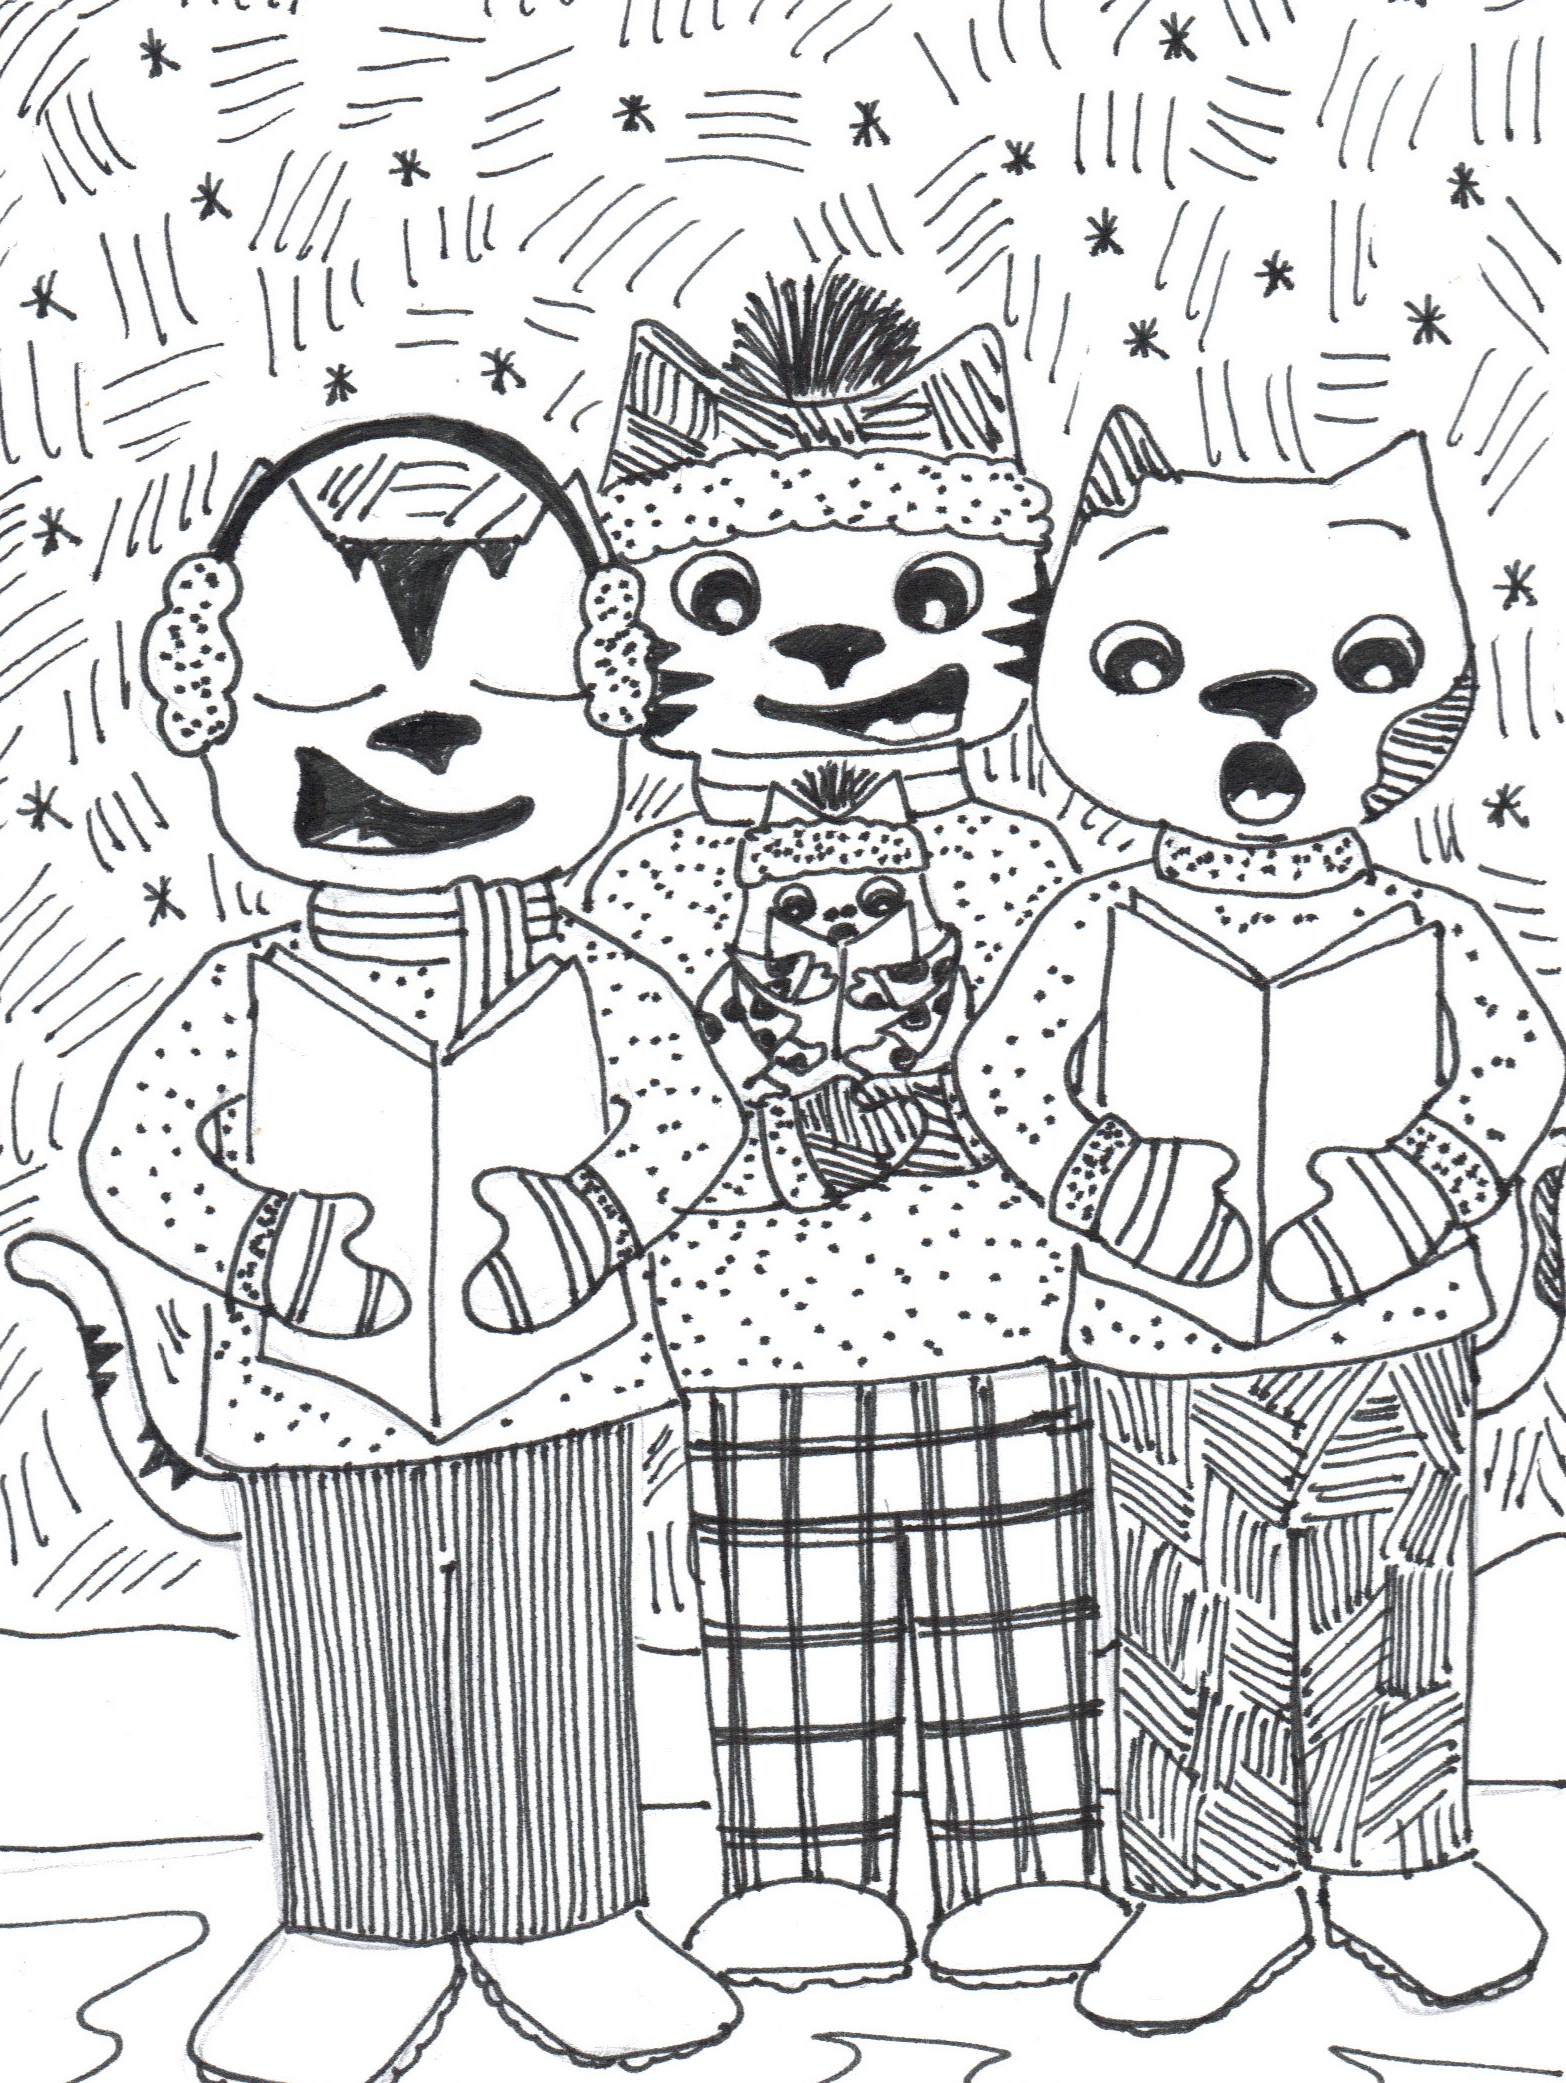
Feeding the birds. What a cat!

Erector/Steampunk tree

Cheri-This tree was very simple and if you have an old Erector Set you can make as many trees as you want.
I adore Erector Sets and when I was little, my brother would build me little doll carriages out of his set. I thought he was the most awesome brother that ever existed. Too bad he doesn’t have them anymore.
These happen to be some odds and ends that I picked up at a sale, they have the most amazing patina. I ran screws down the center to create a color contrast.
My only regret is, these were the only ones I found.
I don’t think anyone will need detailed instructions because it really is self explanatory.
Hope you like it. And, you can never have too many odds and ends. Merry Christmas!
What it looks like behind the tree. What a cat!

Finally finished. That looks very good guys. What a cat!

Christmas Advent: Tree Pendant and Christmas Ball Earrings
I had to make a necklace and earring set for myself for Christmas this year. I realized that I do not have any holiday jewelry and that just seemed to be a very strange oversight on my part. So, here are my Christmas ball earrings and tree pendant. I am really happy with how they turned out. I did a happy dance!

I used sterling silver 18 gauge wire for the tree and ball shapes, 26 gauge for the garlands, and 21 gauge for the ear wires. I have some really pretty glass red florets, glass green diamond shapes, and silver delicas that I used to make the garlands.

The pendant was a lot of fun to make. I just used a pair of flat-nose pliers to make the shape, bending it until I liked the general style.

I just love the Christmas ball earrings. I did hammer the 18-gauge wire after I made the ball shapes.
I am so happy with how these turned out and will be wearing them to work tomorrow (probably every other day until Christmas too).
Happy Crafting,
Kristin
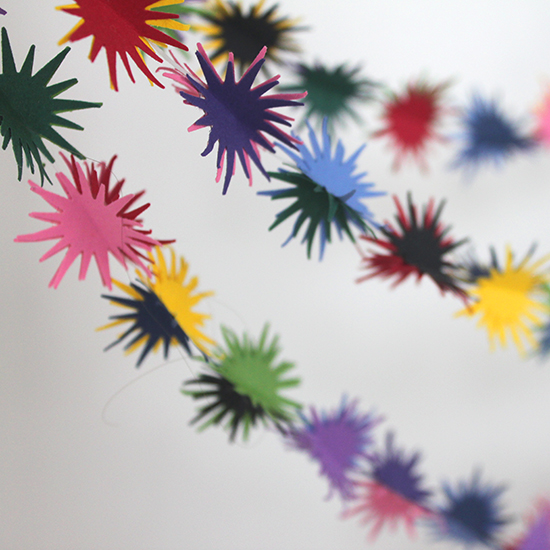
Easy Scrapbook Paper Star Garland

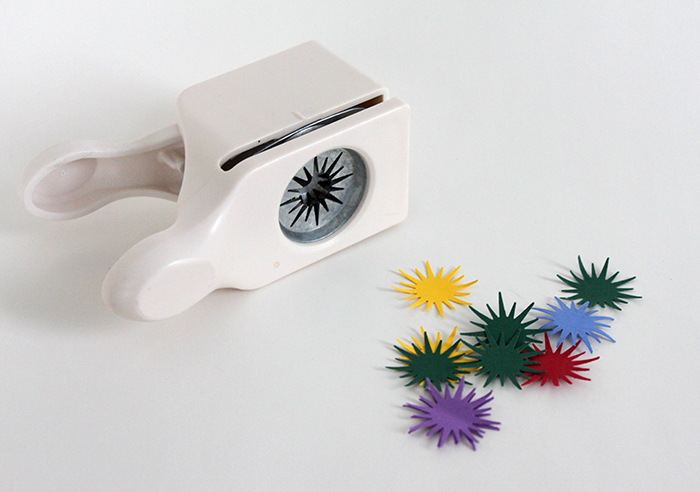
Loryn: This scrapbook paper garland is so easy to make! All you need is a few sheets of paper, a star-shaped punch, glue, and fishing line, nylon thread, or any other white/clear cord to glue your paper to (even dental floss if you’re crafting late at night and grab the first thing you can find!).
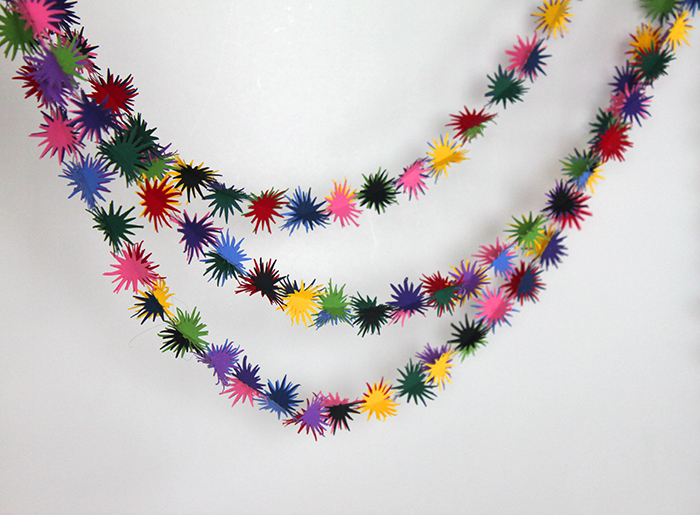
The first step is to cut stars out with your punch.
Then fold two in half and glue the halves together. For this garland, I used two pieces of the same color and an accent for each bauble.

Then put your thread or fishing line into the fold and glue the third star onto the first two. That’s it! Just repeat to make the garland as long as you want. I don’t know how many stars I used for this. A lot!
— Loryn
The Crazy Catz’ Lady. I am sure this is what my cats do while I am at work.


Christmas Ornament Advent Countdown


Lynne : This is my second ornament for our 2013 countdown. I am in love with trees right now and have been drawing them over and over so it seemed natural to find an ornament that looked like a tree. I was browsing through google images and I found this article from Just Something I Made by Cathe Holden about how to make bottle brush trees. Since I do not have much need for bottle brushes any more I was delighted to find that she uses rope and wire for her trees and shapes them with scissors. And as a bonus I could use my Copic airbrush system to color the trees.
Cathe Holden website:
Just Something I Made by Cathe Holden
Here is the tutorial:
Handmade Colorful Bottle Brush Trees
You will need these things:
Wire
Wire cutters
Rope (sisal, jute, or any twisted fiber)
Drill
Hook (shaped from a wire coat hanger or from a small S-hook)
Vise (or something that will hold the wires securely when twisting them with the drill)
Pliers
Copic airbrush (optional)
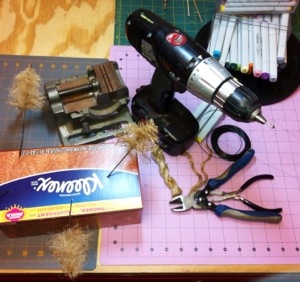
I already had some jute, but when I untwisted the fibers I thought they were too fuzzy and too fragile. I made a trip to the hardware store and found some thick rope that is used on farms. (I remember swinging on the hay ropes as a child. When my grandparents weren’t looking of course.) I cut my rope into lengths of 3 to 4 inches and then began to untwist the fibers. When I had an amount that looked like it would make a full Christmas tree I laid the fiber between the wires as described in the tutorial. It is so nice that you can make two at once by cutting on the diagonal.
I didn’t have a wire coat hanger to make into a hook for the drill because I don’t like the sound they make rattling in the closet. So I took an S-hook and straightened one end so that it would fit into the drill. You can see it in the drill in the photo. I put the wire ends in my vise and inserted the hook in the top of the wire and the wire began to spiral just like it was supposed to. I noticed that the fiber also tangles and you do need to spend some time straightening and combing the fibers to approximate the shape of your tree. Then I used small scissors to cut the final shape. It’s best to do this over something you can throw away because the fibers are very small and sticklish.
When I had the shape I wanted I looked for something to hold them while I spray painted them and found an empty Kleenex box. The wires poked in easily and the setup worked, but I think I’d rather have had a piece of styrofoam. I’m sure we’ll have some after unwrapping presents and I intend to save a piece for a painting stand.
To color the trees I used mostly blues and yellows and finished with a dark green. I start with the lightest yellow and spray the whole tree. Then I concentrate yellow on the ends of the branches using what yellows look good on the fibers. I then use blues from the lightest to the darkest making sure that the lightest yellows remain as free as possible of the blues. The yellows and blues make a lovely variety of shades of green as they are sprayed one on top of the other. I use a dark green to deepen the shadows between the branches to create more depth in the tree. I touch up the yellow and the tree is almost done.
I bent the stem wire with pliers into an X-shape for the bases, but you could use cork or wood or just about anything for a base.
These trees look so good and once you have everything laid out, they work up very quickly. I hope you have as much fun making them as I did.
