Crafty Challenge Two: Wire and O Rings Necklace

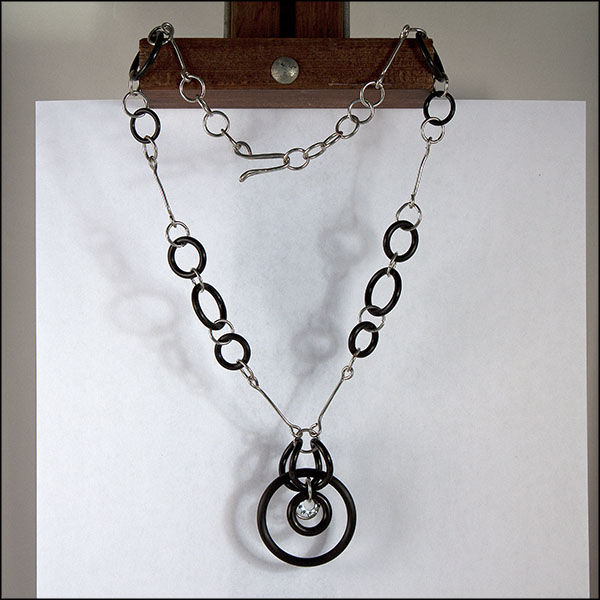
"O" Ring Necklace
A study in black and silver.

-Cheri: Craft challenge 2 was a blast. The $5.00 limit adds an interesting twist to the challenge. But I wasn’t too worried about it. Here in Logansport we have a really cool old hardware store. I think they have some of the same merchandise that they had when they opened maybe 60 odd years ago. I spent a good hour pouring over the store, opening drawers and looking in all the little nooks and crannies.

I had so many ideas I knew I was going to have a hard time congealing them into one piece. I have a tendency to overdo things so I decided I was going to get a few items and work with them for a little bit to see what I could come up with. I picked up a variety pack of O rings, a retaining ring, a spring, a small flange washer and wire. I have spent probably the last 20 years making things with wire so I was pretty sure if all else failed, I would be able to make something with the wire.

I divided the O rings up into sizes and worked with the large ones to see what I could make. I eventually hit upon the idea of twisting the circles to create a centerpiece for a necklace. I made wire links from wrapping the wire around a pencil and cutting them apart, and formed the longer pieces of wire by making a loop on each end. I was thrilled with the outcome and I think that the hardware store may become one of my favorite places to go for jewelry supplies.
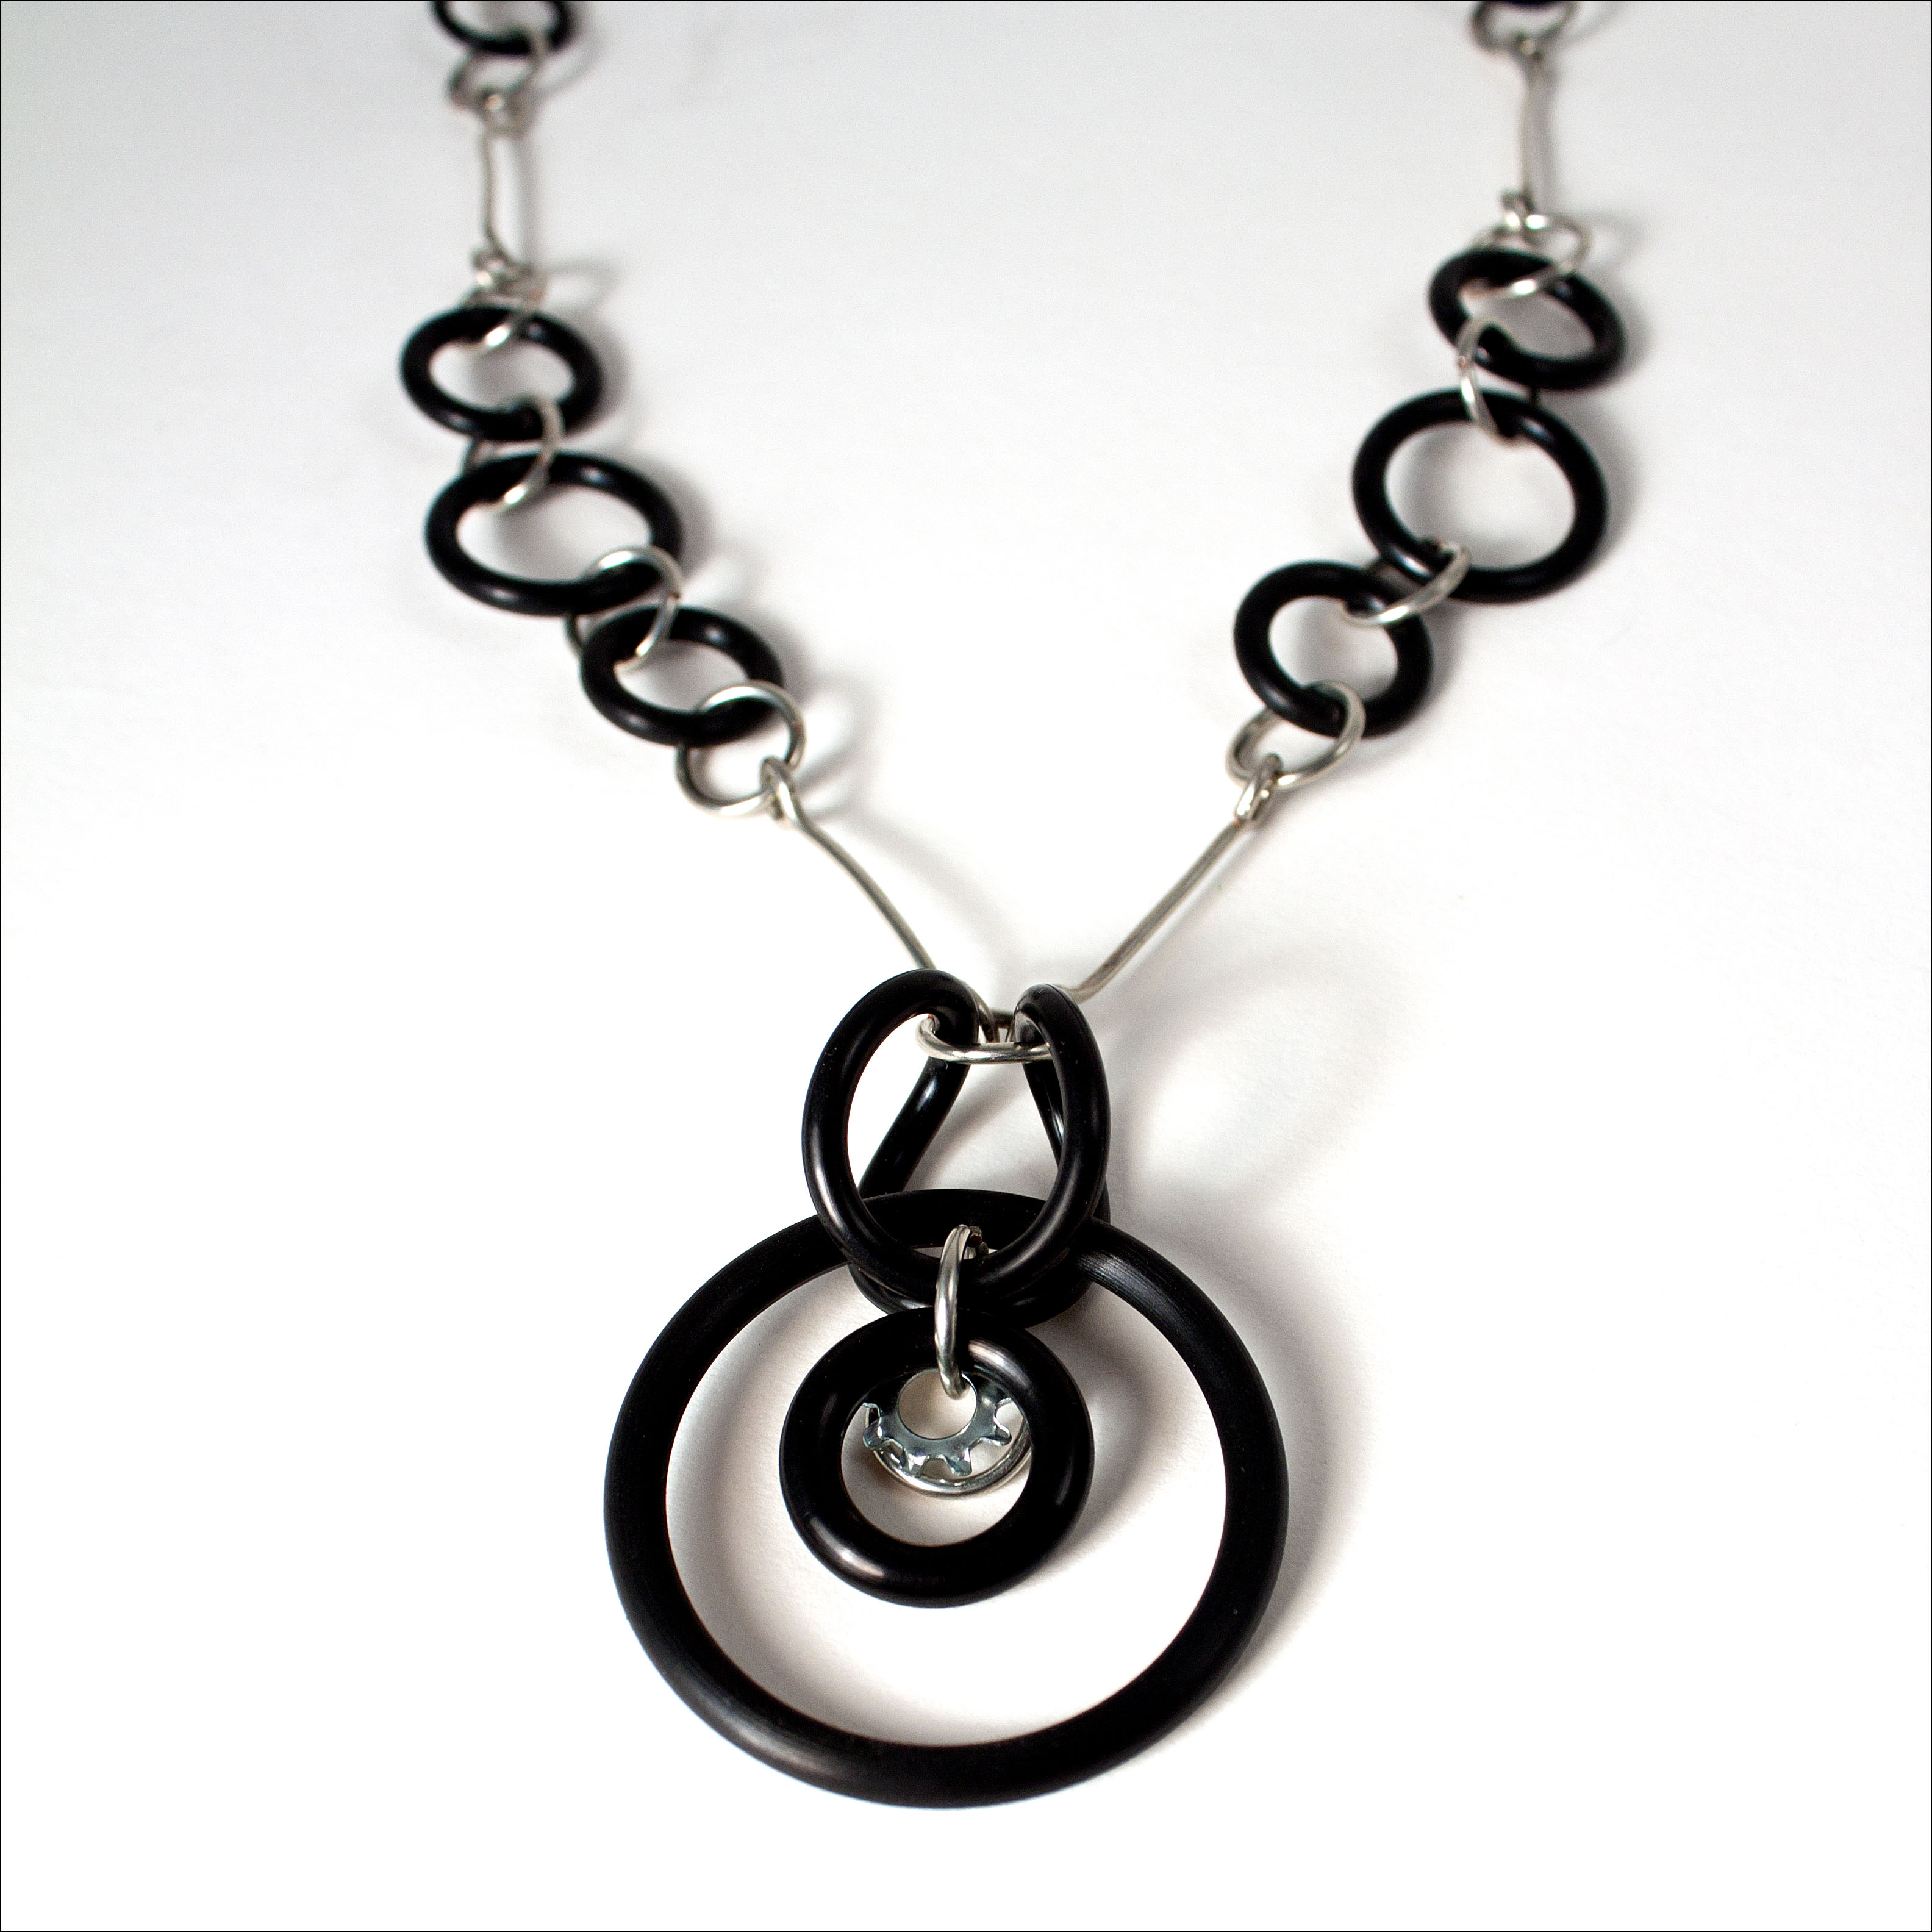
Wire and O Ring Necklace
The twisted O ring loop supports the two pendant loops.

Crafty Challenge Two: Furnace Filter Shade


Furnace Filter Lampshade

Loryn: I’ve been obsessed with lamps and lampshades for a long time, so I went into the $5 challenge thinking about a shade for my upstairs hallway, which just had a bare bulb. I looked at a lot of different materials, and the minute I saw the furnace filters, I knew I’d found the perfect item. I bought a blue fiberglass filter with sheet metal, punched with holes, on both sides. It took some time to pull the paper border off. Once I tried to roll the shade, I realized that the inside metal piece would have to come off. Luckily, not much glue holds filters together.

Furnace Filter Lampshade
It makes the hallway very blue!

Once I got the filter prepared, I needed a structure. Normally, I use premade lampshade rings, but the hardware store had nothing similar. I finally settled on metal strapping to create a frame at the top and bottom of the shade. I wrapped the filter over it twice at the top and bottom to hold the strapping in place.

The hardest part was finishing the seam where the strapping frame and filter edges came together. I really, really needed glue, but I only had 54 cents left in my budget. Finally, I used a piece of the metal mesh that I had removed to twist around the metal on each side. It holds it together, but it is sloppy.

Furnace Filter Lampshade
The seam

To hang the shade from the ceiling, I used three short pieces of strapping, held to the ceiling with nails. The hardware store sells nails by the pound, and they looked at me very strangely when I bought five nails!

Furnace Filter Lampshade
Metal strapping hanging brackets

The furnace filter was not much fun to work with. The fine sheet metal cut my hands up, and the fiberglass fibers could work through leather gloves. I love the way the material looks in the light, though, so I may try working with it again, eventually.

Furnace Filter Lampshade
The filter is very blue!

Overall, this was a fun challenge that made me look at a lot of materials in a new way. I am not really happy with my finished product, because I needed glue and lampshade rings to finish the project to my usual standard. I love all the ideas that I got — the strapping could make a nice trivet, and the leftover punched metal from the filter will make a great stencil. I also had many ideas for hardware store materials that will show up here on the blog!

Crafty Challenge Two: Christmas Tree

We have reached the deadline of our second crafty challenge and for those who did see the post or who have forgotten here are our rules. This one was a lot more difficult than I expected it to be and I didn’t think that it would be easy to begin with.

$5 really does not go far in any store. I was a little lucky in that I have a wonderful hometown hardware store called Kleindorfer’s Hardware and Variety Store. Kleindorfer’s has been here for a long time and I don’t know that they update their prices often. All that said, they have the best customer service of any store in the Bloomington area. They are polite, know their stock and how to help even the most confused customer.

My search for a project consisted of me wandering in the store for anything under $2. I wrote in a notebook anything that might be interesting, trying to come up with an idea of what to create. After some trial and error I realized that the hardest part would be how to connect my project together (do you have any idea what glue costs?). Mine is actually held together with friction. and pressure, fancy words for “I stuffed it in there.”

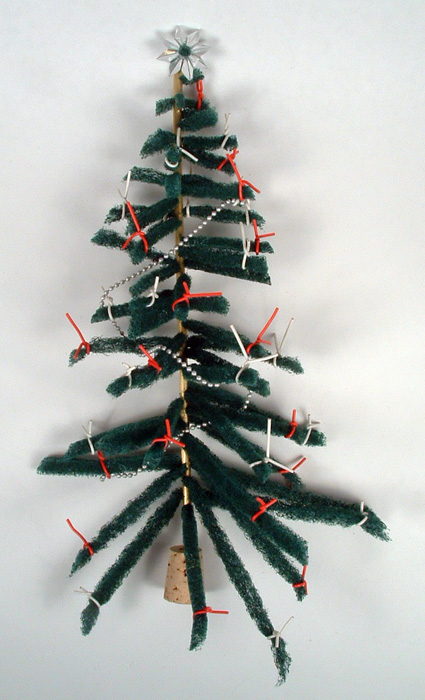
Photo of Christmas tree made from a Scotch Brite scrubbie.
My Christmas tree!

I managed to keep my total purchase to $4.87. I found a small brass tube at the hardware store, held it in a vise and drilled numerous small holes to fit the Scotch Brite branches. The first holes I drilled were way too small, so I went back through and drilled them much bigger which sped up the process incredibly.

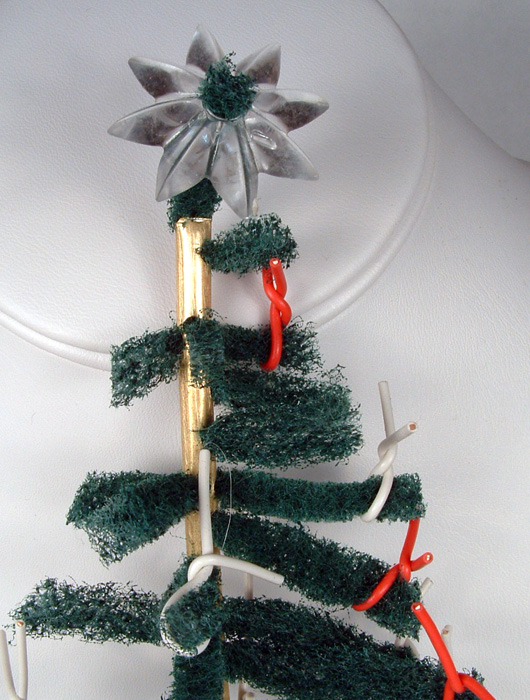
Close-up photo of the star at the top of the tree.
A plastic star for securing paneling to a wall made a perfect tree-topper.
Close-up of cork tree base.
A small cork is the tree stand.
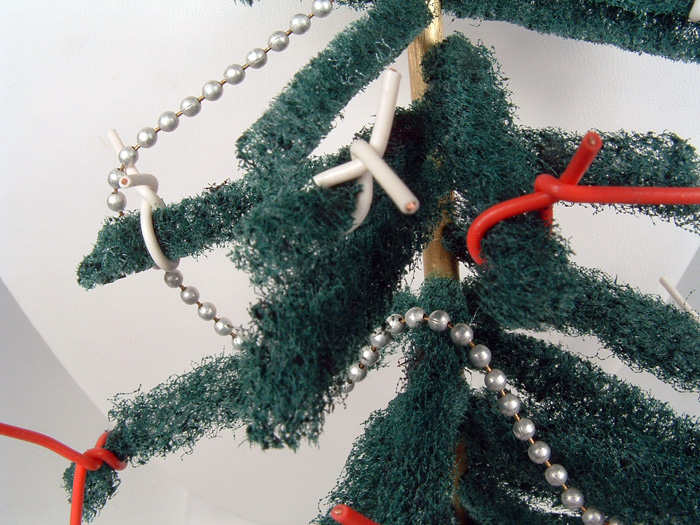
Close-up of ball-chain garland and red/white wire ornaments.
Matte silver ball-chain made an excellent garland and red and white wire made cute ornaments.

I am happy with how the tree turned out. It is amazing how you can come to depend on those regular crafting staples of wire and glue. Having to step away from these made this a very entertaining and imaginative Crafty Challenge.