-Cheri
-Cheri


Lynne: Crafty Challenge 5 was a challenge for me. I don’t believe I have made any Christmas ornaments for several years and it was tough to get my mind back into that red and green groove.
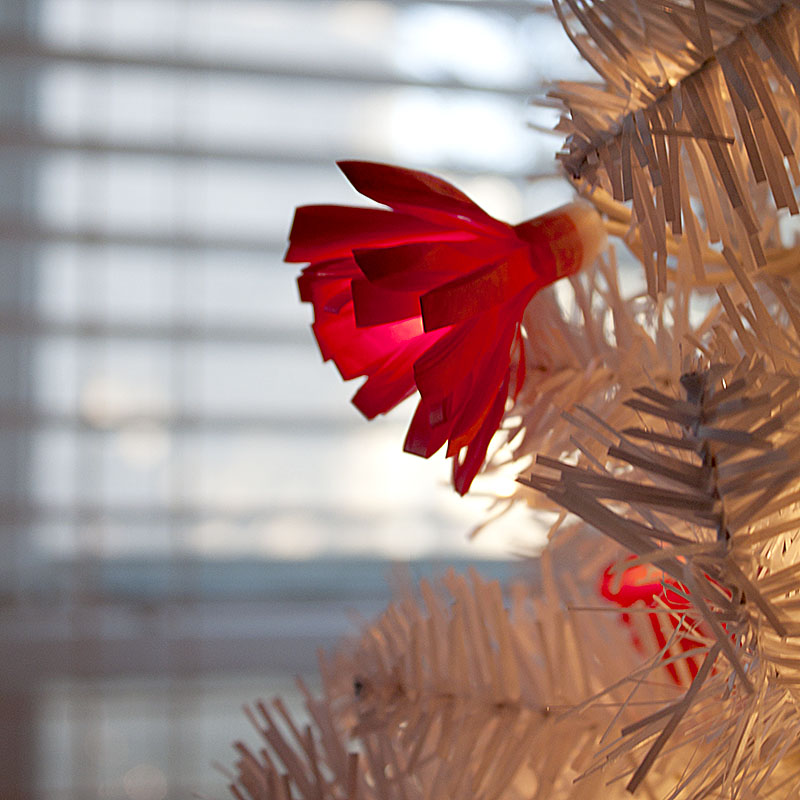
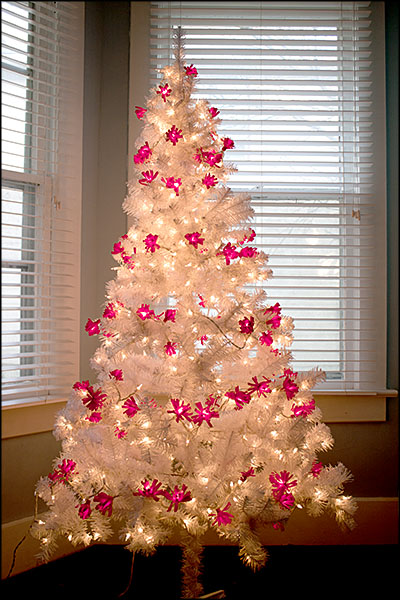
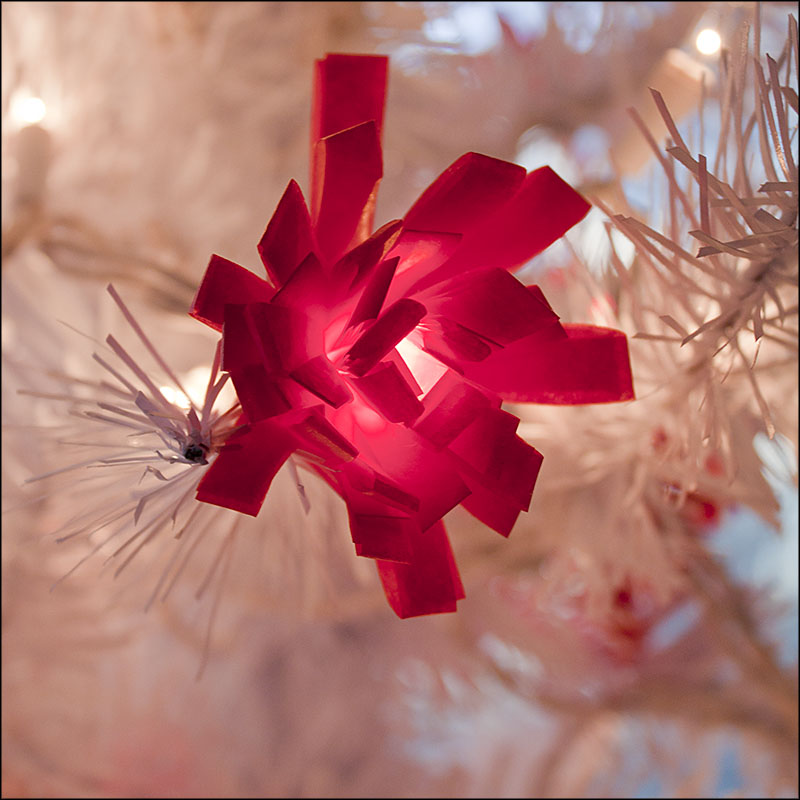
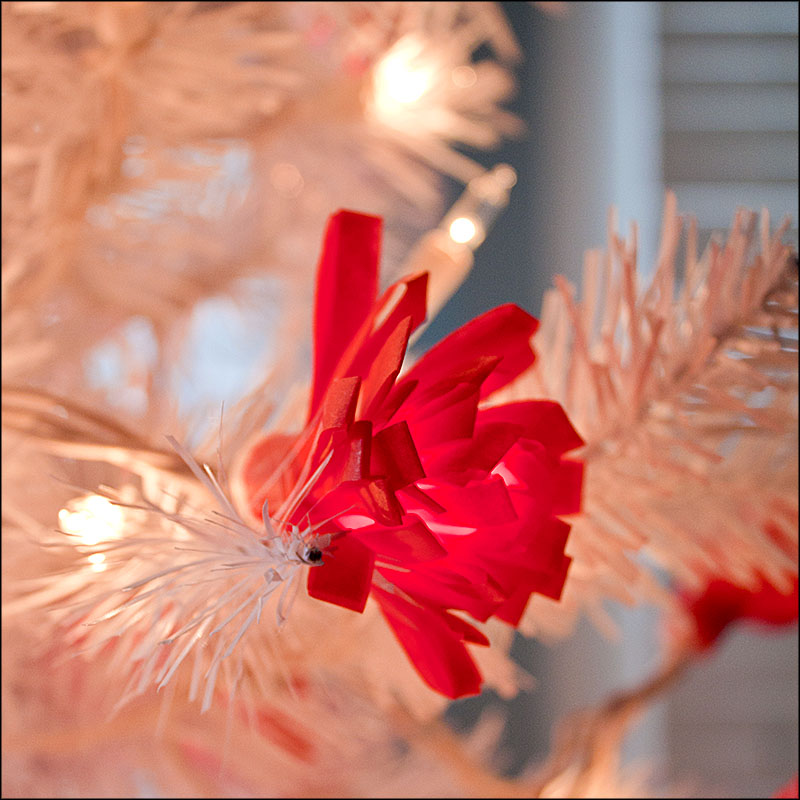
I like long garlands and I like them to be lit. Strings of Christmas tree lights seemed to me to be the best way to start, so I bought a strand of 100 clear Christmas tree lights. I needed the light strand to be decorated and the longer I looked at them the more the bulbs looked like the centers of flowers. Why not put a flower around each light bulb? The flower I made for my Do It Best Purse in the hardware store challenge would be the perfect fit to go around the collars of the light bulbs.
I plugged in my strand of lights for two hours to check on how hot they would get. I could still hold them in my hand at the end of the two hours so I used red tissue paper. However, be safe and turn off your tree lights whenever you leave the house.
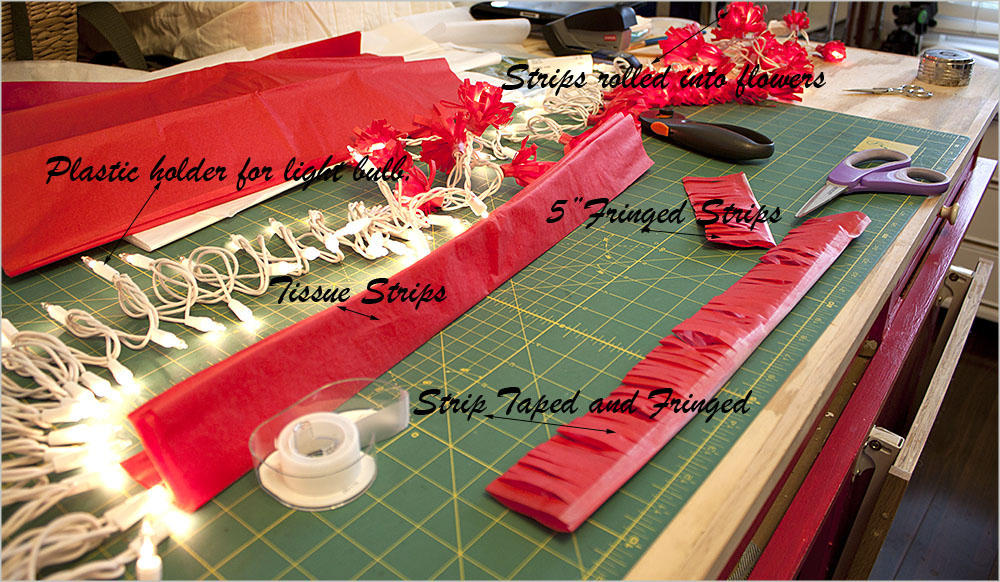
Tissue paper comes folded in its package. When you unfold the paper the creases are good guidelines for cutting the long strips. I cut through all of the layers at the same time, because there was less chance of the sheets slipping while they were still in the original folds. I used a rotary cutter and the resulting strips were about 3″ wide.

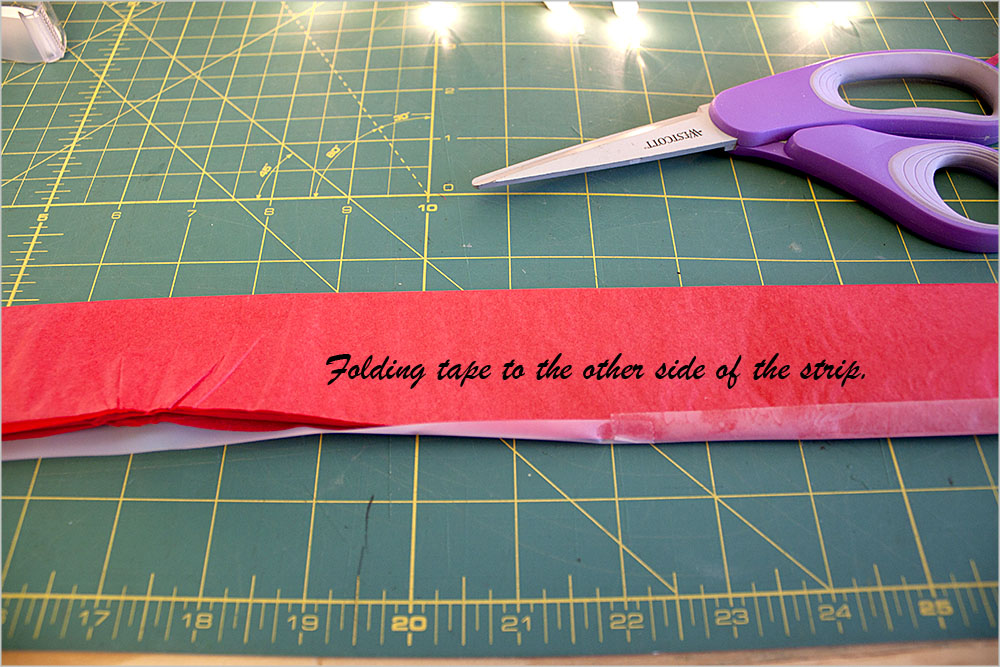
I folded the strip in half and then separated the layers into stacks of two strips each. (The number of layers can vary depending on how thick the paper is and how frilly you want the flowers.) I taped the unfolded edge with scotch tape. I put half the tape on one side then flipped the strip over and folded the tape up onto the other side. Then I used scissors to cut the folded edge of the strip into fringe.


Once you’ve fringed the length of the strip, cut it into 5″ sections. 5 inches worked best for me but you can make the sections longer if you want fuller flowers. Take each 5″ section and roll it around one of the light bulb plastic holders. The holders are plastic and I found that a dab of hot glue when you first start to roll the flower is strong enough to hold the flower in place. Once you have the flower rolled use a piece of tape to keep it closed. I put a flower on every other light bulb and I was just able to finish the garland in two hours.
I liked the results so much that after the challenge was over I made another garland and bought a white Christmas tree to put them on.
I just barely made it under the deadline for my ornament in our countdown. Cheri’s paper snowflakes were amazing!
This particular ornament is for me a sort of homage to some ornaments of my stepfather’s.They were popular in the 70’s to make. We have hung them on our Christmas tree for years and I have always loved them. Here is my version:

I have tons of styrofoam shapes from another craft project that I used to do, temari balls (more on that one later), and used a 6″ egg as my base. I wrapped it in yards and yards of red thread and stitched the thread under other threads to end it. I then followed the steps for marking temari balls. The process is here, under How To, and then Dividing Hints and Help.and is a very easy process to do. This ensures that your pins are all the same distance apart from north to south.

I did have a lot of fun purchasing the sequins and pins. I have never had a project that needed sequins, so now I have a selection if I ever need them in the future. The seed beads were already in my collection.

Happy Holidays from Kristin!
-Cheri

Cheri: I find that a lot of the things I create is because I can’t create something in the usual way. In my perfect world I would be able to make jewelry from silver and have a jewelry bench with a torch, a jewelers saw, and the like. Since I don’t, I have decided to do the next best thing. I create out of what I have.
These rings are similar to how they would be made if I was using a precious metal, only a whole lot easier. The bezels are created by gluing a strip of cardboard into a ring. Then glue the edges of that ring to another piece of cardboard. After it is dry I cut closely around the strip.
I then make a ring band with another strip of cardboard and glue the bezel on to it. I painted the whole piece to give it a patina like finish. After that is dry, I filled the bezel with sparkle glue and covered it with Mod Podge Dimensional Magic.
This was a really fun project and is quite easy. I have to thank Loryn for coming up with the great name of “Tiphony.” I just love the name and it really sums up the whole project.


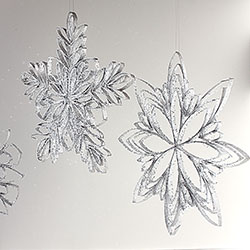
Cheri: This is my second ornament in the Christmas Ornament Countdown. I like to work in paper and when I can use paper that was something else at one time, that makes it doubly good. These ornaments are made from paper and toilet paper rolls. They are really quite easy to make.
All you need to do is take the roll and flatten it. Then take a ruler and measure in ¼ inch increments. After that is done cut them apart with scissors, or if you have a large paper cutter you can use that. You will have several rings of cardboard. I like to start out with a flower pattern and work from there. You can bend the cardboard into any shape that you want and just let your imagination take over.
After I had them glued together, I spray painted them with silver metallic spray paint, then I sprayed adhesive glue and sprinkled them with glitter.
When you are faced with an empty paper roll, you may want to think twice before throwing it out. You never know what you can make out of it.


-Cheri
Wow! Cheri’s Scrapbook Paper Balls are absolutely wonderful! Our different styles and how our imaginations work make this Christmas Ornament Countdown an excellent showcase for each of our talents.
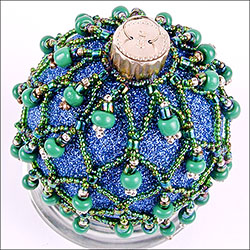
I do a lot of beading and jewelry making so it became obvious that one of my ornaments for this Countdown would be a beaded one and since blue and teal are my favorite colors, this is the inevitable outcome:

I make the mesh first and start that with a collar of beads big enough to fit around the neck of the glass ball. Then I make the first long strand about 1/2″ longer than the diameter of the ball and then start the mesh. I add the draping beads last, working at a diagonal along the mesh, which also helps to reinforce your thread. Some glue on the knots and you are good to go. It does take me about 2 days to complete one.
I learned how to make these from that wonderful magazine Bead & Button. Every December issue they have an article about making beaded ornaments with a very informative how to.

The ball is just a purchased one, I did not paint it, although I have done so in the past. I just liked the color of this ball and thought that it set off the AB beads (aurora borealis) quite well.
Happy Holidays from Kristin!

-Cheri

