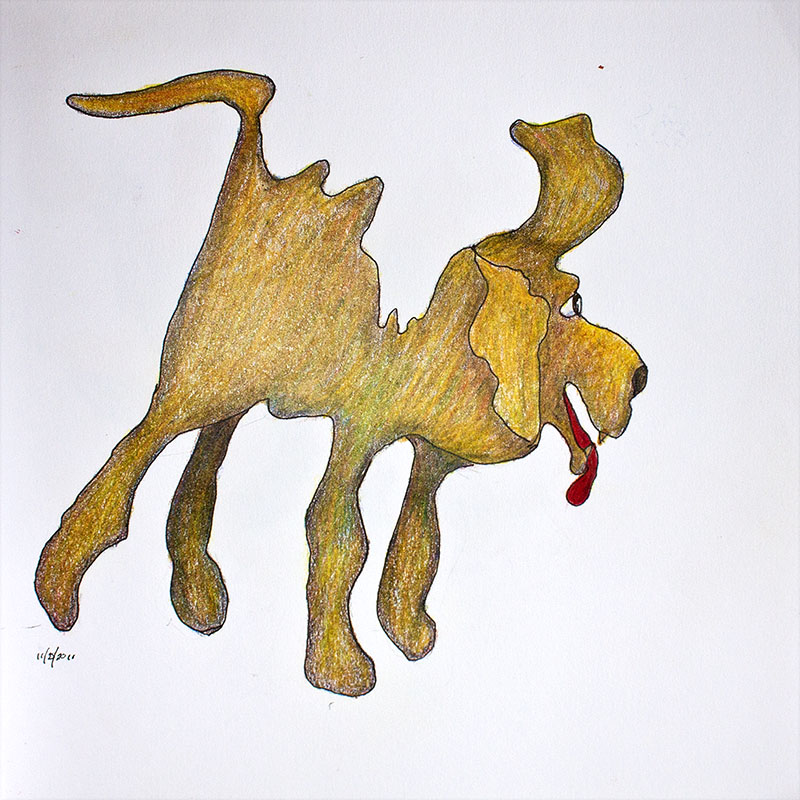
Lynne: I love it when my dogs start bouncing and their fur stands up. I am fascinated by the process of rendering objects in motion on a sheet of paper. The squiggles give me a chance to explore the motion before the actual form takes a more static shape.
I used colored pencils and blended a yellow, red and blue to get this particular shade of brown. It’s a brown I use a lot, because I like the yellow undertones. I emphasized the tongue with marker. There is nothing cuter than a dog with its tongue hanging out.
Cheri: I received a call from my sis, (Lynne), the other day discussing the button give away. She wondered if I could make the next ornament in the Christmas Ornament Countdown with vintage buttons to coincide with the Vintage Button Giveaway. And my reply was, sure, let me see what I can come up with.
I love buttons, and as I have said before, I have a lot of them. So I picked up two of my jars and poured them out on the coffee table and started sorting them. As I was looking at them, I noted that I had a lot of vintage white glass buttons. These buttons are beautiful, but they are pretty plain.
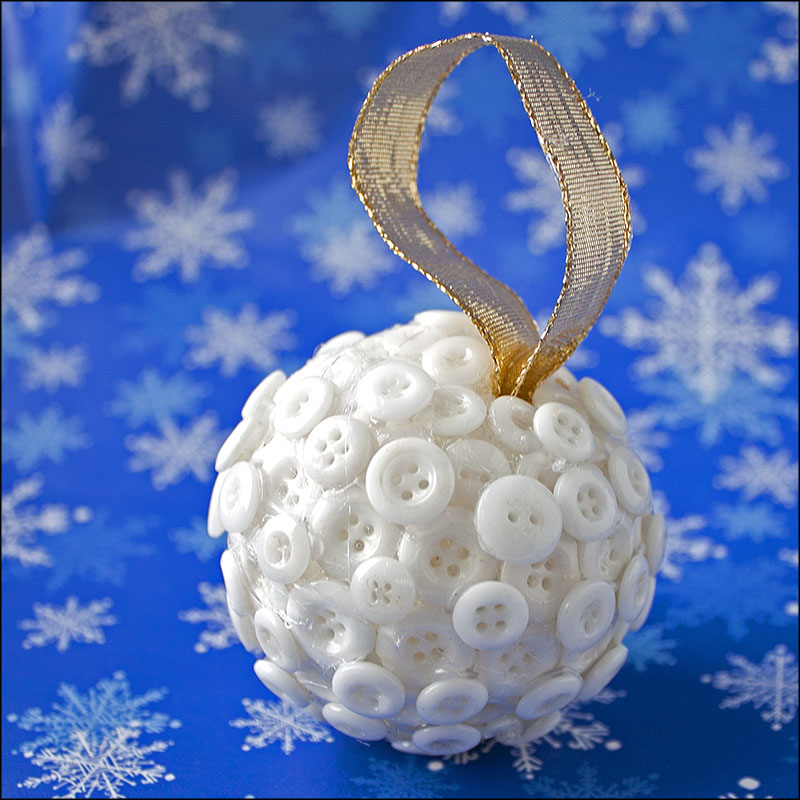
I spent some time looking at them conjuring an image in my head of what I wanted to make. I decided I would use a styrofoam ball and hot glue to make the ornament resemble a snowball.
I started gluing, and gluing and gluing. I was shocked at how many buttons I ended up using, but I really love how the ornament looks. I think the glass buttons give it a really nice reflective sheen and the glue that you can see looks a little bit like ice.
I hope everyone is able to get in on the button giveaway and I hope you all have a Very Merry Christmas.
Squiggles have the rights to petition and to assemble.
Lynne: This squiggle was a lot of fun for me to do. I have been thinking about politics and this just seemed to pop up. Even squiggles believe in having something to say.
I used red-violet and yellow-green for the basic colors and had fun with a blue eye and orange shoes. I used markers as the base and colored pencils to add the shading.
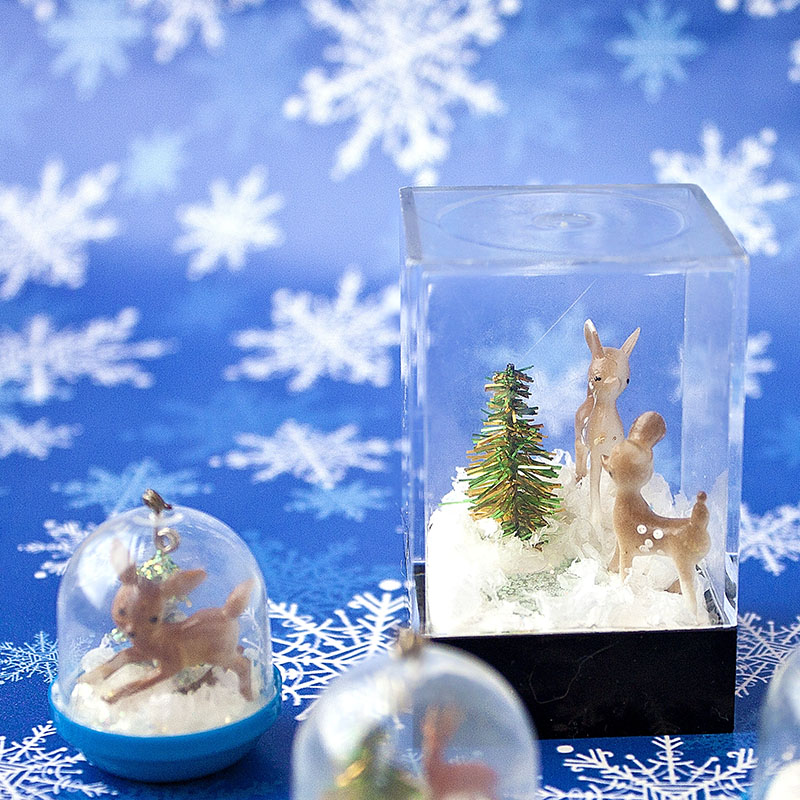
Cheri: Teeny tiny terrariums are pretty fascinating places. Those little spaces made with very few items can evoke a whole world by what you see when you look into it.
These little spaces are really quite easy to make and once you have your materials, you can make several at once.
I love to buy things from gumball machines, not only do I like the prizes, but I think I like the containers the prize comes in even more. They certainly lend themselves to this kind of craft.
Gumball vending machine containers
Air dry white clay
Small piece of mirror or tiny glass
Glitter
Small animals
Chenille stems
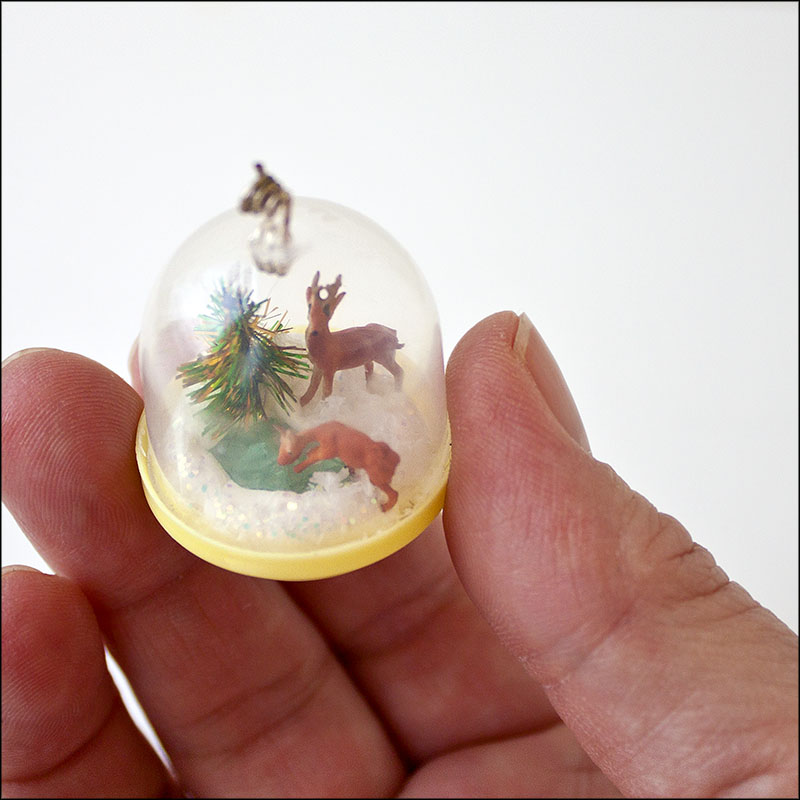
To start with make a hole in the container. To do this you need to remove the cap and hold the clear dome so you have the convex part toward you. I heated an ice pick to make the hole.
After I had the hole completed, I took a piece of wire and made a loop on one end. I threaded the end of the wire without the loop through the hole and made another loop on the outside of the dome and cut off the wire.
To make the base of the tiny space, I used the cap of the container. I glued a small bit of air dry clay into the base and squished the piece of glass, or mirror in the center. Then I took a piece of chenille (I used tinsel chenille) and cut it very small to look like a tree. I glued this into the clay.
I glued very small animals beside the chenille tree to make it look like a snow scene and let the bottom portion dry overnight. I do this to make sure that there is no shrinkage. After it dries I take a small paintbrush and brush glue over all the surfaces that I want to put snow/glitter on. Shake off the excess and glue the bottom onto the top. This makes it permanent. Make sure you use just plain old glue for this part. I used an epoxy once and melted the face off of a deer (kind of creepy).
And there you go, all done. The little ones would look great on a small tree and the one that is a little larger I made just to set on my desk. I really enjoy looking into it and feeling the mood of the season any time of year.
HAPPY HOLIDAYS
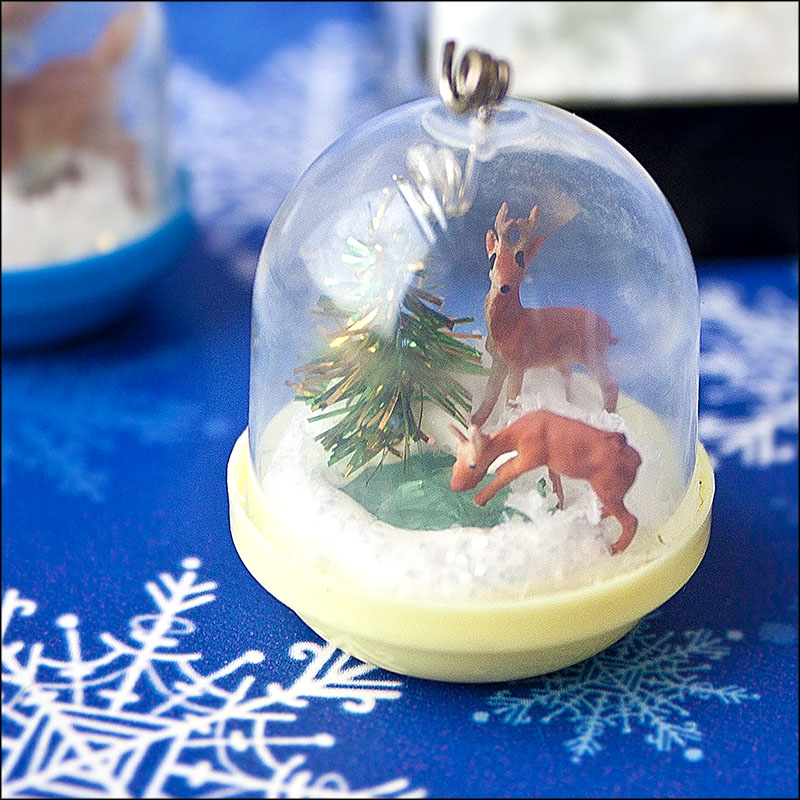
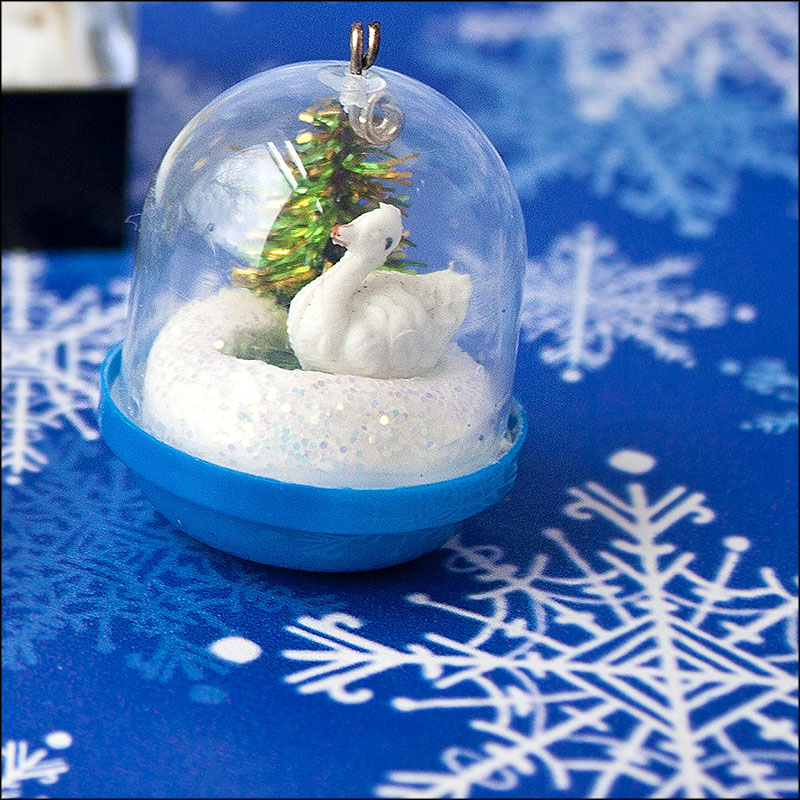
Two deer at the water's edge.Swan on the lake.Close-up of snow scenes.The gumball containers are teeny tiny places.Teeny tiny places in teeny tiny spaces.
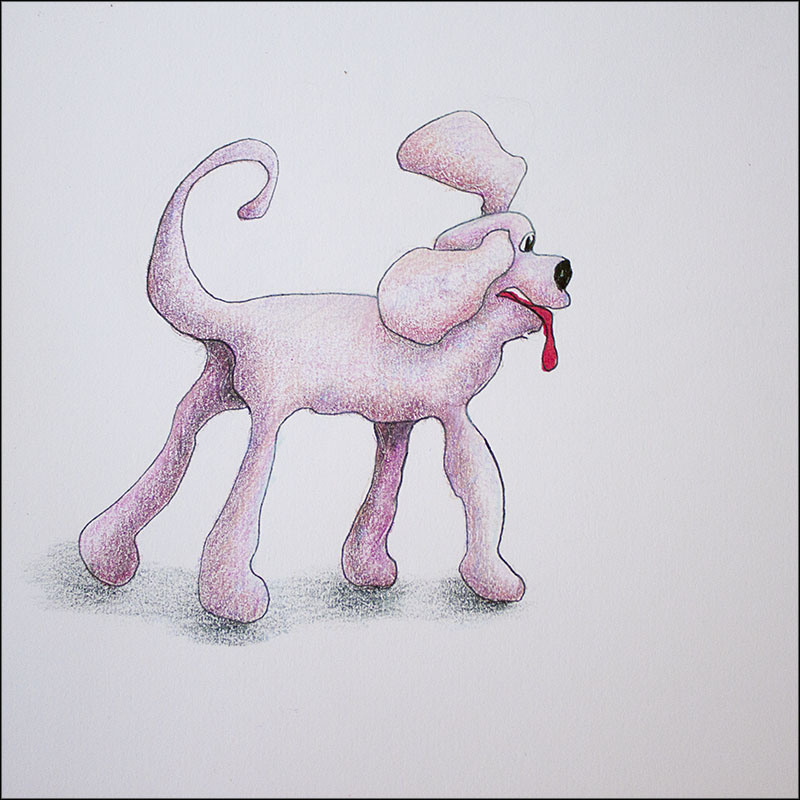
I drew this dog the other day after a lesson with Teri Partridge. I had shape, contour and shading but I didn’t have light. Light is coming from the top right in this drawing and I am amazed how it gives the dog more animation. Thanks, Teri.
I did most of this in colored pencils. I pushed the tongue to a deeper red by using a marker.
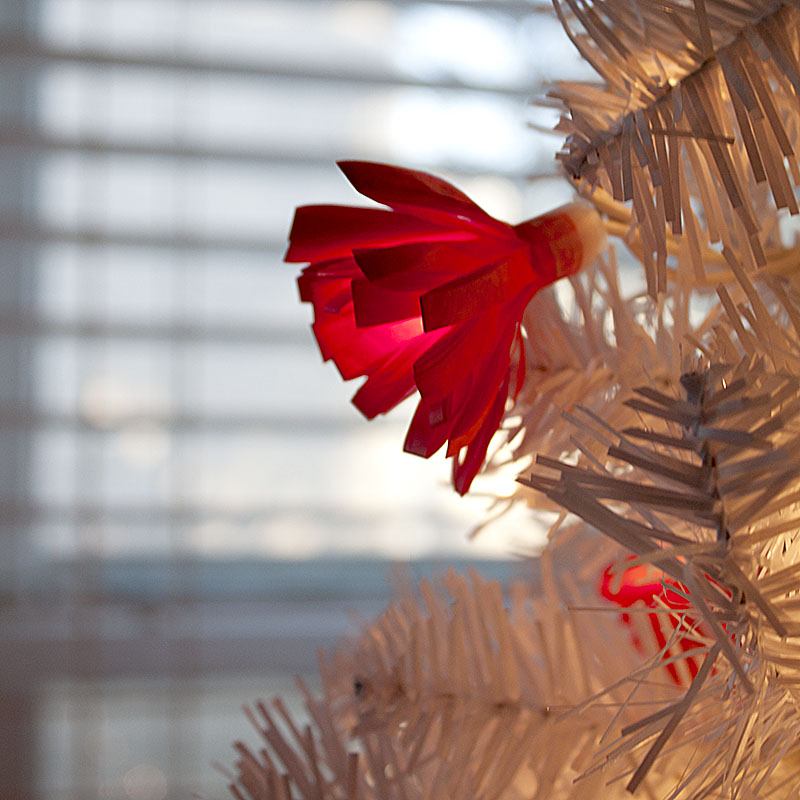
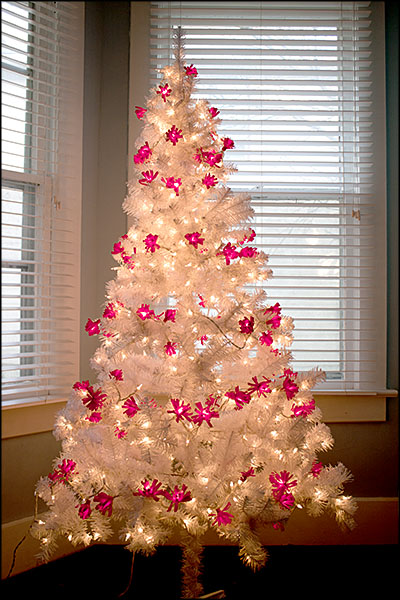
Frilly and festive tissue paper flowers for a Christmas tree garland.My white Christmas tree with its new garlands.
Lynne:Crafty Challenge 5 was a challenge for me. I don’t believe I have made any Christmas ornaments for several years and it was tough to get my mind back into that red and green groove.
I like long garlands and I like them to be lit. Strings of Christmas tree lights seemed to me to be the best way to start, so I bought a strand of 100 clear Christmas tree lights. I needed the light strand to be decorated and the longer I looked at them the more the bulbs looked like the centers of flowers. Why not put a flower around each light bulb? The flower I made for my Do It Best Purse in the hardware store challenge would be the perfect fit to go around the collars of the light bulbs.
I plugged in my strand of lights for two hours to check on how hot they would get. I could still hold them in my hand at the end of the two hours so I used red tissue paper. However, be safe and turn off your tree lights whenever you leave the house.
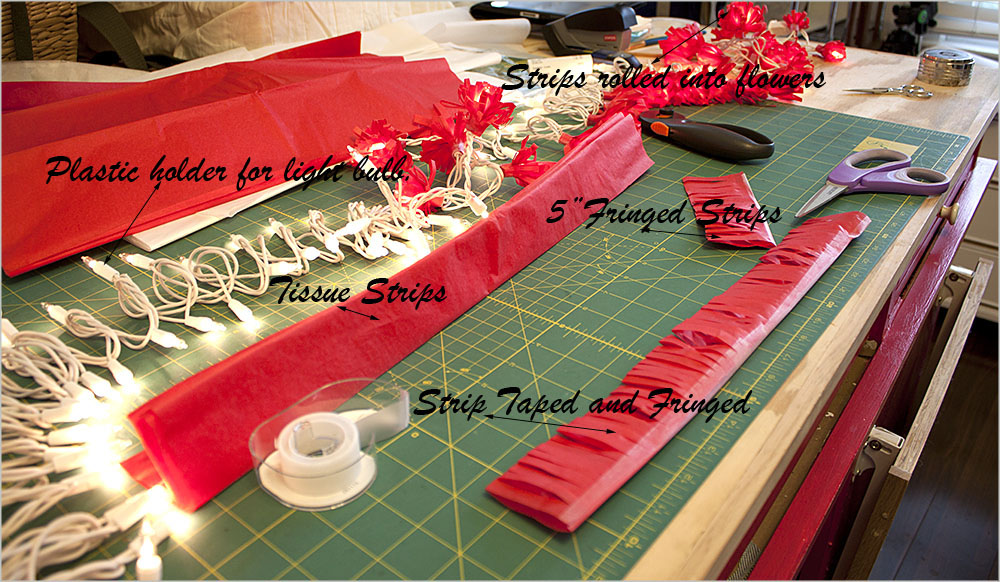
Tissue paper comes folded in its package. When you unfold the paper the creases are good guidelines for cutting the long strips. I cut through all of the layers at the same time, because there was less chance of the sheets slipping while they were still in the original folds. I used a rotary cutter and the resulting strips were about 3″ wide.
Crease from tissue paper being folded for packaging.
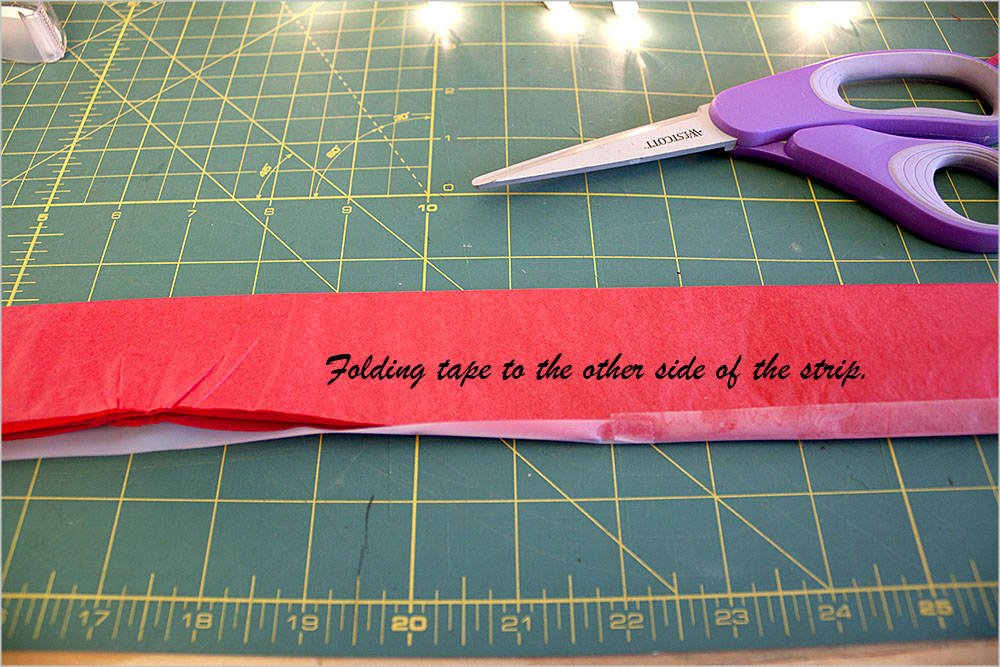
I folded the strip in half and then separated the layers into stacks of two strips each. (The number of layers can vary depending on how thick the paper is and how frilly you want the flowers.) I taped the unfolded edge with scotch tape. I put half the tape on one side then flipped the strip over and folded the tape up onto the other side. Then I used scissors to cut the folded edge of the strip into fringe.
Taping the long strips closed.Taping 2 layers of long strip.I used scissors to fringe the folded edge of the strips.
Once you’ve fringed the length of the strip, cut it into 5″ sections. 5 inches worked best for me but you can make the sections longer if you want fuller flowers. Take each 5″ section and roll it around one of the light bulb plastic holders. The holders are plastic and I found that a dab of hot glue when you first start to roll the flower is strong enough to hold the flower in place. Once you have the flower rolled use a piece of tape to keep it closed. I put a flower on every other light bulb and I was just able to finish the garland in two hours.
I liked the results so much that after the challenge was over I made another garland and bought a white Christmas tree to put them on.
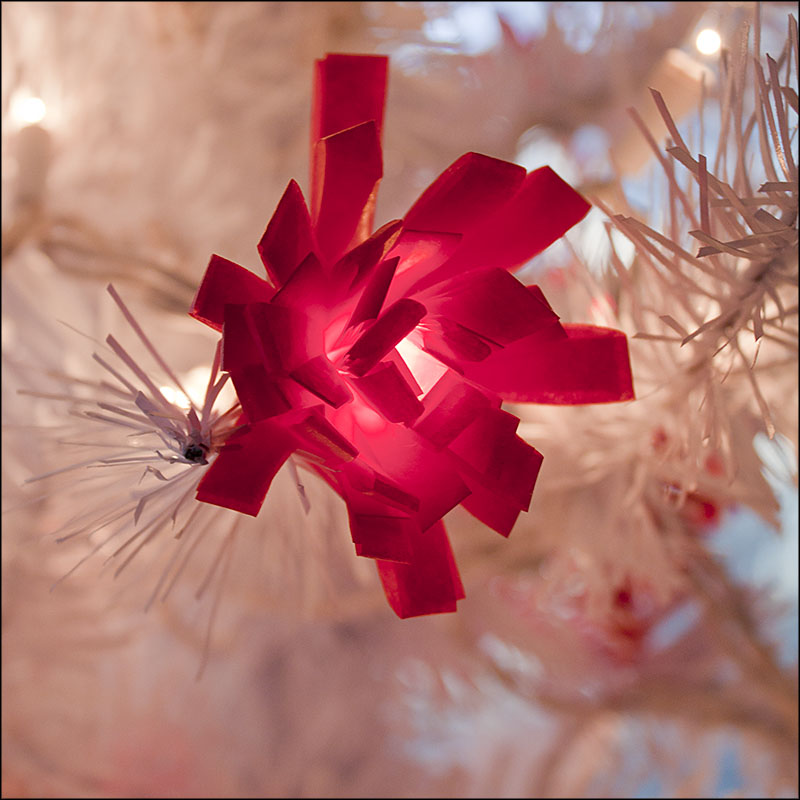
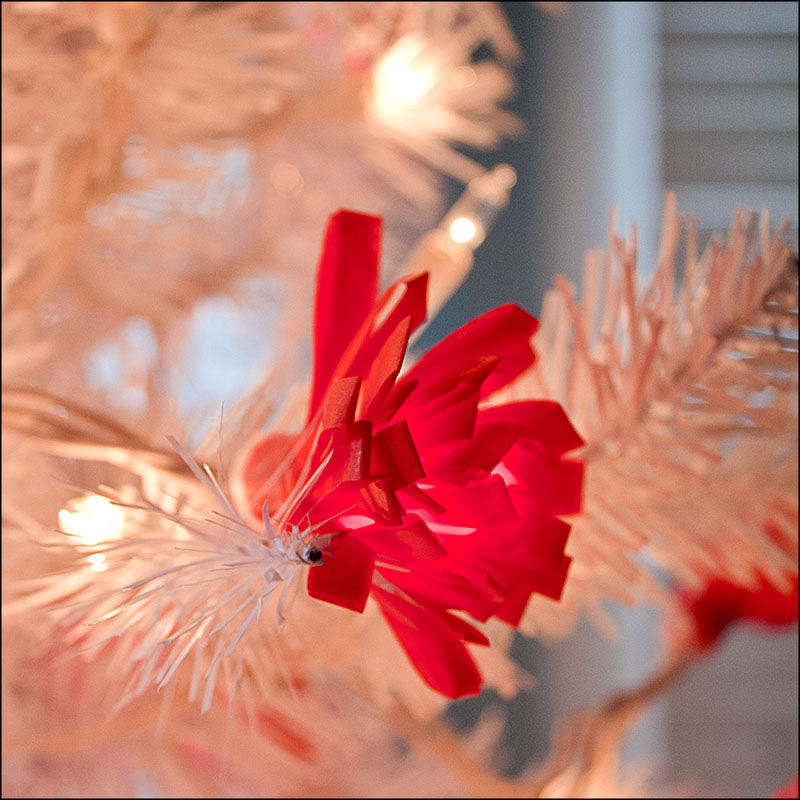
Fold the 5" strip around the holder of the light bulb and tape it closed.Close-up of the flower.Another close-up because they look so pretty and festive.Frilly Flower Garland






 the crafty sisters