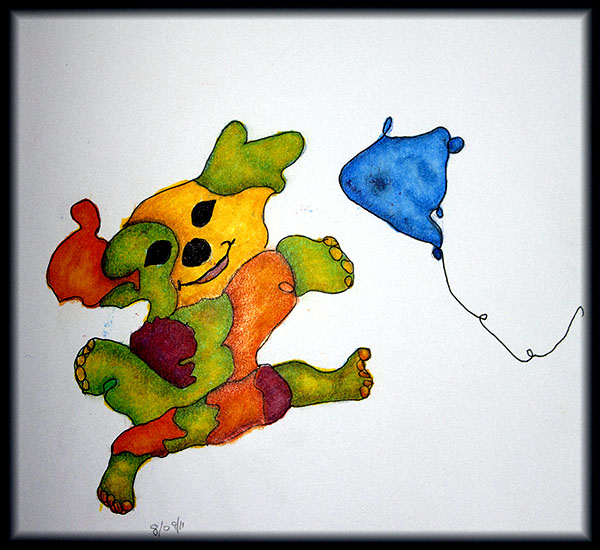
This teddy bear’s ears were the first things to pop out of the scribble for me. I added feet so he looked like he was skipping and the kite appeared from an extra mark on the paper.
I wanted to use a double split complementary color scheme as I had never tried one before. The double split consists of two pairs of complements, one apart on the color wheel. I’ve used a yellow-green and red-violet complement pair combined with a yellow-orange and blue-violet complement pair in this drawing. (I don’t see any blue-violet in the drawing. I must have substituted red-orange. I have begun to write the colors in pencil on my sketch. It helps me keep track of what colors I am actually supposed to be doing.)
Since the yellow of my markers does not show very well on top of other colors, I started with a yellow layer on all but the red-violet color. (Yellow under red-violet would give me a brownish color.) With yellow as the prominent color, I used its complement, blue, for the kite.
I wasn’t totally pleased with this teddy bear, but he seems to be happy enough.
Loryn: If you’ve been wanting to improve your sewing skills, this article kicks off a series of articles on how to make simple home dec projects really shine. Most home decor projects, like curtains, pillows, and bedskirts, are just simple rectangles, so it’s the details that make them special. These simple curtains look good because of three basics:
Pressing
Lining
Edgestitching
I started sewing when I was about five years old. I made project after project after project, drafting my own patterns and getting wildly creative. The one thing that I didn’t have any patience for was the finishing details. My work was sloppily finished until I saw the projects a friend of mine produced. She wasn’t an experienced sewer, but her simple projects were so beautifully finished that they looked great! It finally sank in that all the creativity in the world didn’t pay off if I didn’t pay attention to the details. If you haven’t been quite happy with the results of your sewing, read on for tips you can apply to any project.
If you only apply one tip to your sewing, it should be pressing. Pressing every seam open may seem like a lot of fuss, but the results are worth it. I set up one end of my work table as an ironing board so I don’t have any excuse to skip it. Because I’m cheap, I just throw a folded towel down and iron on it, as it gives me a lot more surface area than an ironing board.
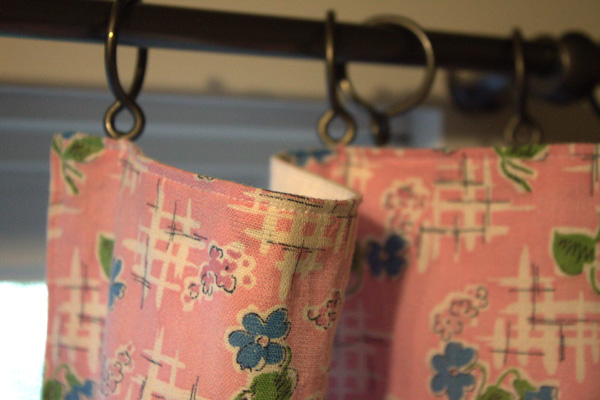
These curtains are lined, as unlined feedsacks are thin and don’t give a lot of privacy. The lining also helps the curtains keep those nice folds at the top. My favorite source for linings are old sheets. This lining is made from new in package vintage fitted sheets that were too small for thick modern mattresses. If you see at garage sales, be sure to pick them up! Here you can see the difference the lining makes:
To make the lining, I sew the lining and and the main fabric (right sides together) around three sides like a pillowcase. Press the stitched seam, then turn the curtain right side out. Use a pin to get your corners pointy, then press the edges again in preparation for edgestitching.
The edgestitching makes precise edges that look great. I use the 1/8″ mark on my machine’s throat plate to keep the stitching line precise. If your edgestitching is not as straight as you’d like, keep your attention on the 1/8″ mark and keep practicing! Edgestitching around the three seams, and then you’re ready for the hem.
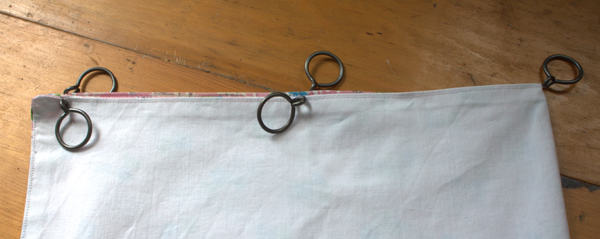
To get the best results, hang your curtains on the rings, and then fold a standard hem. I sewed two lines of stitching. This makes a firm hem that makes a flippy curve along the bottom.
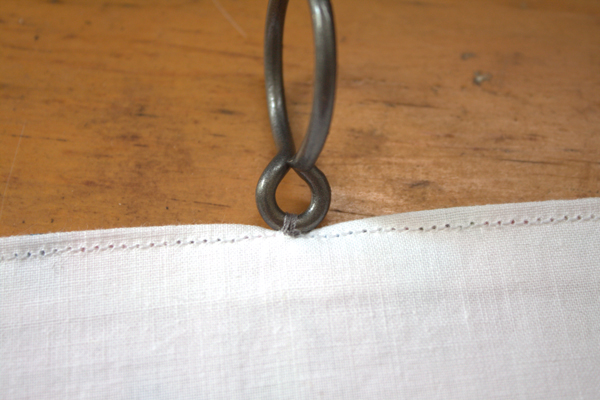
Here you can see how I’ve tacked the rings to the curtain. Clips would also look nice, but I have a large supply of vintage cafe rings.
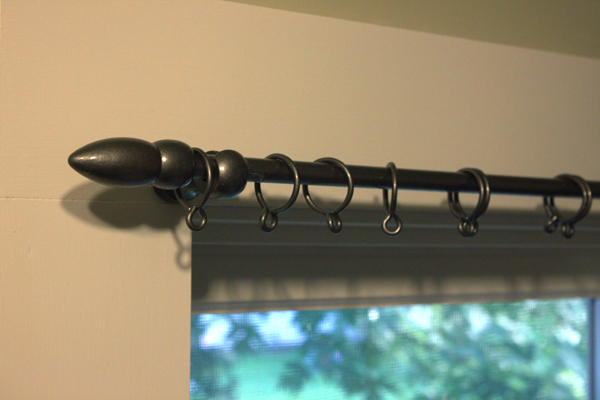
The rings are brass, which doesn’t go with my kitchen/laundry room, so I spray painted both the rings and the rod:
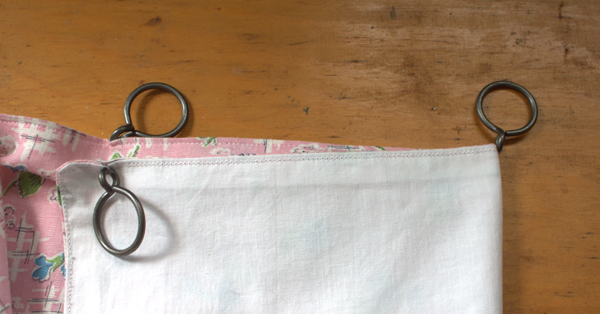
Here’s a simple way to get your rings or clips evenly spaced. First, always use an odd number of rings. Sew or place the rings at the ends, then fold the curtain in half, lining up the rings you just placed. Place the middle ring at the fold mark.
Then quarter the curtain by lining up the end ring with the middle ring. The fold is the spot for your next rings. Do that on each side. For small curtains, I use five rings for each panel.
After one final pressing, the curtains are ready to hang.
I hope you’ve found a few tips that will be helpful. Check back soon for another post on how to upgrade your sewing!
This dog squiggle surprised me. All of the other squiggles were really small and this just kept getting bigger and bigger. With my drawings larger, I had to begin to learn about markers and what their strokes looked like. Filling in large spaces was especially hard, as I was always so impatient when I colored in coloring books. Now I have to tell myself to slow down because it’s very important how something is initially colored. Then you can go back in and add shading with color pencils.
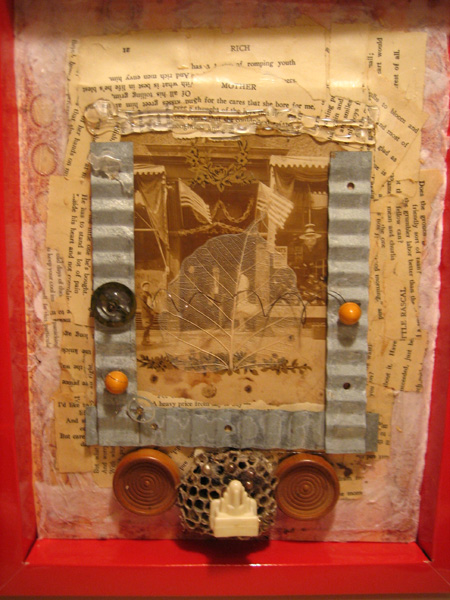
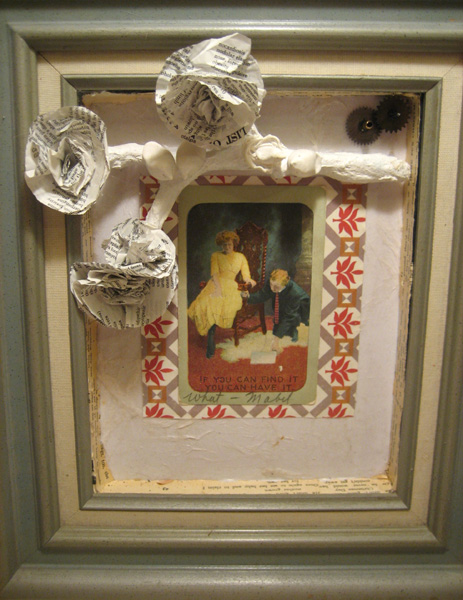
Cheri: A few years ago, I decided that I wanted to change the direction of my creative endeavors. I had read a few books about assemblage and decided that this was the art form for me. The definition of assemblage is: a) sculptural technique of organizing or composing into a unified whole a group of unrelated and often fragmentary or discarded objects. b) a work of art produced by this technique. Kind of like collage.
I love assemblage, or at least I love the idea of assemblage. I have a lot of interesting pieces of junk I have been collecting for a long time and I really was looking for a technique to pull some of these items together. After a few failed attempts at what I thought would be a no brainer for me, I learned that it was not nearly as easy as I thought it should be. My unrequited love of assemblage has resulted in several unfinished projects, some cussing and in the end some truly satisfying pieces. Actually, assemblage is basically a metaphor for life. How fitting.
I spent most of my teen years working summers in the Taco Stand at Indiana Beach. We called it the Taco Stand, but the official name was Taco Tables. This was in the mid sixties to the early seventies. These paper cups were for drinks. I don’t know if you can see the scale, but they are small. Maybe eight ounces. I say this as I drink my large Diet Coke. No wonder drinks were cheaper then. I remember being unhappy when the drinks and the tacos went from 25 cents to 35 cents. We had to add everything in our heads and 25 was a lot easier than 35. I also remember envying the people who ran the rides. They didn’t smell of old cooking grease at the end of the day. And they were paid more. However, we did have free food. That was probably worth the smell and low wages.
I drew this guy while sitting in the Indy airport while waiting for Loryn’s plane to land. “How could my plane be late? The weather here is fine. I don’t care about a hurricane in Atlanta.” He’s a little provincial in his thinking but very fashion forward in his stained glass purple trench coat and a complementary yellow hat.
I used black color pencil to emphasize the blue green pattern in the coat.
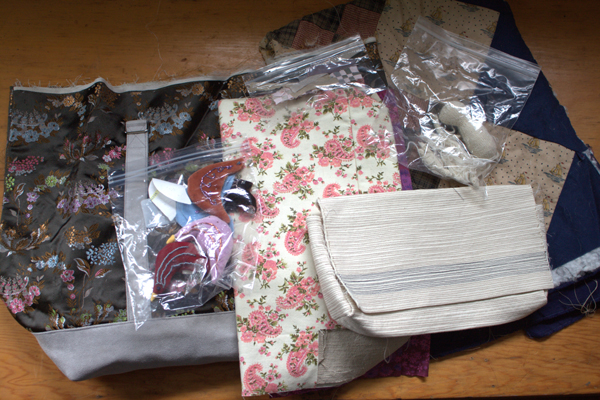
Loryn: Unfinished projects are the bane of every crafter, and I have more than my share of them. The ones above are just my sewing projects. I’m not even going to bring up home improvement projects or beading!
It was really helpful to pull all of the projects out and evaluate them. Many are quite good and deserve to be finished. Others are a good technique that I should revisit. If you haven’t looked over your unfinished stuff recently, try it out. You might be surprised how inspiring it can be!
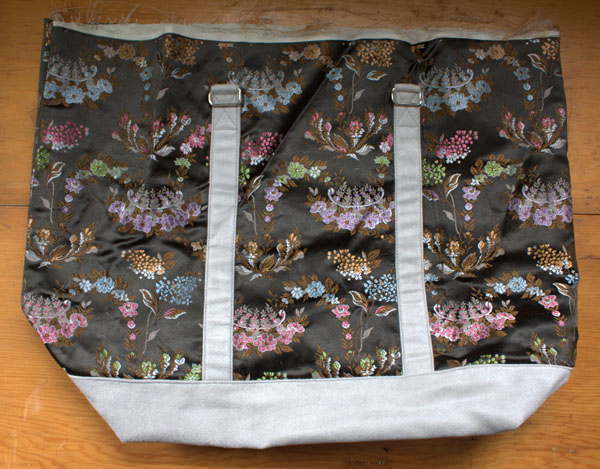
This one is a puzzler. Why on earth didn’t I finished this large tote bag? The body is a poly/silk brocade, and the base and straps are ultrasuede. The lining is cut and inside the bag, and the zipper is there, too. I think I’ll finish this one soon. I like sturdy bags that can stand on their own, so I think I’ll add another layer of canvas for structure.
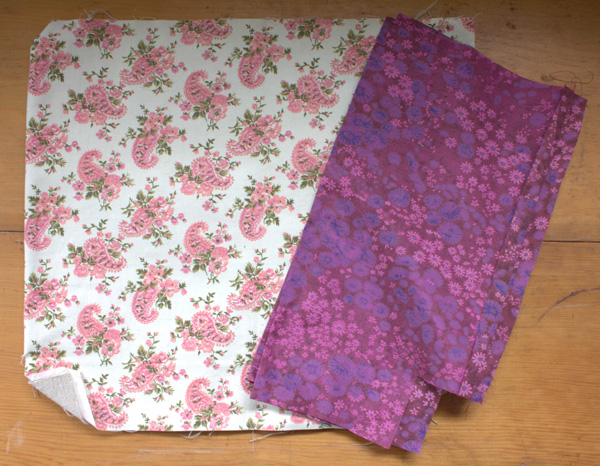
You might recognize this canvas from the chair in my laundry room/entry way. This is a mid-size bag, about half the size of the one above. I absolutely love the bright lining fabric with the paisley canvas. I sewed the side seams of the body and lining before getting distracted. This one has a very heavy canvas interlining, which gives the bag great structure. I think I’ll finish this one right away, so I can use it before summer is over!
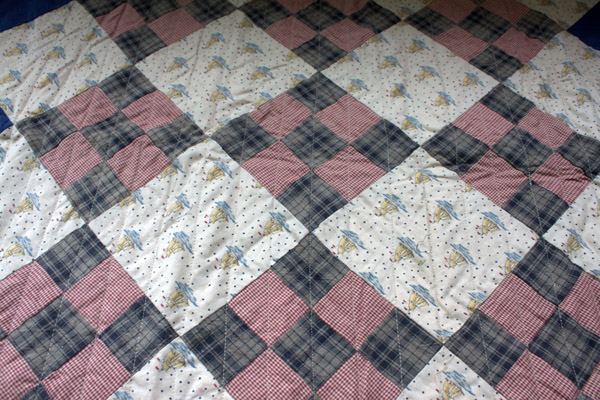
This is the oldest project in my unfinished project pile. I started this for my friend Melissa’s son. He just turned 16! All it needs is quilting perpendicular to the current quilting and binding, and it’s not even very big. She has a second son who is now 15 months old, so I need to get this done before he grows up! This will be the second project to finish up.
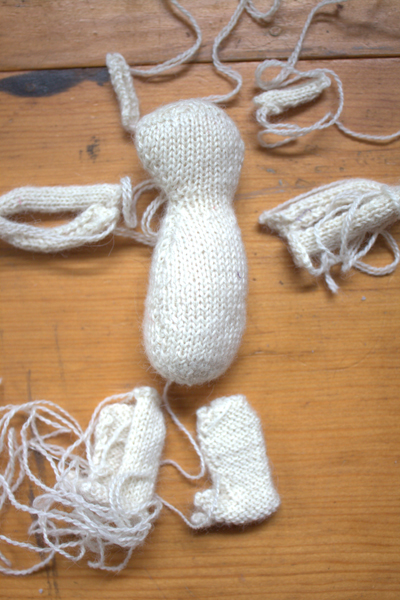
This is really a knitting project, but since all it needs is sewn together, I’ll lump it in with this group. This is a knitted stuffed cat that I started as a Christmas gift for someone several years ago. It’s hard to tell scale in a photo, but the body is just under 3″ tall. I knit it in lace weight alpaca at 12 stitches per inch. This one definitely needs to be finished. I did so much knitting on tiny needles that I really messed up my hands. All that effort shouldn’t go to waste! The pattern is from The Knitted Teddy Bear by Sandra Polley. It’s one of my favorite knitting books.
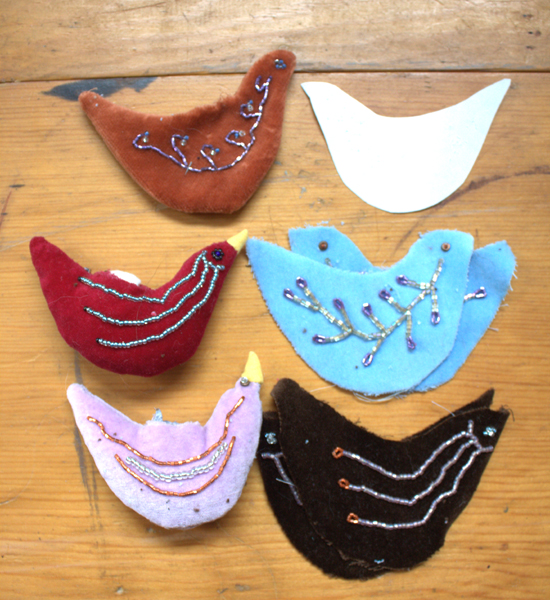
Aren’t these adorable? I started these more than ten years ago, and I think I set them aside because I wasn’t quite sure what I would do with them. At the time, I was doing a lot of hand beading. I’ve been wanting a hand sewing project (they’re hand beaded and hand sewn), so I think I’ll work on them in the near future and use them as Christmas ornaments, or maybe put them on a wreath.
This is a long, narrow bag with a free-hand quilted texture. I didn’t finish it because I didn’t plan the construction well enough. I should have finished the flap edges before I quilted it, and I didn’t think of that until too late. Bulky hems or binding at the flap edges would ruin the look. Still, I really like this technique, and need to try it on a different bag, or maybe a pillow. The fabric is muslin, sandwiched around flannel. The closely spaced stitching is time consuming to complete, but it gives an inexpensive cloth like muslin a rich look and great body.
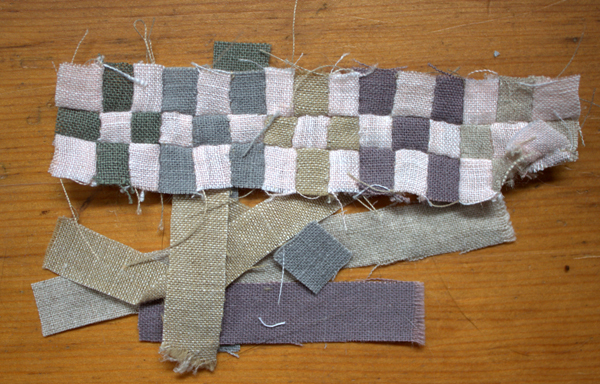
Here’s another miniature. The finished patchwork squares are 1/4″. I love the beautiful colors of the linen, but this one was too fiddly, even for me. I had visions of tiny, hand-quilted miniatures, but I will never get beyond this point. I don’t have the heart to get rid of it, and it doesn’t take up much space!
Those are my current unfinished projects. Of course, this doesn’t include the hundreds I’ve gotten rid of over a lifetime of crafting, just the best of recent years. I’m going to get started finishing these, and you’ll see them in the blog soon!