Loryn: Even if you have a sewing machine, there are times when hand sewing can really make the difference in your sewing projects. If you would like to upgrade your hand sewing, this mini pincushion makes a great stocking stuffer while improving your skills. It looks adorable even when your sewing isn’t perfect!
The supplies you need are:
- Small scraps of a natural fiber fabric
- Sewing thread and needle
- Pearl cotton embroidery thread in a contrasting color and embroidery needle
- Two tiny buttons
The first thing to do is to pick out your fabric. I’ve used wool on this one. It’s only 1 3/4″ in diameter, so you can use up tiny scraps of fabric. I do recommend that you use natural fibers like cotton, linen, or wool for this project if you’re a beginner, as they are not too slippery. Silk and most synthetic fibers are slippery, so the layers slide out of place, something you don’t want to deal with while you’re getting your sewing chops!

After you’ve picked your fabric, decide on the size. The easiest way to do this is to find a round object about the size you want to use. My favorite round template is this vintage juice glass, which is 1 3/4″ in diameter. Double your fabric with the right sides in and trace around your object with a disappearing fabric pen or chalk pencil.

If you haven’t already, trim the fabric down into a square with a wide hem allowance, which makes it easier to grip. We’ll cut it down to a small seam allowance after sewing. Put a pin into each corner, and you’re ready to start sewing.
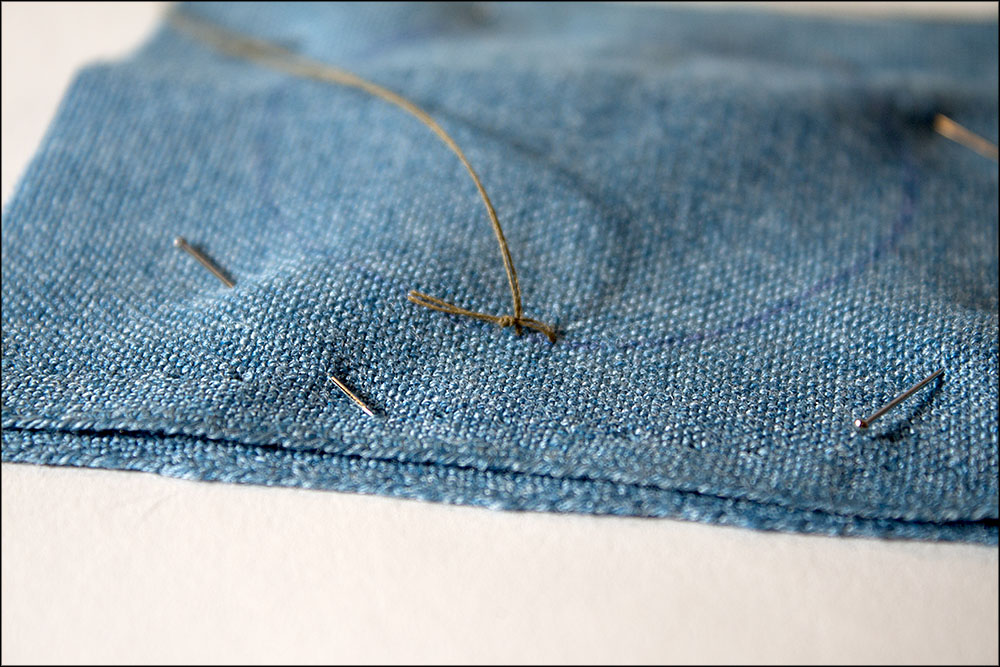
Thread your needle and you’re ready to get started. I’m using contrasting thread so it photographs better. By all means use contrasting if it helps you track your stitching—it will still look great! If you want to match, here’s a good tip: if you can’t find an identical thread match, go with a greyish shade of the same color, or even medium grey if you can’t find anything close. It will fade into your fabric.
I typically use a standard doubled thread knotted at the end for basic hand sewing. If you have a problem with knots, try a product like Thread Heaven. It really does make a difference.
Turning and stuffing the pincushion will put a lot of pressure on the knots, so pull the knot almost snug, then bring the needle back to the top and run it through the loop that is left (see photo above). This will prevent you from pulling the knot through the fabric.
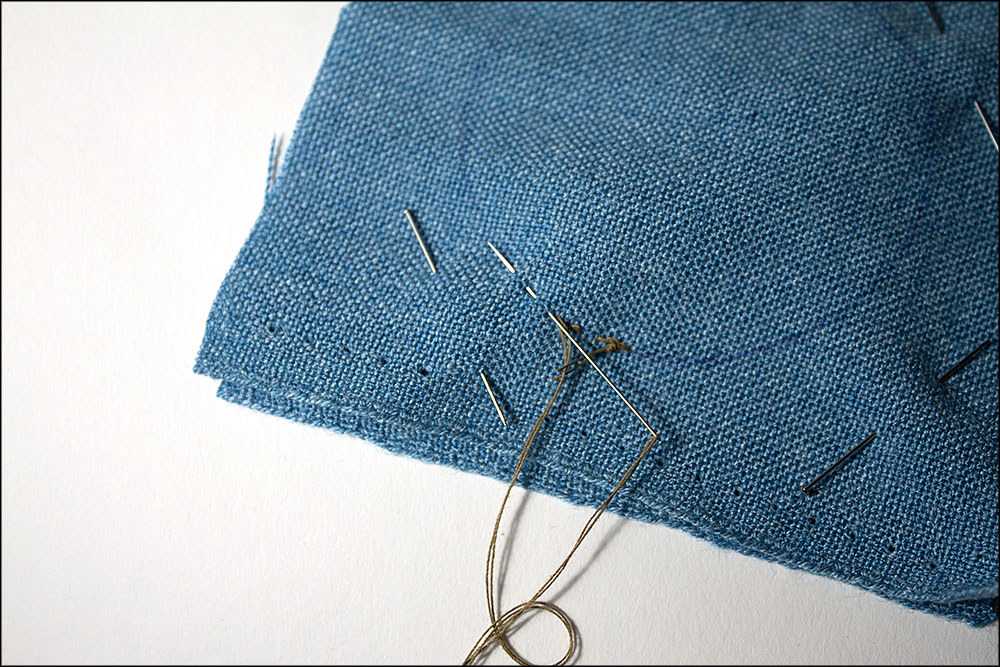
Now you’re ready to get stitching. I’m using running stitch on this project. Slide your needle under the fabric and then back to the top, making the stitches as small as you can (turn it over to make sure you caught at least a few threads on the bottom). Start by making just one stitch at a time, then move onto more as you get comfortable.

Continue working your way around the circle, following your traced circle line. Try to stay on the line, but don’t worry about being perfect. You’re getting practice, and it will still look cute!

Leave an opening about 1/2″ wide. The smaller it is, the harder it is to turn and stuff, but the larger it is, the harder it is to slipstitch the curve of the circle. I prefer the former!
Make two slipknots with your needle. To do this, make your last stitch, then stitch again in nearly the same place, but don’t draw the thread tight. Put your needle through the loop, then draw it tight. Repeat in the same place, and don’t cut your thread yet.

Now you’re ready to trim the seam allowance down to about a 1/4″ (making sure not to cut your thread!).

Now it’s time to turn it right side out. A bodkin is a really helpful tool. It clamps shut, so you can stick it inside, grab onto the fabric, and pull it through that small hole. Bodkins are also great for threading elastic and cord through tubes, so it’s a great tool to add to your sewing box. Once it’s right side out, use the bodkin to make sure it is fully turned.

Now you’re ready to stuff it. I like to use scrap fabric, as it makes it weightier than polyester stuffing. Cut fabric remnants into small strips, and stuff them inside, using the bodkin to push them all around the pincushion. I used the fabric I trimmed off the seam allowances, plus some extras I was getting ready to throw away.

Once it’s stuffed, thread your needle to the right side, fold the seam allowances inside, and pin it in place. To slipstitch it shut, catch a small bit of fabric on the fold, alternating between sides until it is sewn shut. Make two more slipknots, and hide the thread inside the pincushion. To do this, put the needle in exactly where you make the knot, and bring it out in the middle of the cushion. Cut the thread, and wiggle the stuffing until the thread end disappears inside.
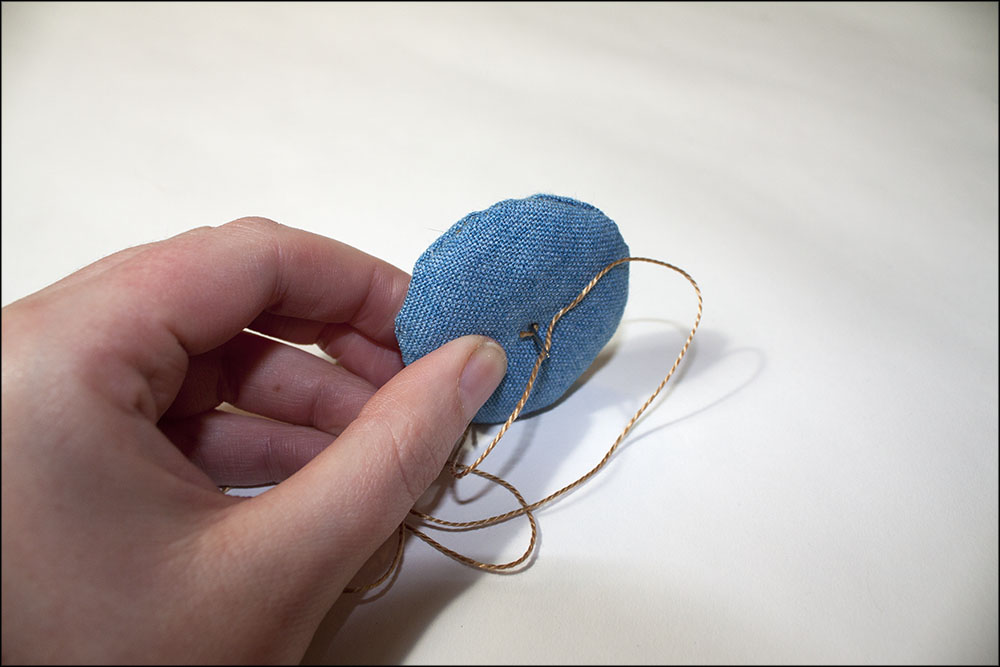
Now comes the fun part—decorating! I’m using gold pearl cotton to divide the pincushion into segments. Thread about 30″ of pearl cotton into an embroidery needle, using a single strand with a knotted end. Run it through the middle of the cushion (your knot will be covered by a button later) and pull the knot snug.

Wrap the embroidery floss around the edge of the cushion, and run it through the cushion at the same point. Pull it snug enough that the thread creates a scallop.

Wrap the thread around again, this time on the opposite side from your first wrap.
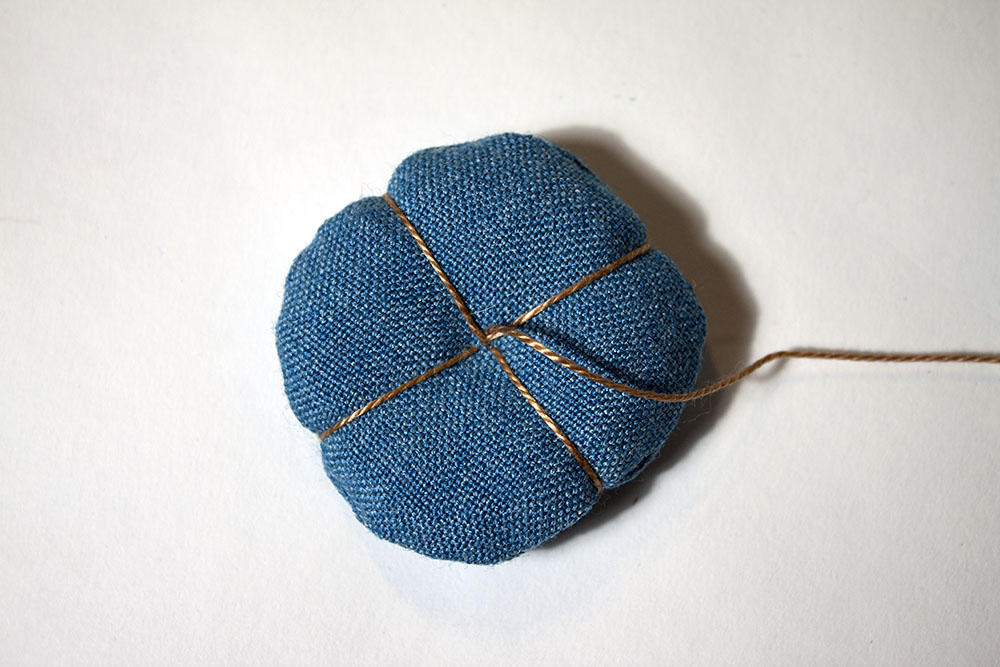
Repeat, dividing it into quarters.
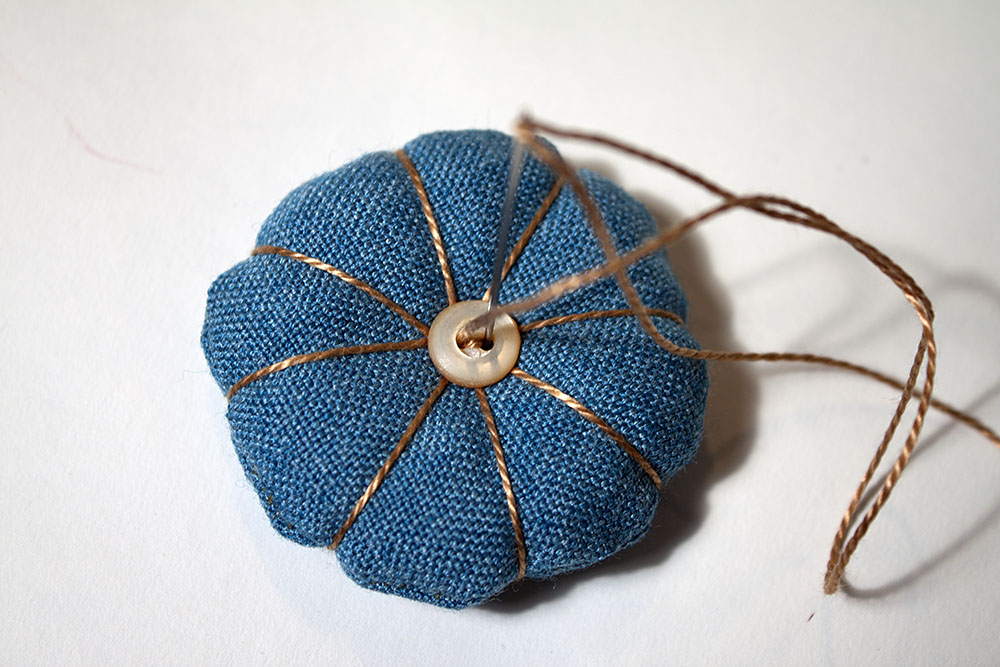
Put your final threads in the middle of each quarter, so you end up with 8 segments. Now you’re ready to finish it off with buttons. I used two tiny mother of pearl buttons from my collection. Thread the button on, then run the thread through the other hole to the bottom of the cushion. Put another button on, and repeat, so that you end up with the thread coming out of one of the holes of your top button. Run the thread through the buttonhole, and bring your needle out under the button, without going back through the pincushion. Wrap the thread around the thread shank that holds the button three times, then hide your thread inside the pincushion. You’re done!

If you have any questions, put them in the comments. I’m happy to help!—Loryn