Category Archives: Creativity

3D Origami Snowflake
Lynne
The other day I was looking through pages and pages of Google images of origami figures for some new ideas when I saw this terrific dragon. Red Dragon Origami from Papercraft
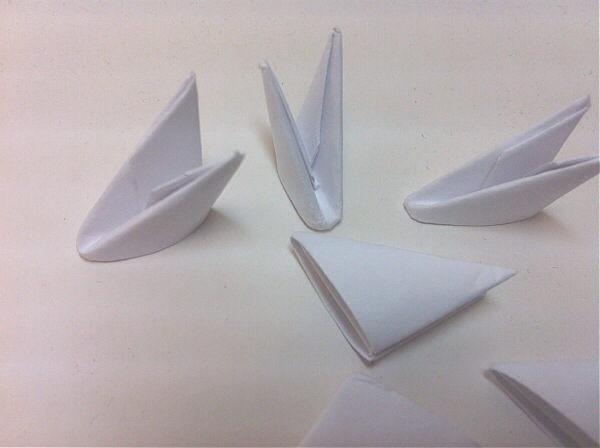
I was keenly interested in how it was made and I began to search for instructions. I found that the process was called 3D origami and involved folding small rectangles of paper into triangular pieces that could be interlocked to build figures of amazing complexity.
Of course I turned to youtube and began to look for instructional videos. I find that I can learn better by watching than by reading complicated directions. So I will give links to a couple of videos that were very helpful in the process of making these intricate Lego-like pieces. There are many other videos and each one has something different to show. Watch as many as you can.
3D origami tutorial
3D origami tutorial 2
I hoped that I could use this folding technique in our Christmas challenge and I found this video on how to make a snowflake with a little less than 50 pieces. It’s a good way to learn how the process works and still have something creative to show for your time. The video is well done, but I found that I did not pay enough attention to the position of the pieces as they were interlocked. The second color is placed differently than the first. If you look closely you will see that how the pieces are shown is how they are attached to the model.
3D origami snowflake
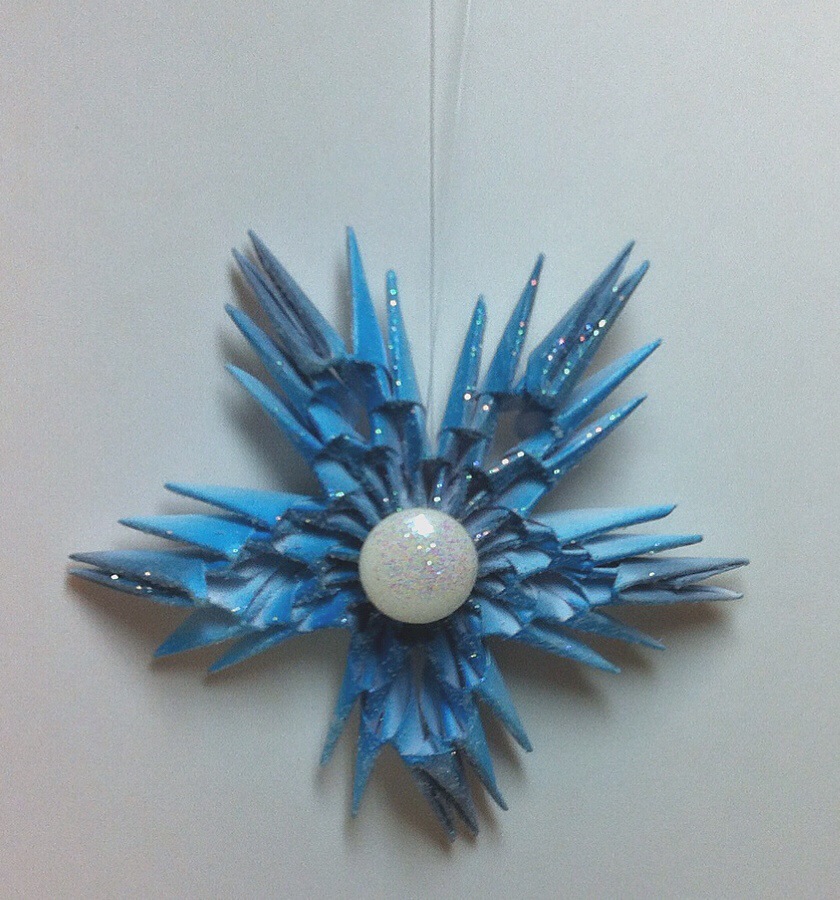
I made my first snowflake using two colors of copy paper as shown in the video to help me understand what I was doing, but I wanted a subtler change of color on my model. I have recently discovered the Copic airbrush system and on my second effort I used that system to achieve the color and effect I wanted. I really like using markers for airbrush painting. It is easy to switch colors quickly and there is very little mess to clean up. Here is a link to a video of the air spray system in action.
Copic airbrush system
I attached a button to the front of the star and then used a light coating of spray adhesive to adhere some glitter for a reflective shine. I used some fishing line to hang the ornament but ribbon or string would work just as well.
I hope you have fun as much fun making these snowflakes as I did and I will post again in four days with another project.
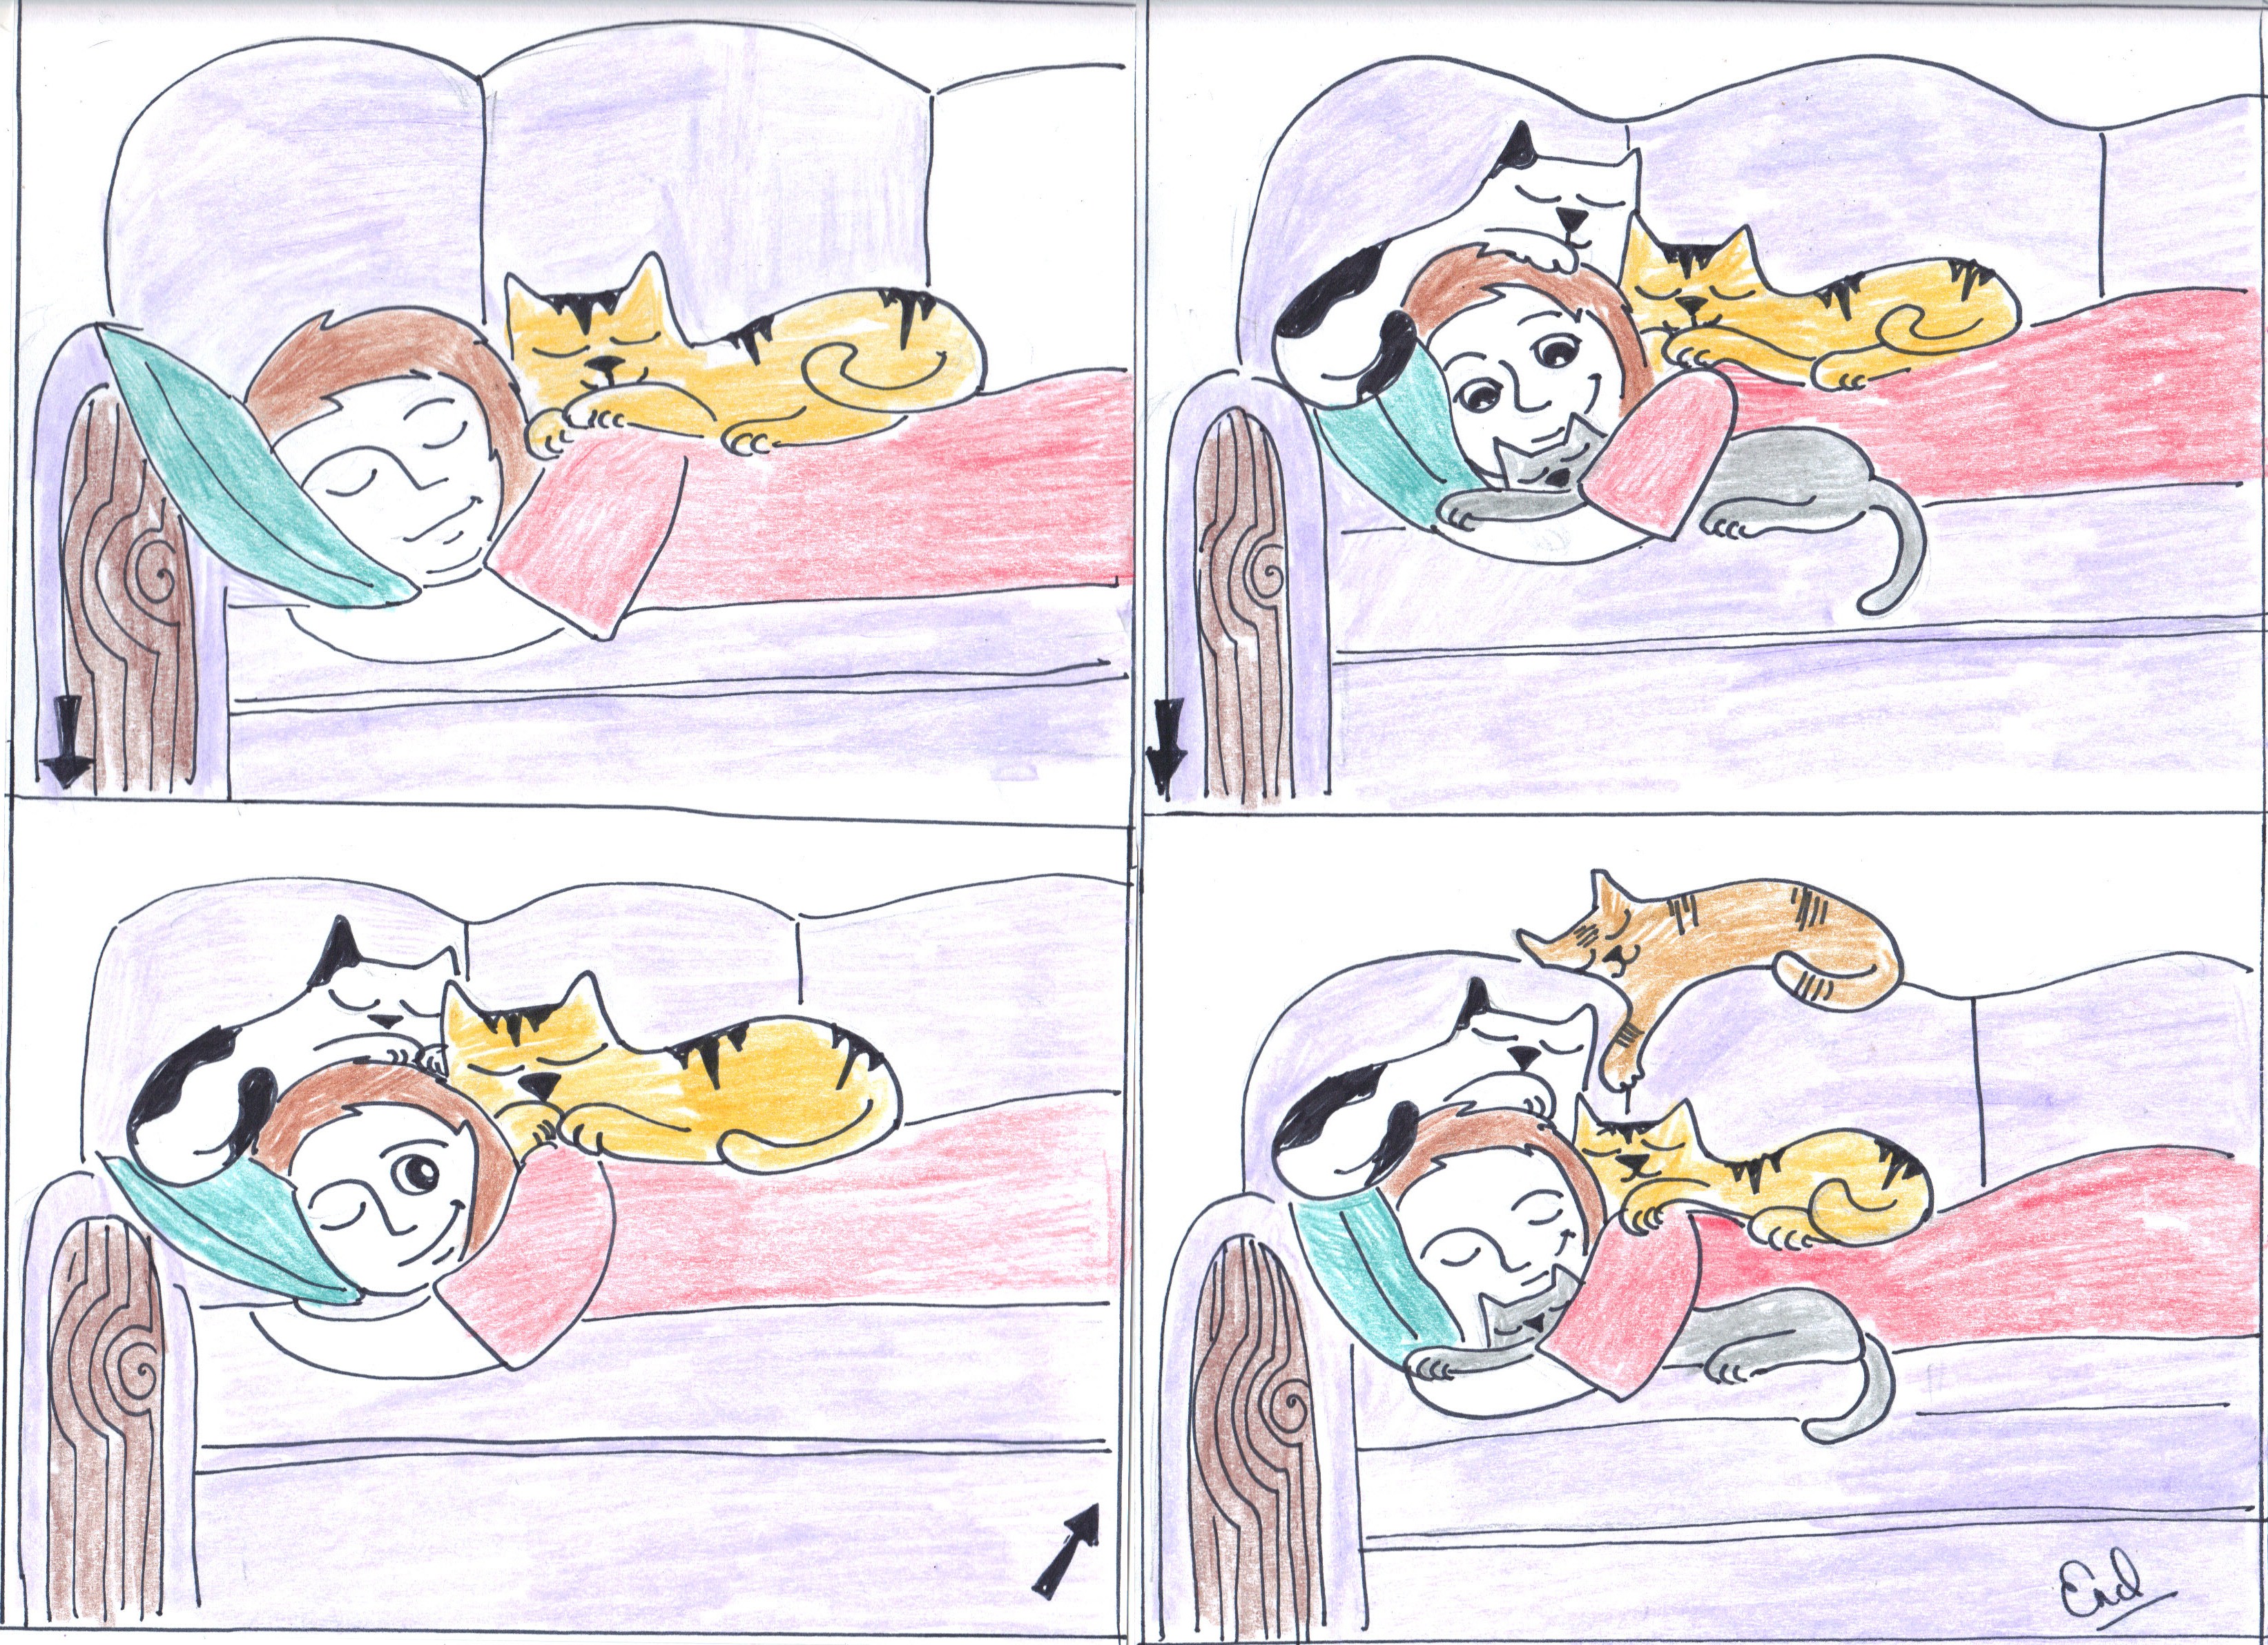
Pulling out the decorations. What a cat!

The Crazy Catz’ Lady. Sweet dreams.

2013 Christmas Advent: Paper Wreath
Happy Holidays!
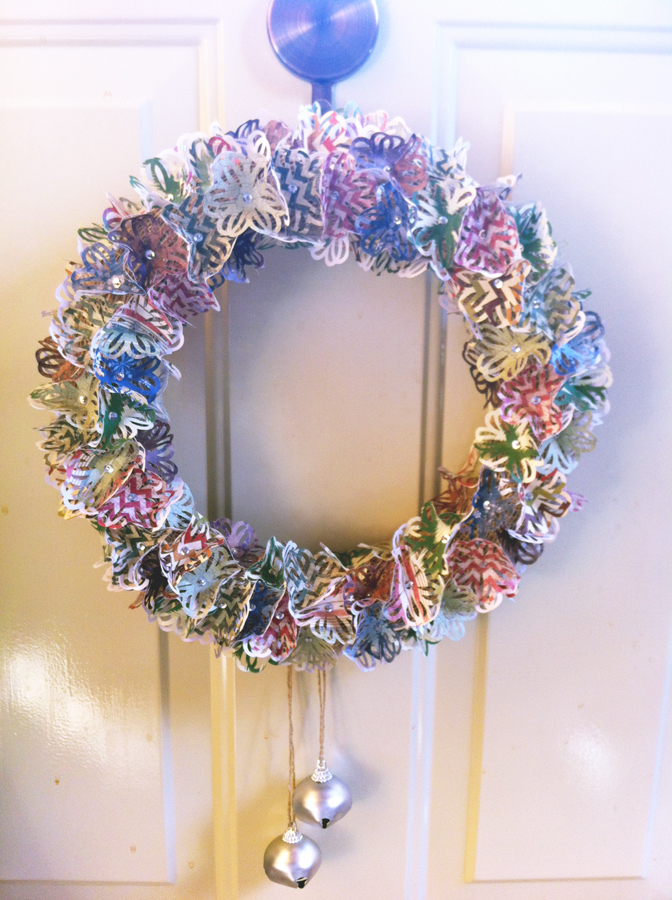
Hello, and yes we are still alive. We are doing our annual Christmas Advent. This year we are covering Christmas Decorations. I decided to to do a Christmas wreath and have been playing with paper lately and thus my Christmas Paper Wreath was made.
For supplies:
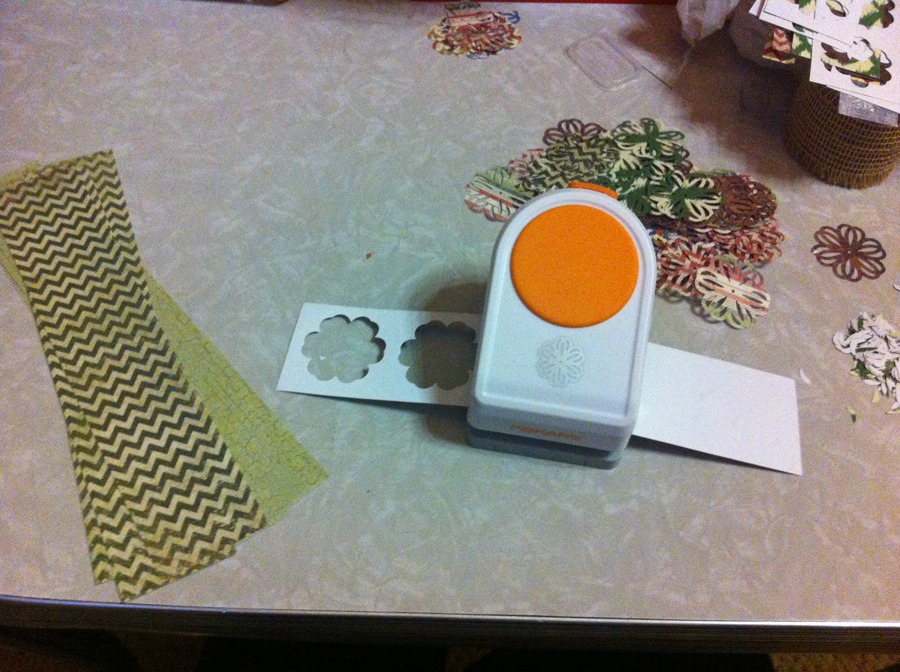
Foam wreath shape, burlap ribbon, scrapbook paper (paper cutter optional), pins, sequins, paper punch (twine and bells optional)

The paper punch I chose cuts out a 2 1/2″ shape, so I cut my scrapbook paper into 3″ swathes. This I then ran through my paper punch and cut out my florets.
Once I had all my florets, I wrapped the foam wreath with the burlap ribbon. I used pins to hold the burlap in place (I was trying to keep my supplies to a minimum, but you could use hot glue here if you preferred).

I attached the hanger and bells at the very end, but realistically, this would have been the best time. It worked just fine adding these at the end of the project, but I could have hidden them better had I tied them around the wreath before adding the florets.
Next, I started attaching the florets. I have to tell you about my error now. I bought large head beading pins for this project and thought they would be large enough that they would hold the florets by themselves. However, once I tried to hold the florets in place with the pins I discovered that I was wrong. I needed something to go between the pinheads and the florets. You could use just about anything, I chose to use silver sequins. I imagine that small beads would also have been lovely.
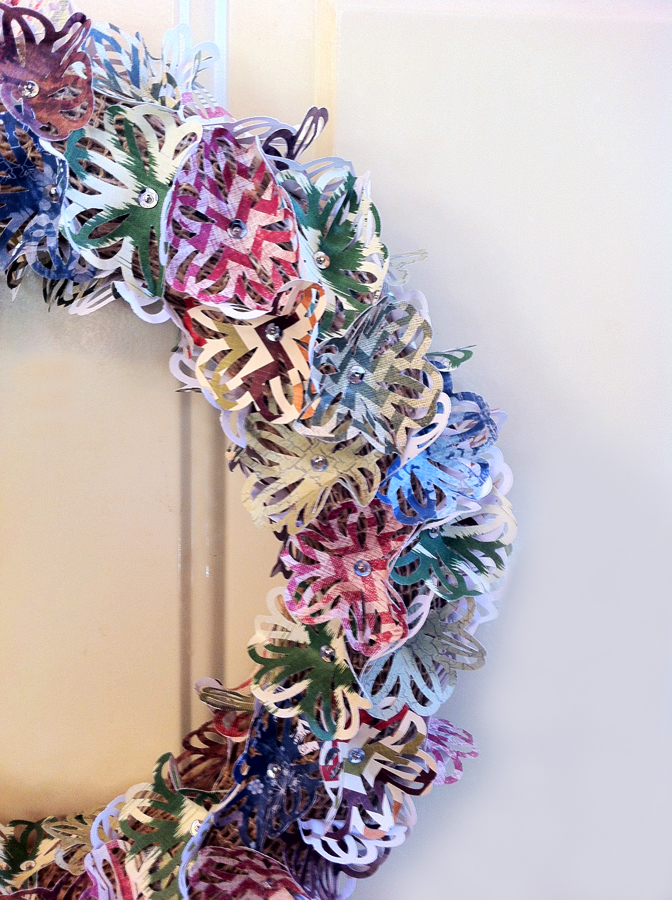
Once you put the pin through the floret, use your fingers to bend the floret up into a flower cup shape. This is what gives the florets three dimensions.

Just keep pinning the florets to the wreath all the way around, being sure to cover the inside and outside of the wreath. I made sure that none of the florets were flat on the wreath. I would pull up the edges of the nearby florets so that the edges were all up and none were flat.
Here you can see the burlap ribbon under the florets, but once the wreath is complete, you cannot see the burlap from a regular distance away.

I love the way it turned out. It looks great hanging on my front door.
Happy crafting!
Kristin

Christmas Cat Shopping. What a cat!
That was some Thanksgiving dinner. What a cat!

Happy Thanksgiving from Link and Nettie. What a cat!

That is a lot of groceries. What a cat!

The Cat the Crab and the Wardrobe. Narnia. What a cat!