
-Cheri
-Cheri

-Cheri
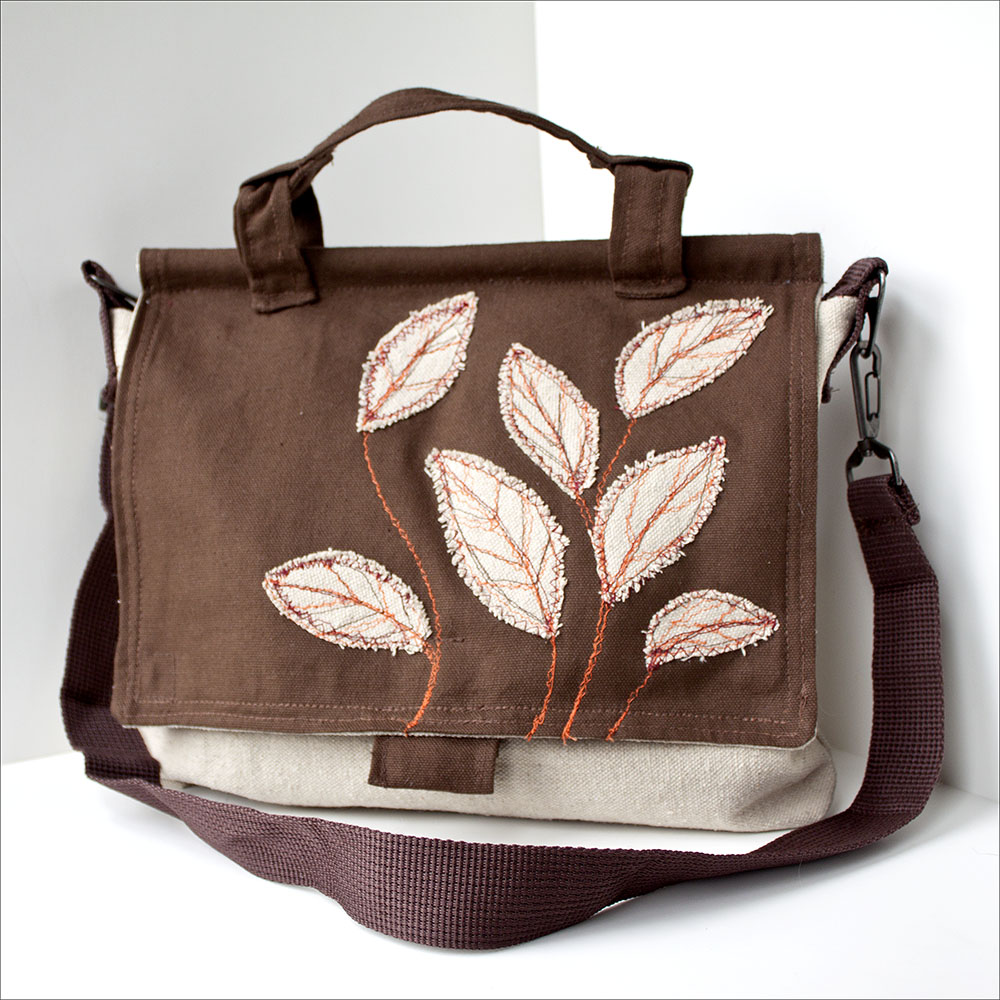
Cheri: Whew, what a challenge this was. It was tough one, but, it was also an awesome one. I think I spent the first week trying to decide how and what I wanted to make my purse out of.
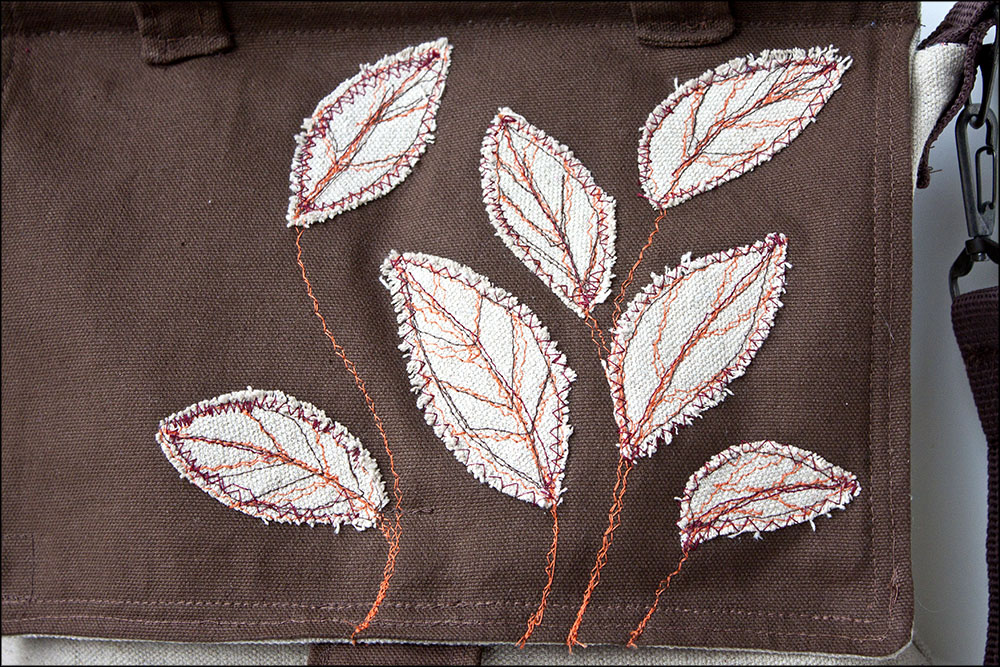
I have always enjoyed doing machine embroidery, so I decided that I would embroider the outside of my purse. I was pretty sure in my head of how I wanted it to look, so I looked around at my fabric supplies, (which is not nearly as grand as Loryn’s), and chose what fabric I wanted to use.
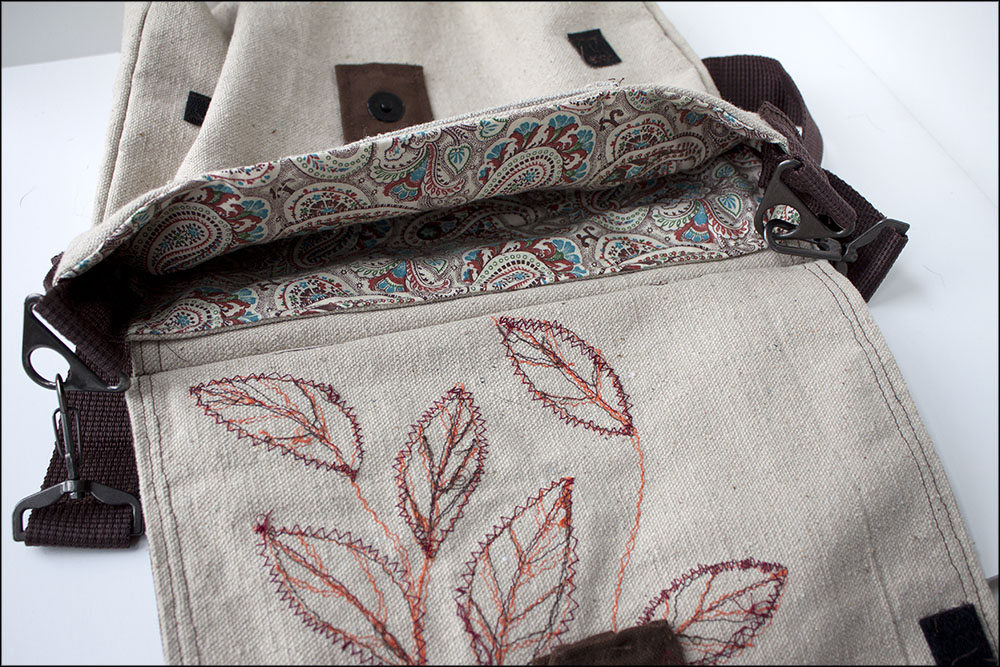
After one failed attempt with the fabric I had on hand, I decided to buy some new fabric. I headed to our local Wal-Mart, which has just put in a small fabric selection, after our Jo-Ann’s closed, and chose a half yard of brown canvas, I also picked up some lining fabric that went with the brown nicely. With fabric in tow, I headed home.
This was Thursday, I had 3 more days to go. I have to admit that my style of crafting is a tad bit unique. I don’t really measure anything. I will try to use a straight edge to get the proportions right but more often than not I will use the selvage edge to base my edges on. And so the great purse challenge began for me.
I worked until midnight on Thursday, midnight on Friday and started working again at 2:00 pm on Saturday. Most of the time was spent with the embroidery and the base of the bag, and then the unspeakable happened, I accidentally melted some of the lining of my bag with the iron.
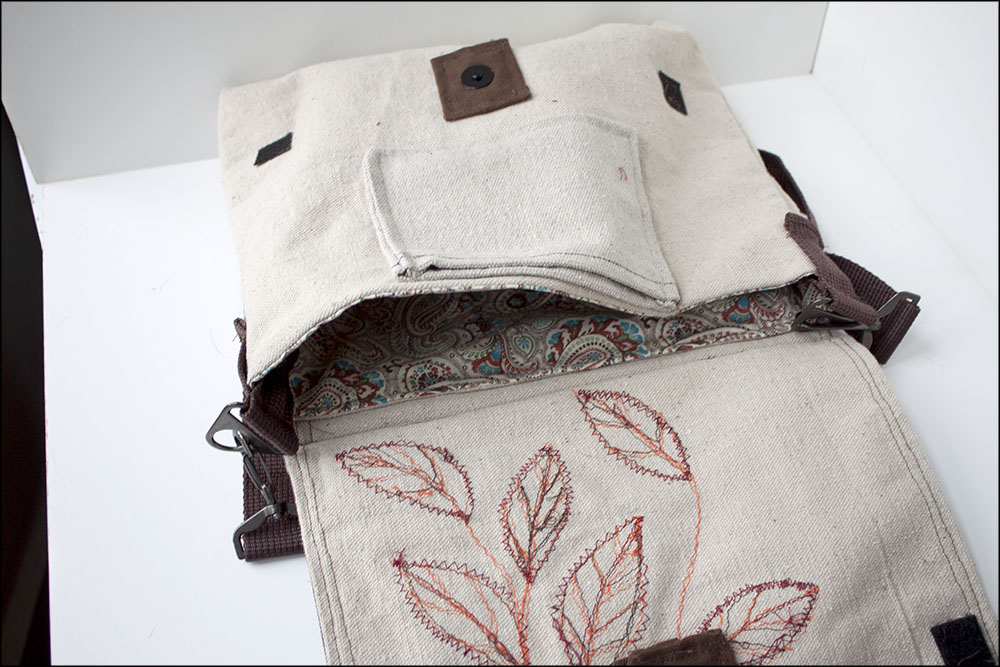
I knew that this was not going to be an easy fix. So after entertaining several options I picked up some other fabric I had on hand from Loryn’s stash and started working with this. Essentially, I started again from square one.
I spent several hours on Saturday redoing my purse and in the end I was really happy with how it turned out. It looks like me and I am really quite proud to carry it.



-Cheri
WooHoo! I actually managed to get this Crafty Challenge finished a little early. For me, that is monumental (at least compared to my past Crafty Challenges).
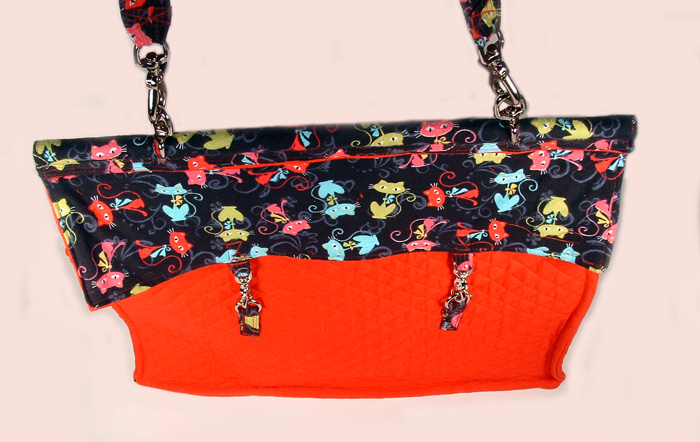
The challenge this time was to use the Coach Willis Handbag for inspiration and create something in that spirit. It could be any medium and any size. I tried several mediums, but seemed to have the best luck when I finally went to fabric. Then I had to decide what size I wanted, so I needed to find a purpose for my bag. I have a large laptop (it has a 17″ screen and the keyboard includes a separate number keypad) that I have never been able to find a bag that I liked and that would protect it, that I liked. So, with that in mind, I was going to make the Willis inspired laptop bag.
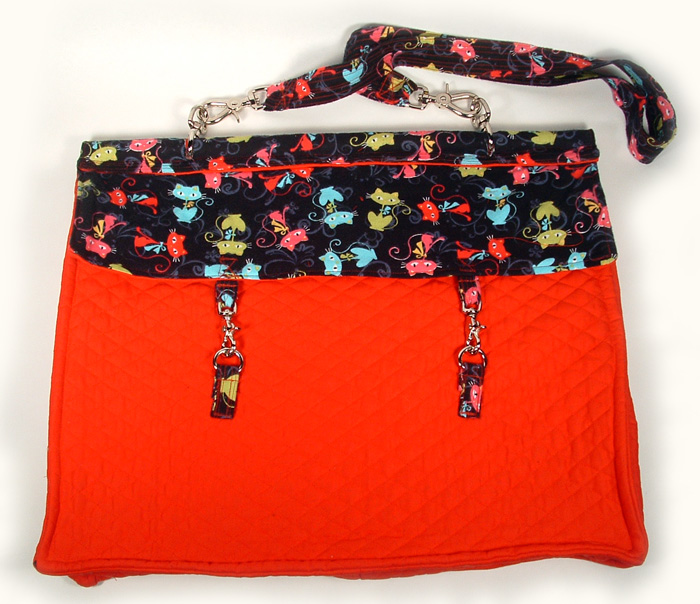
I had some really cute flannel kitties fabric and some matching pre-quilted red fabric that would be perfect for padding. After looking at my dogs, I realized that I would be better off if I put the flannel on the inside to help keep some of the hair on my new bag to a minimum. I did draw a sketch, but for the most part, I made it up on the fly. You should know though that I have seen many bags made by Loryn and Cheri, so I had some idea of how to go about this, I wasn’t completely in the dark.
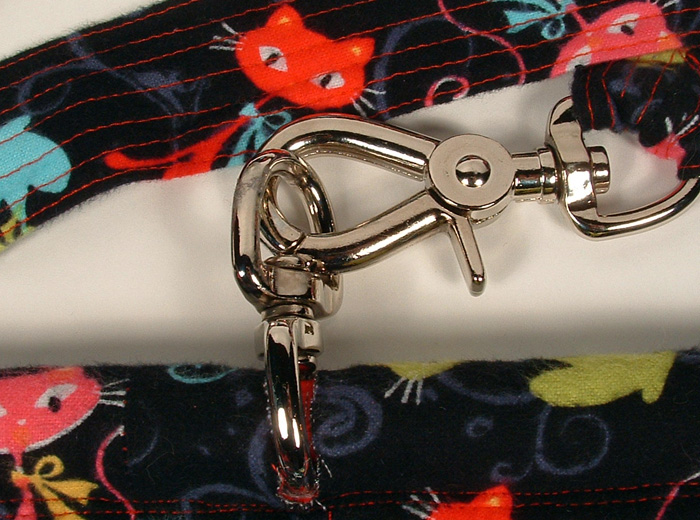
I made the handle first as I wanted to use Loryn’s quilting idea to help reinforce the handle. The body was next and man, do not use denim Singer needles on medium-weight fabric, no matter how many layers you are sewing through. I trashed three needles very quickly. Once I switched to heavy-duty, medium weight needles, I had no problems whatsoever.


I made all the parts of the bag like pillows (right sides together, sew the edges and pull right-side out) and was very good about ironing everything. I am always surprised by how much of a difference ironing makes. Suddenly your project goes to the next level of wow and looks clean and (mostly) well made. Please keep in mind I am not the best seamstress. I tend to keep to pillows and curtains which are really just squares and rectangles with no real finesse (or at least the way I make them).
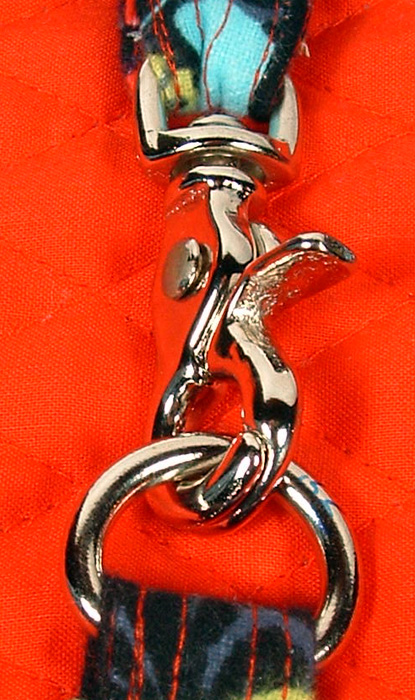
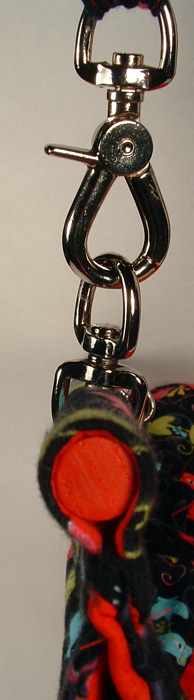
I did manage to find some excellent hardware for my bag at Kleindorfers. This is the hardware store I spent so much time in for our second Crafty Challenge. It really helped that since that challenge, I really know their stock. They are so helpful and they don’t look at you funny when you giggle and cackle with glee when you find such a wonderful hardware selection, they laugh and see if there is anything else you need.
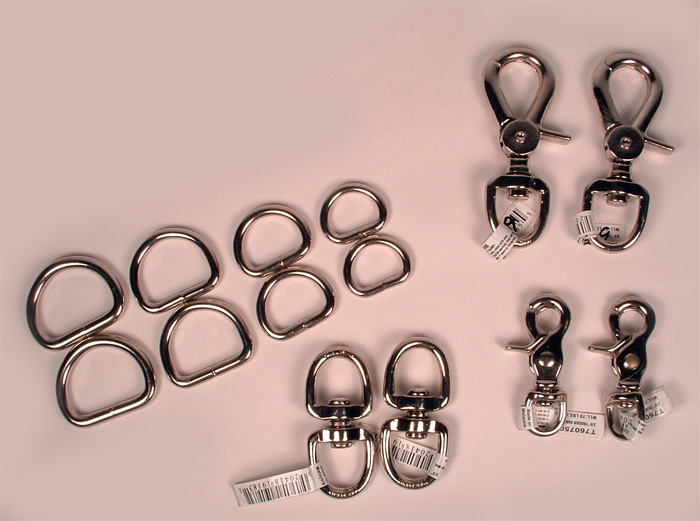
I also have to mention in here my gratefulness for cellphones, good cellphone plans and AT&T. I spent almost the entire day on the phone with Loryn yesterday. I looked it up on my phone and it came out to 6 hours and 44 minutes. It is so nice just to have someone to mutter to while working on a project. I also spent the morning cleaning and having someone to talk to while doing that always makes the job easier.

Back to the challenge, I then proceeded to put all the parts together and it went much better than expected. I added the hardware and giggled the whole while (Really, I did. Ask Loryn.) The one problem I had was with the dowel rod I had picked up for the top of the bag. It wouldn’t fit the hardware I had decided to use. When I bought the hardware, I bought more than I needed as I was not quite sure how or which pieces I would end up using for the bag. That meant another trip to Lowe’s this morning for the next size down in dowel rods. I cut it to size and painted it red to help it blend in to to the bag.I did that this morning and voila! my bag was finished. Hooray! The finished size is 22 1/2″ wide by 19″ tall. It came out a lot bigger than I intended, but I do like it. I may adjust the size eventually, but for now it is great just the way it is.
And now on to family and food. Happy Thanksgiving everyone!

-Cheri
It must be said; better late than never. I am really (and I mean really) late getting my photos for this challenge posted. I have been really busy doing some painting (don’t worry, you’ll get to hear about and see it at a later date) and have just not had a whole lot of time to really do much else but sleep and work.
I had a hard time with this project for several reasons. First, I try to keep my hoarding down to a minimum and don’t have a whole lot of storage space right now, so my collection of incidentals was rather small. Second, for these challenges, I have been really trying to step out of my comfort zones craft wise and this has made for some uncertain outcomes. The project was to use the packaging or incidentals that come with a purchase. It must be the stuff that you would usually throw away or re-use for another packing job, not the purchase itself, in other words, free.
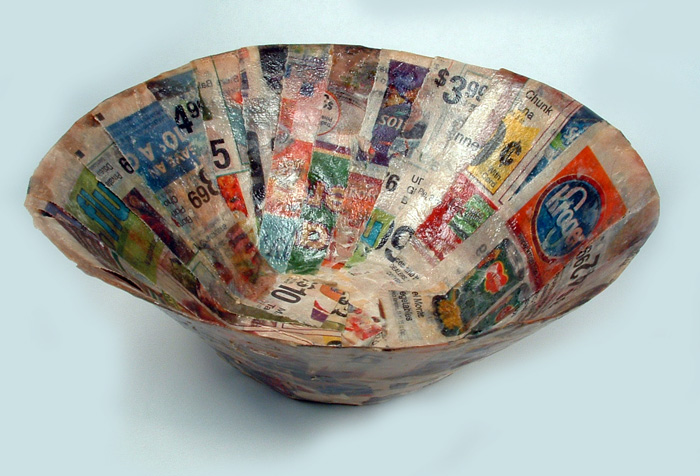
After all the plaster and paper-mache (or papier-mâché) work we did for our Halloween costumes, I thought this might be a good medium for this challenge. It wasn’t a bad idea, just an unknown path for me. I definitely learned a lot from this project.
I wanted to make a bowl for the little stuff that seems to get thrown on the counter. As it would be in the kitchen, I figured what better paper to use than the Kroger coupons I get every week (I do most of my grocery shopping there). This proved to be a good idea as the paper Kroger uses for its ads tears beautifully into strips. I then draped the paper-mache strips over some wooden bowls I had. I like their shape but not the material. I had covered the bowls with Vaseline to keep the strips from sticking to the bowls. Notice I am using the plural here for bowls. I managed to turn out one good bowl from the two starts. I then let this dry.
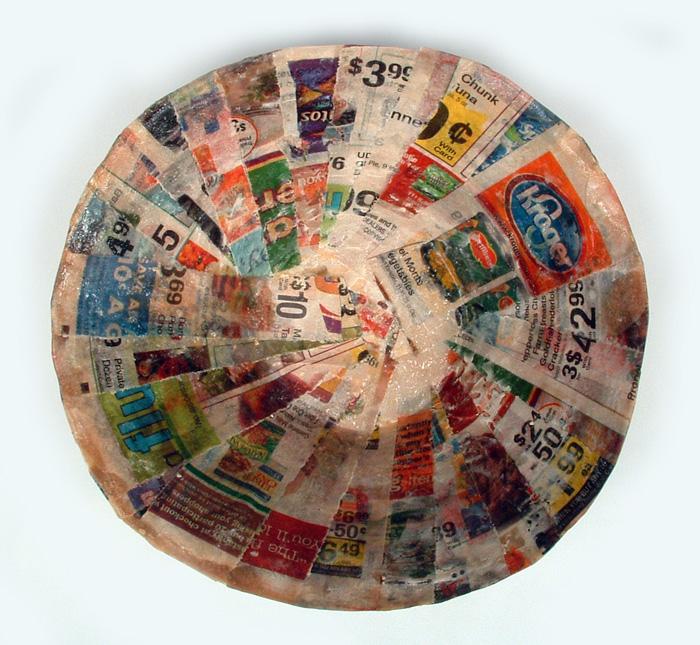
I am glad I used small bowls, as larger ones would not have worked at all. The Vaseline seemed to prevent the paper-mache from drying completely (this process works just fine with plaster, but not so much with paper-mache). I managed to pry the shapes off the wooden bowls, but pretty much destroyed one of the shapes in the process. I used some of the paper strips from the destroyed shape (which were not sticking together) to fix the salvageable one and this time I used some wood glue to keep the strips down. I let this dry overnight and started shellacking the bowl the next day. I did multiple coats all over the bowl. I really liked the effect of the shellac as it gave the newspaper a lovely aged look.
At this point, it was time to present our projects and mine was really not dry. I kept it on some wax paper to present to my Crafty Sisters and it worked out fairly well. It is now a week and a half later and I have just finished taking the photos you see here and the bowl is completely set and hard. It has turned out just like I wanted it to, I just needed to be a LOT more patient. I whined a lot about this project and I apologize profusely to my Crafty Sisters who had to listen to me. I am really happy with my final project although it took over a week to get there.

Lessons learned: 1. be patient; 2. do not use Vaseline with paper-mache or at least put plaster on top of the Vaseline and then do the paper-mache; and 3. shellac takes a long time to dry.
Happy crafting!

-Cheri

-Cheri
 But I tell you, I saw something under that foot.
I like drawing elephants. Their trunk and ears define them so well that just a few lines can bring an elephant to life. I used a yellow marker for the base of the squiggle then I used colored pencils to add the details and the shading. The browns are layers of yellow, blue and red.
I have never believed that elephants are afraid of mice, but this elephant has seen something under her feet that she wishes were elsewhere.

