All posts by thecraftysisters
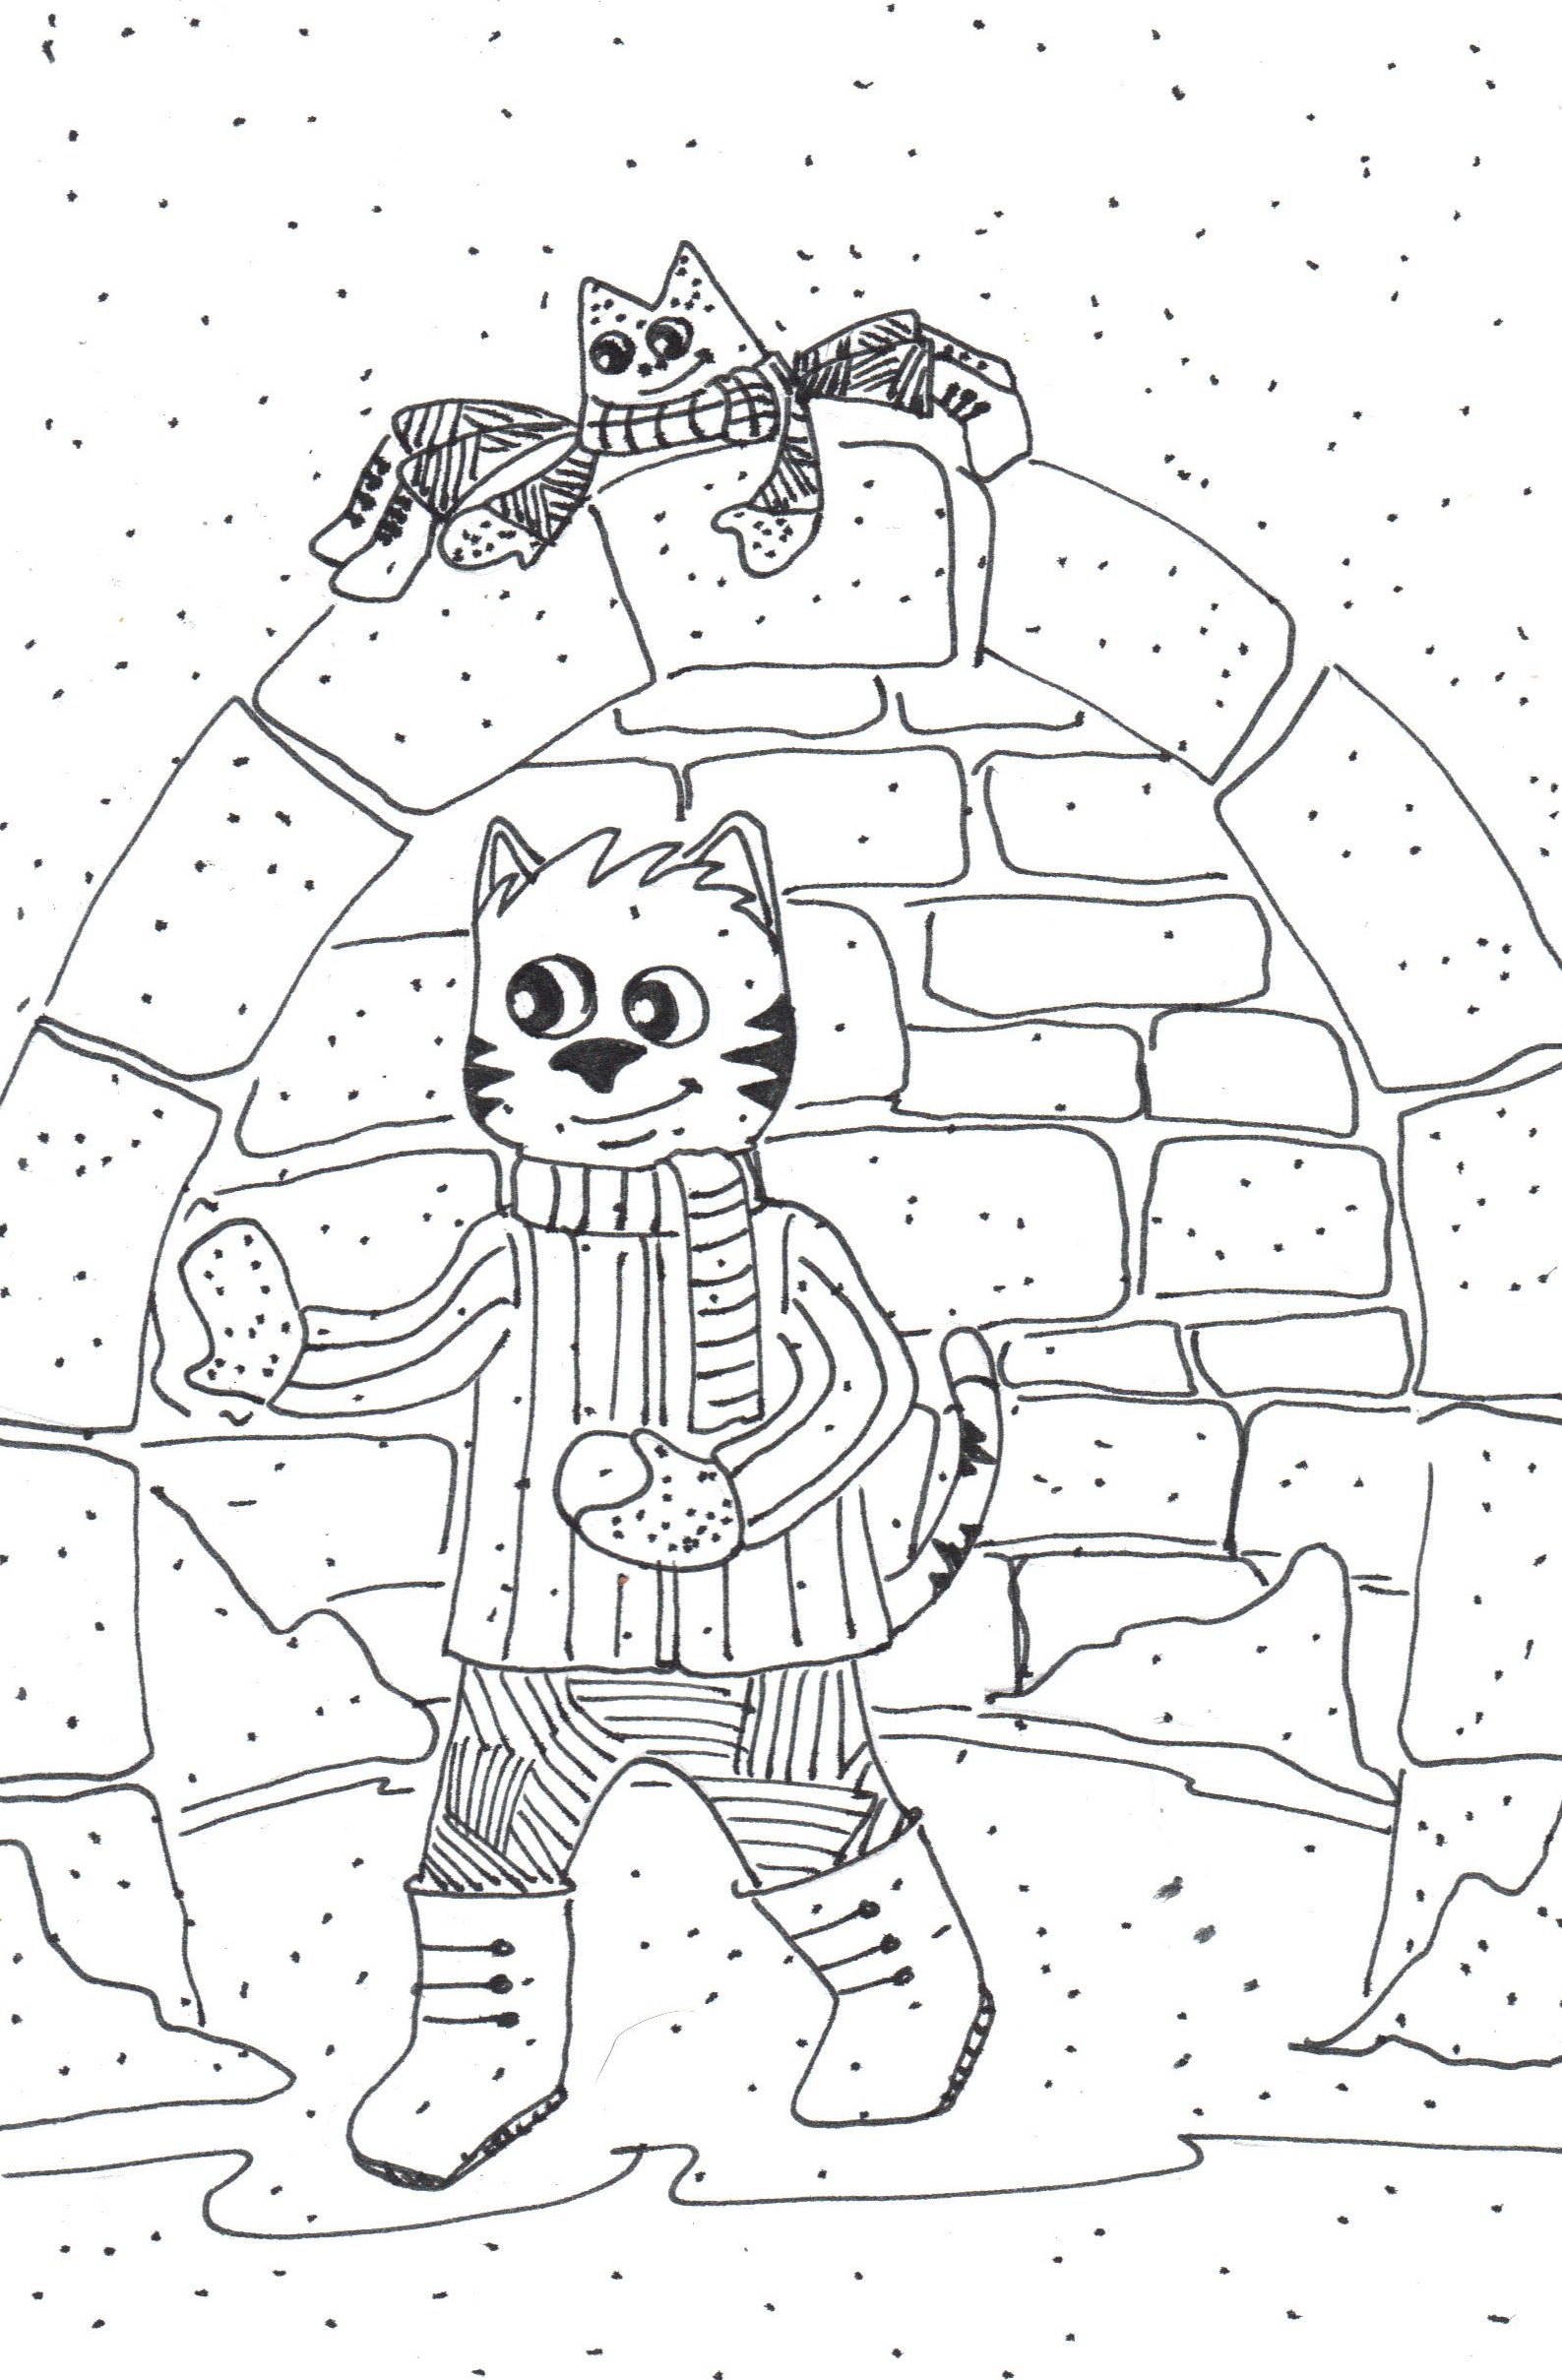
Snow! What a cat!

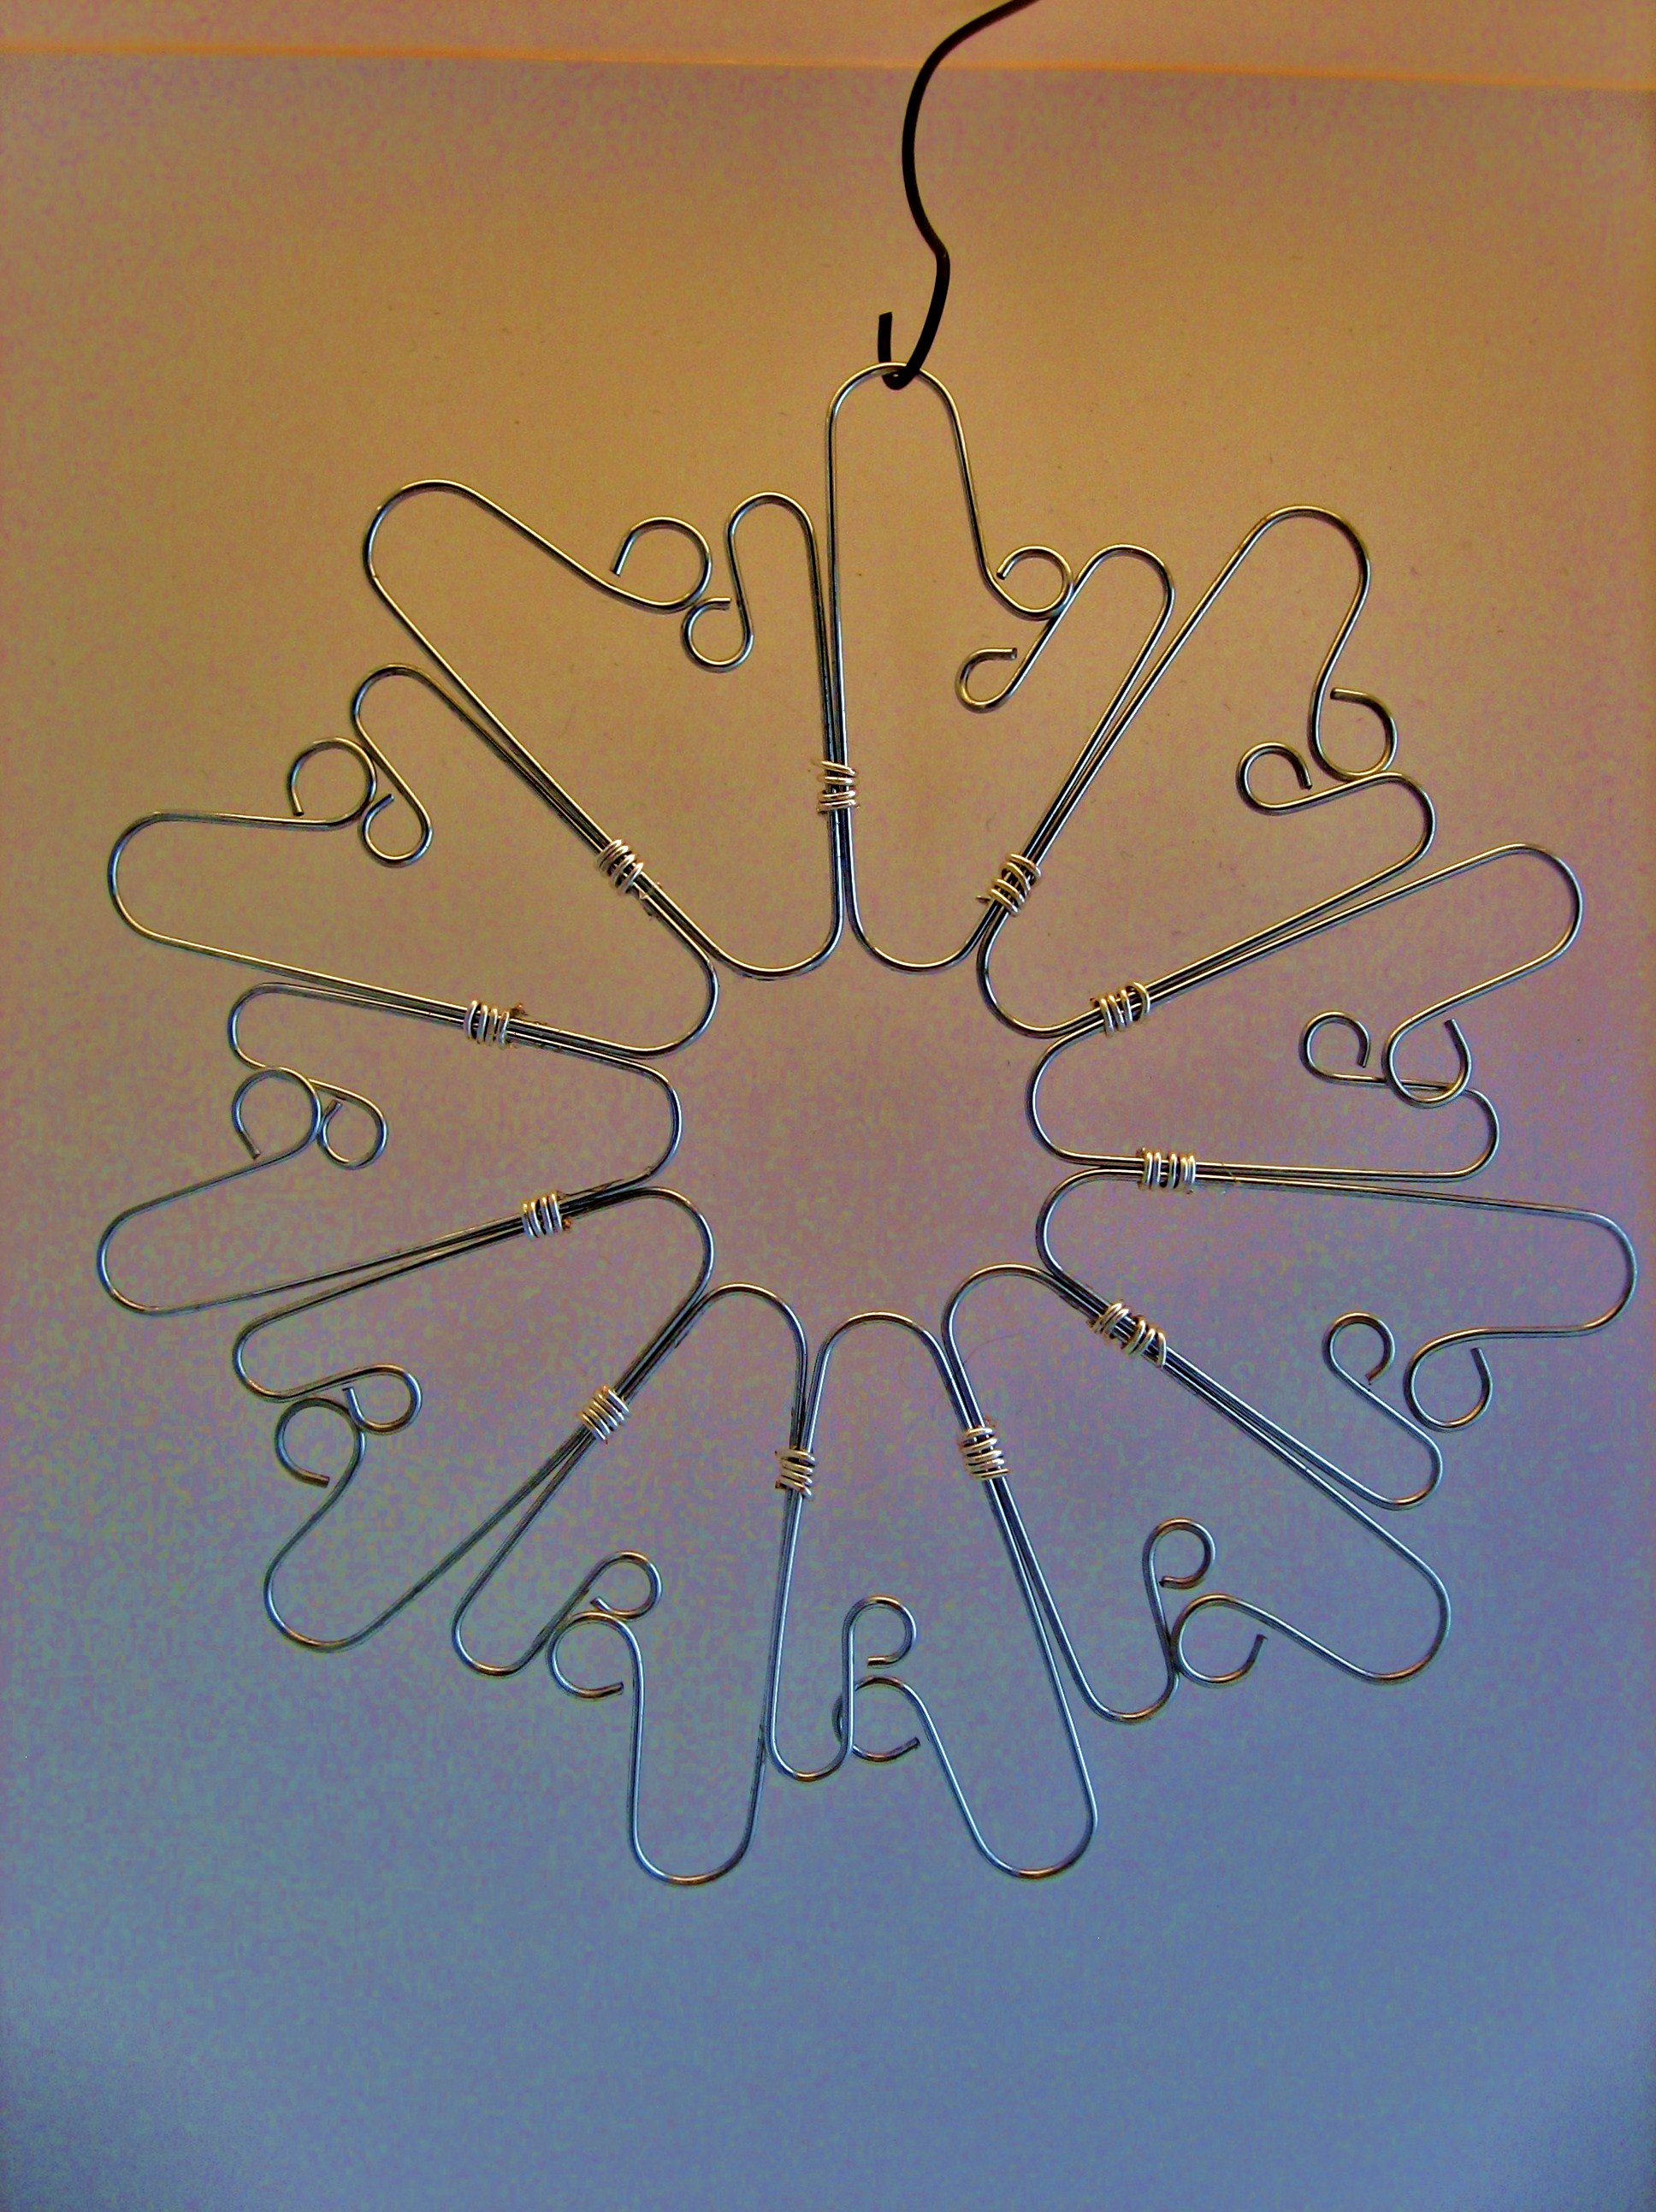
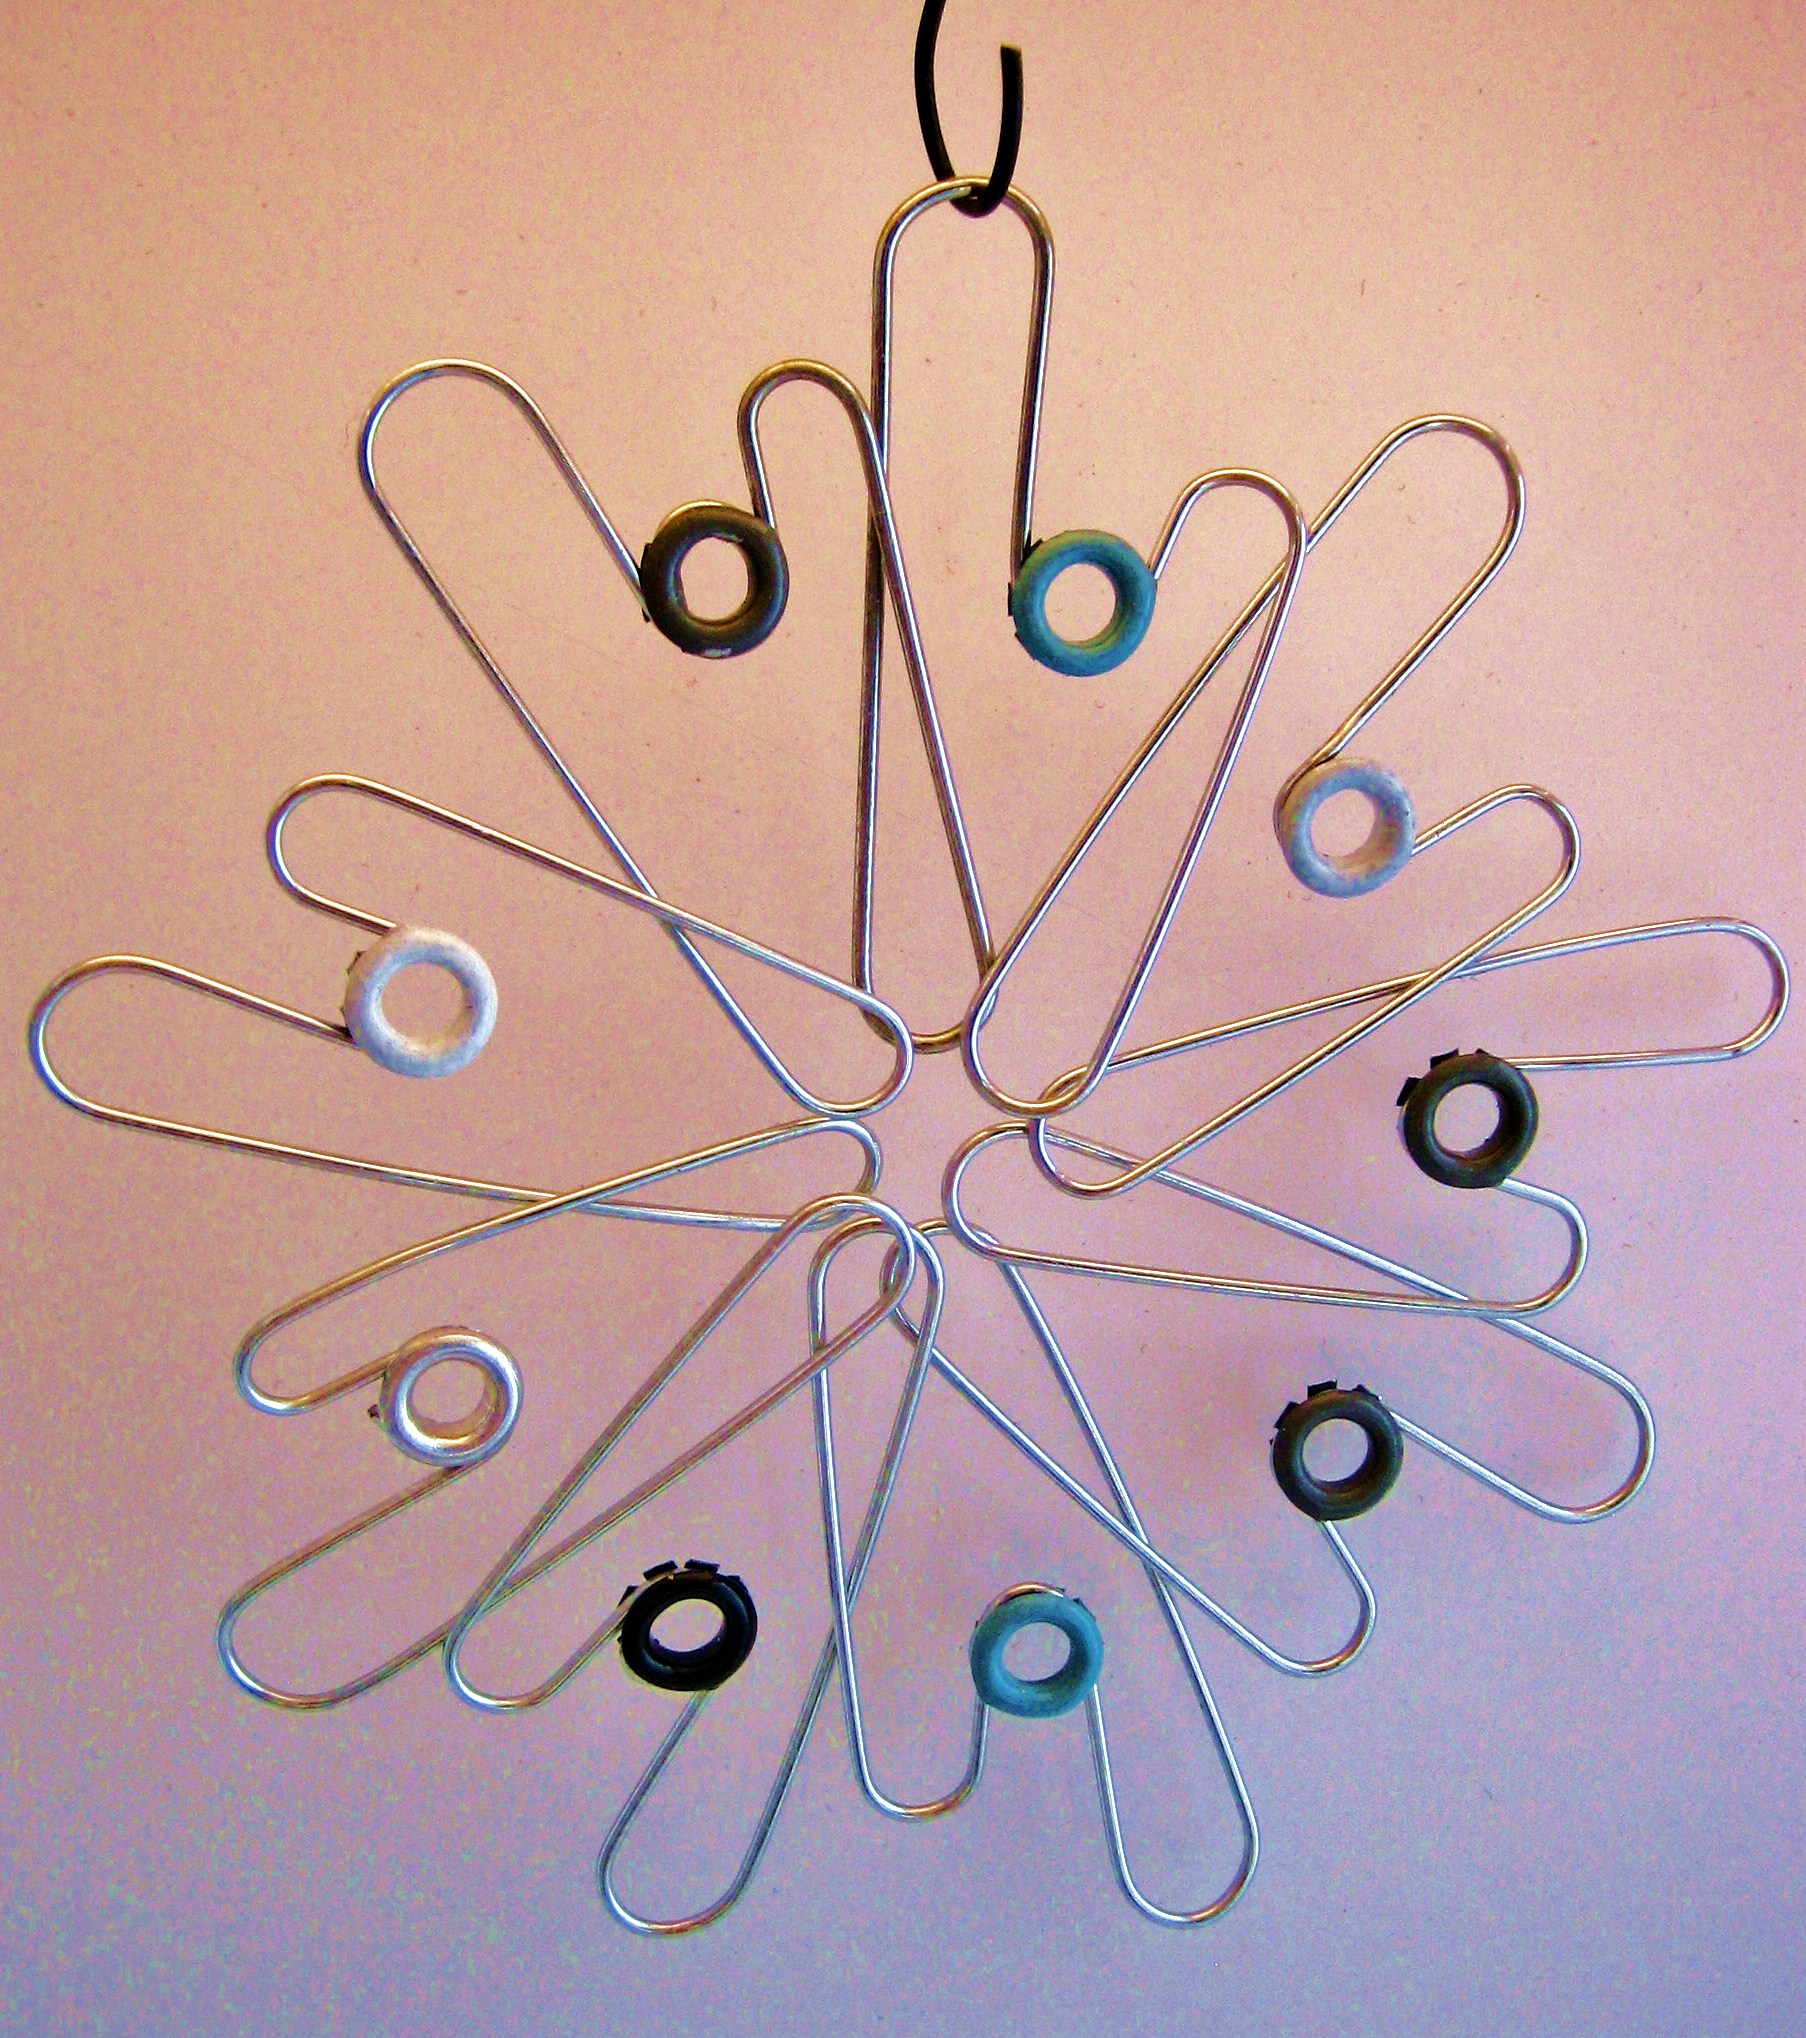
Paper clip snowflakes
Cheri-I hope everyone is having a wonderful Holiday Season so far.
These are two ornament that I made from paper clips.
Supplies
Large paper clips
Round nose pliers
Grommets
Small gauge wire
Glue
I first started by experimenting with different paperclip bends. I knew that I wanted to make a snowflake so I made sure that I would have a way to connect them to each other. After I had a pattern I liked, I began to work on the connection. The grommets worked great for the 2nd snowflake as I had a loop to affix it to. The top one I decided to wire, after I wired it I put a drop of E-6000 on each wire. This stabilized the connection.
Hope you are enjoying our Christmas countdown and again Happy Holildays.
Sunday Catoon. A new cat toy.

Vintage Button Christmas Tree Ornament
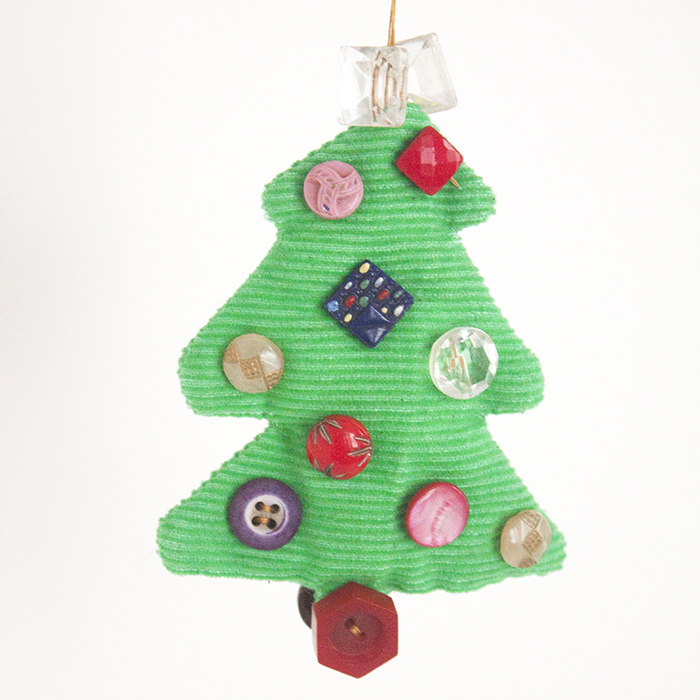
Loryn: I had some vintage green corduroy that I wanted to make into an ornament, so I made up the tree before deciding how to decorate it. I’ve collected buttons since we inherited my great-grandmother’s button box when I was six, so buttons seemed like a natural fit. Quilting or embroidery would look great, too!
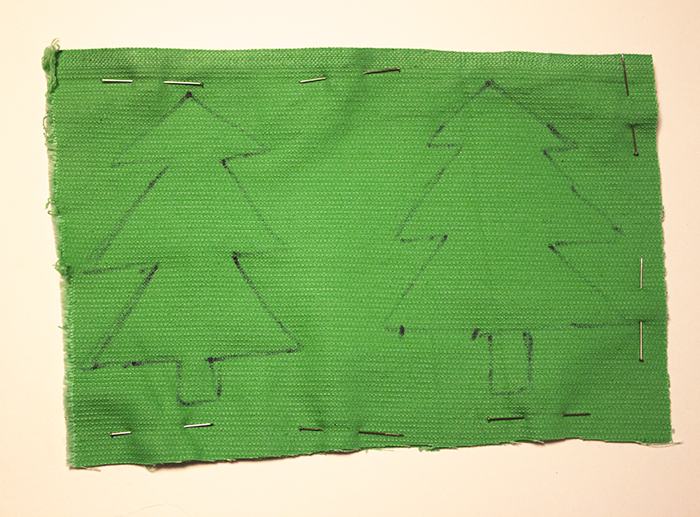
To get started, I drew out a couple tree shapes onto my corduroy, then decided which one I liked best.
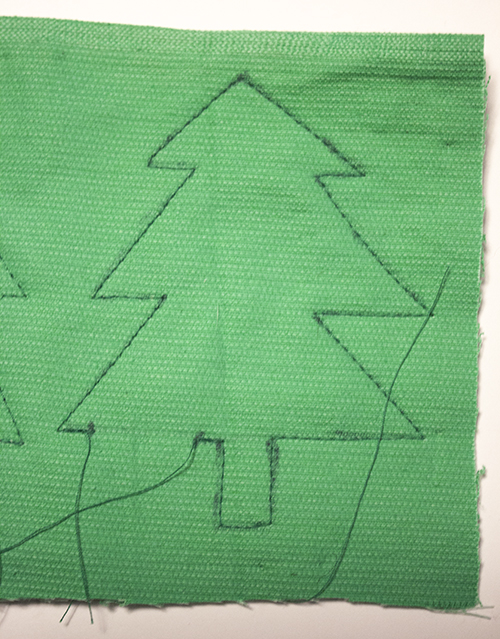
Then I stitched the tree, leaving an opening to turn and stuff it.

Then I cut out the tree. It’s much easier to sew an irregular shape if you wait and cut it out afterwards.

Then I turned the tree right side out.
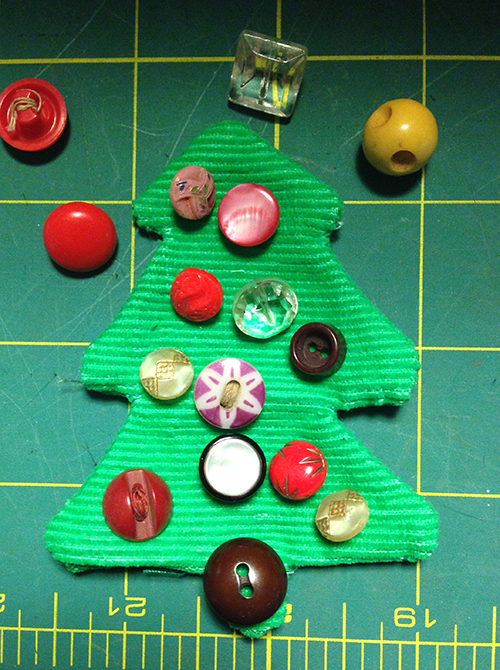
Then pick out what embellishments you want to use. I picked out buttons for each side of the tree.

Lightly stuff the tree with batting and stitch the opening closed.

To sew the buttons on, add one at the front and one at the back and stitch both on at the same time. When finished sewing through both button shanks or holes twice, make a quick knot underneath the button, and run the needle through the middle of the ornament to the next button location, without cutting the thread.

Make a hanging loop at the top after you’ve sewn on the “stars” and your tree is ready to hang!
— Loryn
A friend in need. What a cat!
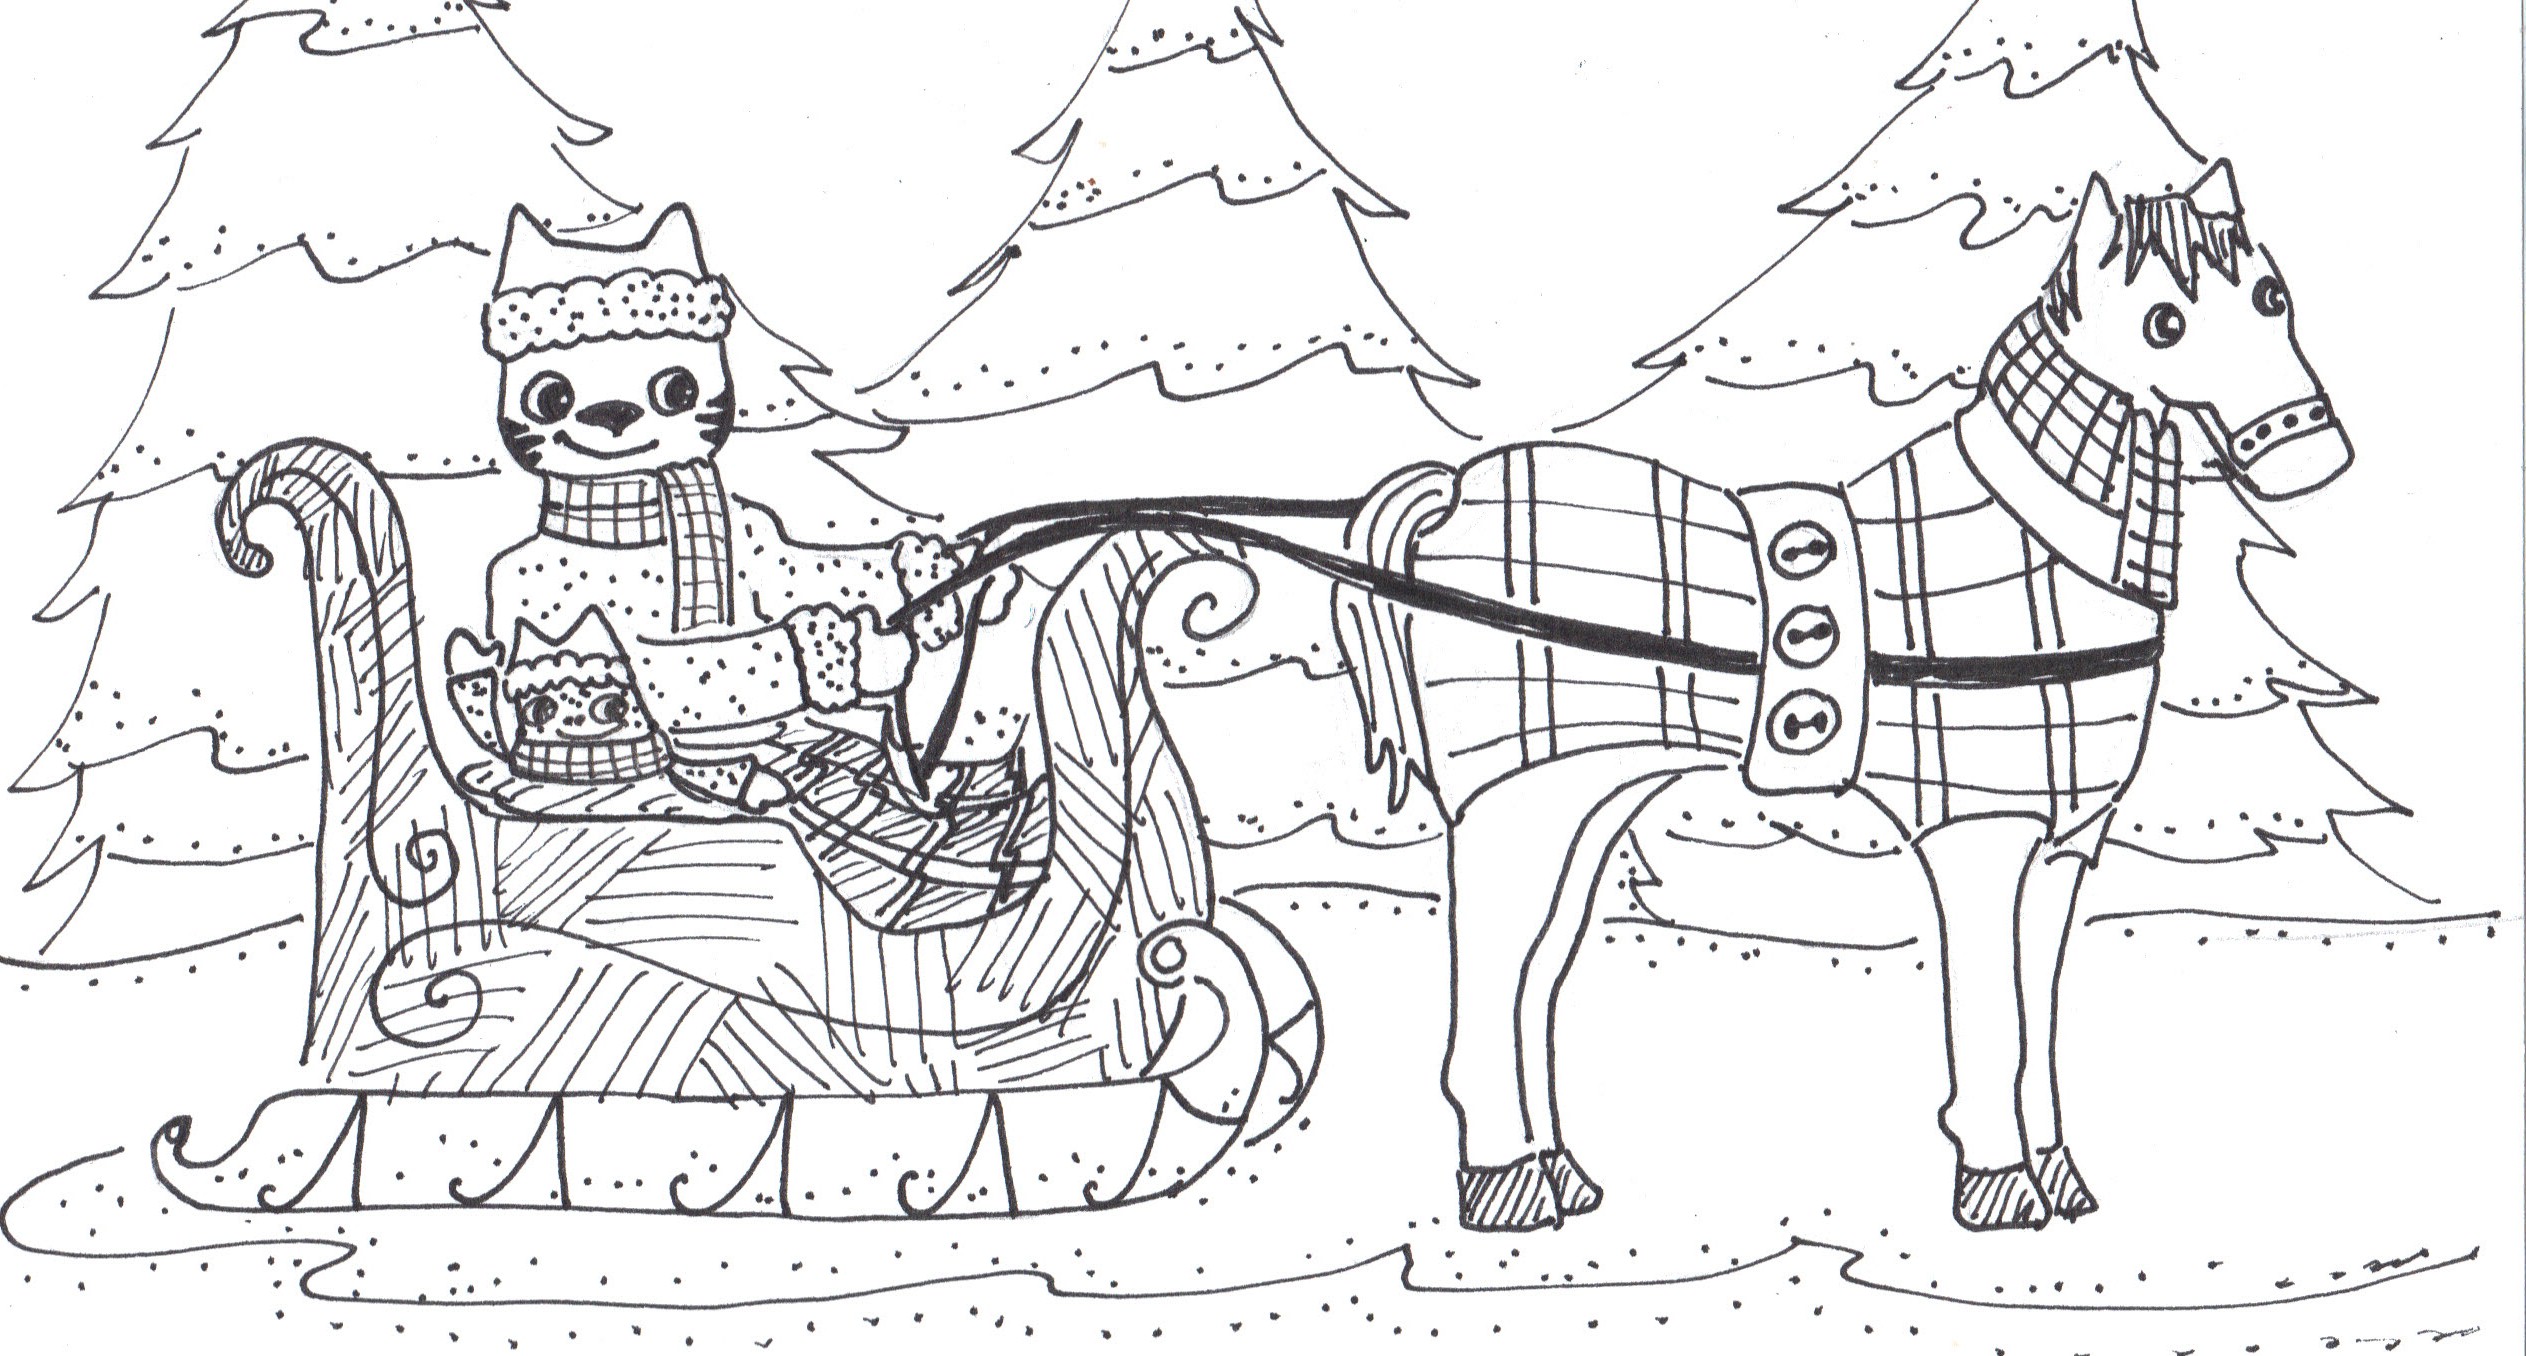
One horse open sleigh. What a cat!
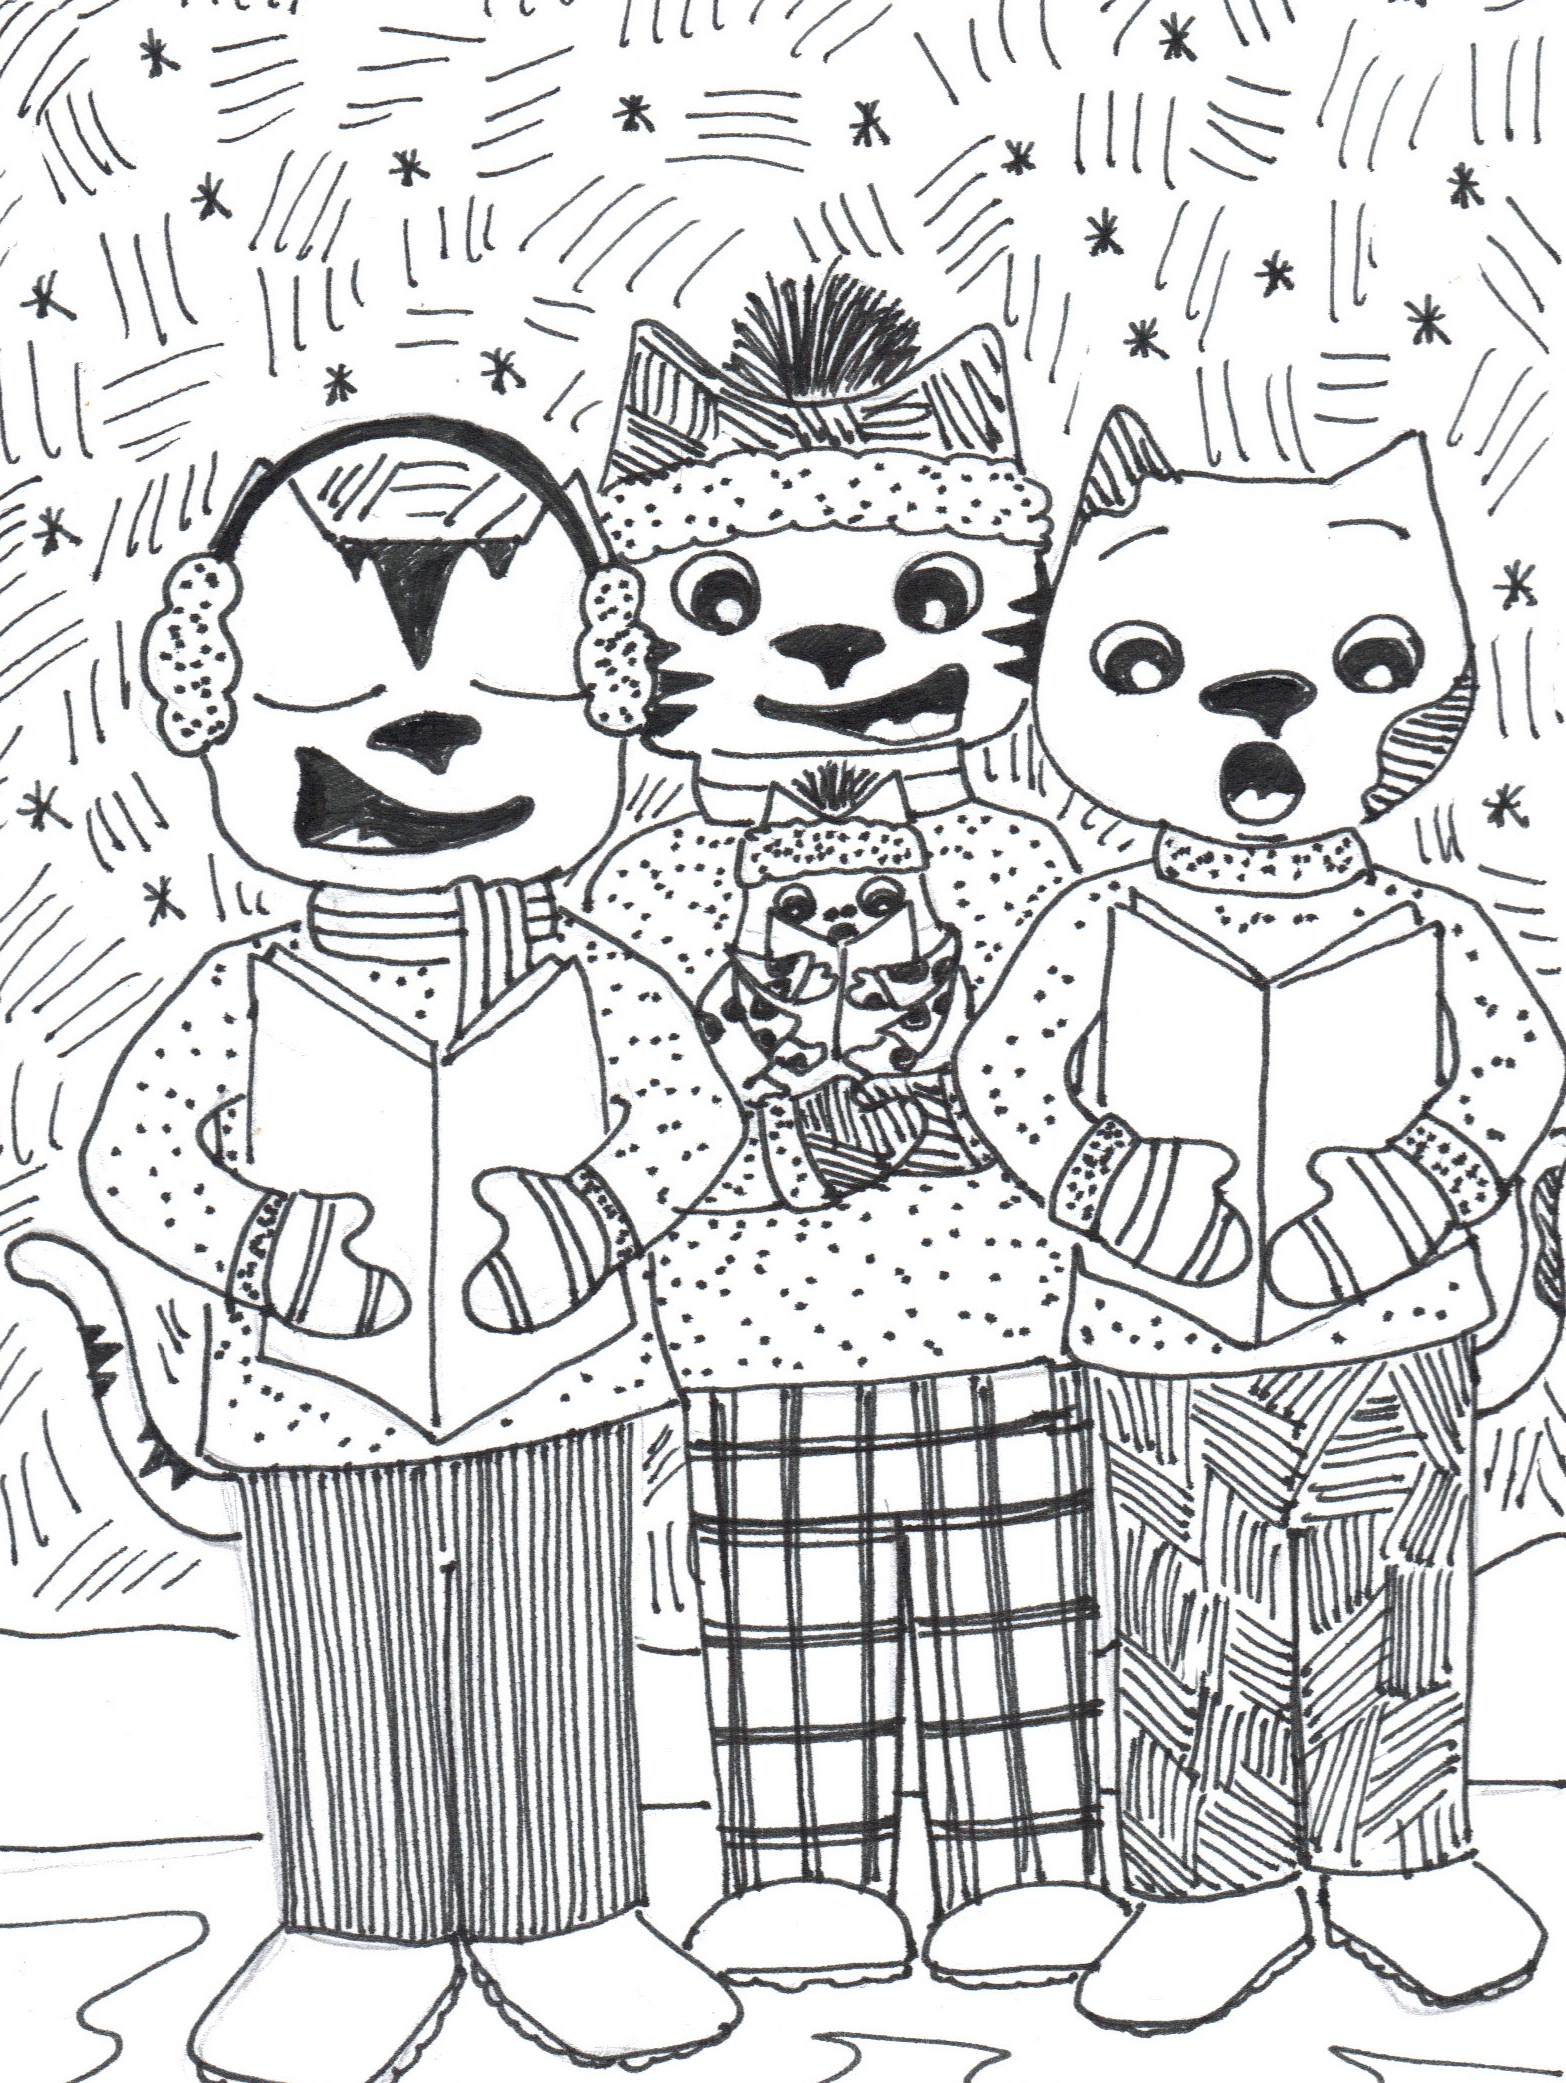
Caroling with friends. What a cat!
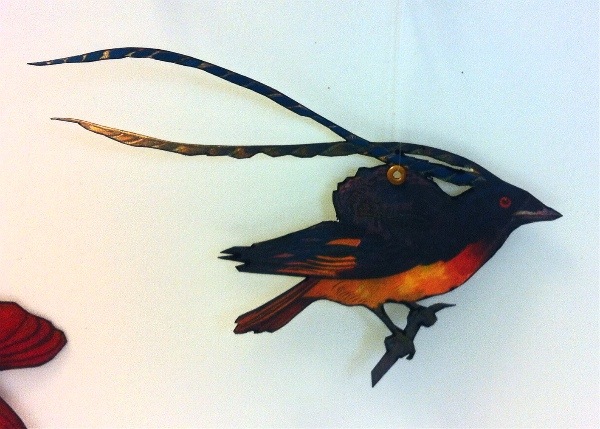
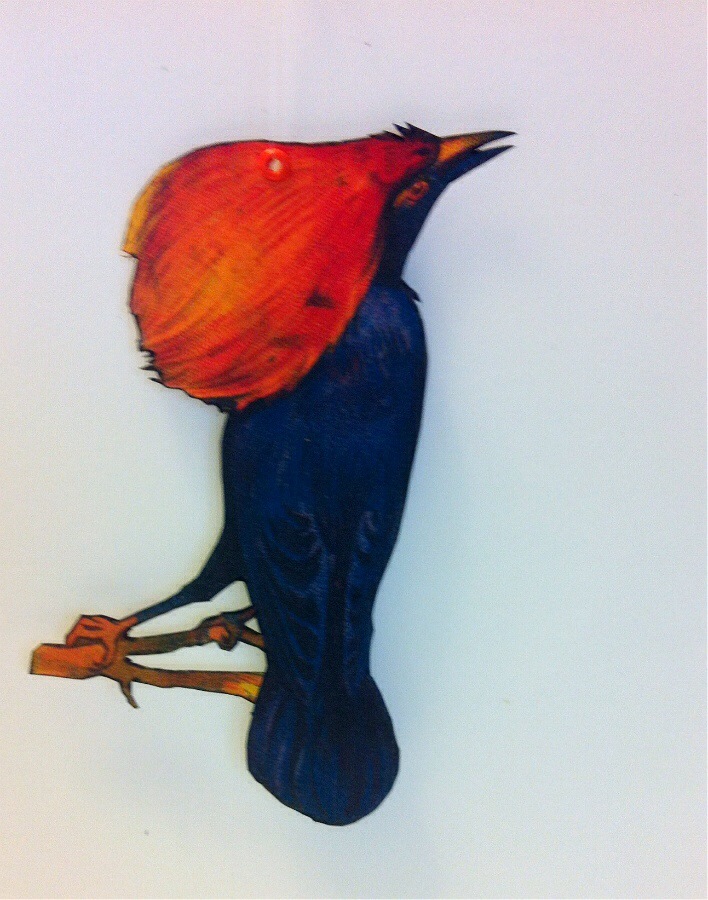
Christmas Advent Paper Bird Ornaments
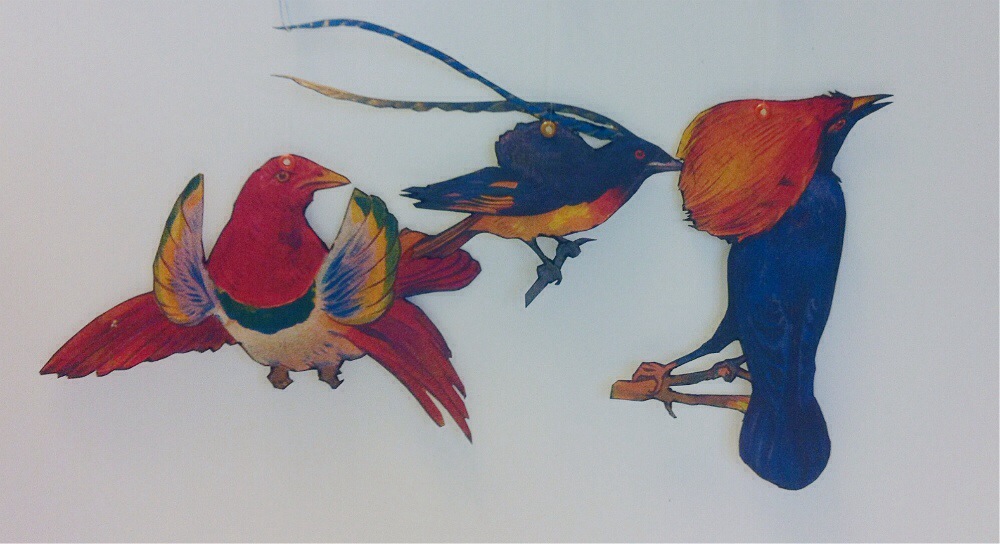
Lynne: I have always liked the old-fashioned glass bird ornaments with the real tail feathers, and for my third ornament of the season I thought I would like to do something with birds.
A couple of years ago my sister, Cheri, found an illustrated ABC book of birds published in 1916 and I was so awestruck by the illustrations, she gave the book to me. After a search online I found this tutorial for making paper bird ornaments:
Bird Ornaments from Country Living
I scanned my ABC book’s pages into Photoshop, sharpened and brightened the images and then printed them onto card stock.
I cut each one out with small scissors and an x-acto knife being careful to preserve as many details as possible. The edges were white and a little ragged from the cuts so I ran a black Sharpie around the edges to hide the white and to outline the shape of the bird.
I put a small grommet in the top of the bird and used fishing line for a hanger. I like fishing line because it is nearly invisible when an ornament is hung.
The ornament was so light weight, it floated oddly in the air and did not sit in its space properly. I have a plastic jug full of old curtain weights and I taped one weight to the back of each figure. Now they move as they should. I thought about sealing the birds with Mod Podge, but I liked the old worn patina they have. I can make more if these wear out or are damaged.
These ornaments were not too hard and I like that they can be used after the holidays. I’m going to replace the curtain weights with a piece of magnetic strip and put them on my refrigerator.
Have a happy ornament-making holiday.

Feeding the birds. What a cat!

