Loryn: Sometimes, you do something so thrifty that you’re amazed at your own cheapness. That’s just what happened for this cheap trick! I love this vintage mirrored tissue box, but it really irritates me that the tall square tissue boxes cost the same, with half the tissues. One day recently, I took a handful of tissues from one of the large bulk boxes, folded them in half with the folds facing the top, and put them inside my vintage tissue holder. Don’t stuff it full, and the tissues pop up perfectly! From the top, no one will be able to tell just how cheap you are!
Cat Burglar Link—What a Cat!
Link of Liberty—What a Cat!
Adventures in Garage Saleing

Lynne: Loryn and Kristin have already written about the great Saturday we had garage saleing together, so I thought I would add some comments to theirs. It is unusual that we are all together and still have enough time to spend on a morning of garage sales. It’s really an immense amount of fun, although we have to account for the space two more people occupy and buy accordingly.
I have been looking for the past two years for a harrow for my brother. I have sent him endless photos on my cell phone of seeders and harrows and other things with interesting parts but no specific name. All of which were busts.
Cheri and I were talking Saturday morning about some of the finds we had made and I mentioned that Bob’s harrow was being extremely elusive. I told her that I may have to give up that find. One garage sale later, I stared in disbelief at a harrow. I know that it is probably coincidence, but it is not hard to believe that some spirit of garage sales has aligned my wants with the items in a sale.
If you look at Loryn’s and Kristin’s post, you will see that the Subaru was full to the brim and the harrow was not something Cheri and I wanted to put on our laps in the back seat. Kristin is ever prepared and had bungee cords to strap the harrow to the roof carrier. It did make a weird whining sound on the way home, but it was safe and sound and is tucked in the garage. (Bob, if you’re reading this it’s still in the garage.)
That was my find of the week and is another notch in our tally book of garage sales. Good hunting out there and may all your notches be as satisfying.
Lynne: I was looking at the blogs I have subscribed to and came across this new addition to Teri Partridge’s blog. I like how sure she is about placing the lines of the drawing. I’m still using scribbles to place the first lines. Anyhow, check out her video for Watercolor Whimsey part A. I can’t wait to see the rest.
Daily Squiggle

I was going along gangbusters with my scribbles until Teri Partridge mentioned to me that I could be stuck in a rut. She suggested that I have others do a scribble for me and then I would turn their scribble into a squiggle. Art teachers…all teachers…can never leave you alone. Something about growth, I believe.
Here is the drawing that resulted from a scribble by Loryn. It’s funny but these are not as easy to do as my own. It’s hard to believe that a scribble is so distinctive to its owner, but I have found that the squiggle can even look like the person who drew the scribble. Go figure. Isn’t the human brain wonderful.
-Lynne
Recycled Cashmere Yarn
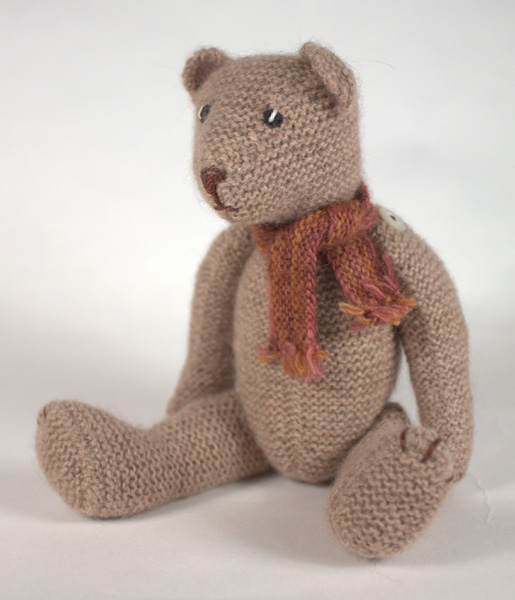
Loryn: All of the Crafty Sisters love being thrifty, and it’s hard to beat the cost of recycled yarn. I pick up wool and cashmere sweaters at garage sales and thrift stores for a few dollars, and with a little work, I have beautiful and very inexpensive yarn. The little guy pictured above was made with recycled cashmere yarn from a fine gauge sweater. He is a miniature, knit at about 10 stitches per inch. The pattern came from The Knitted Teddy Bear, and the original is about 13″ tall. My version is about four inches tall, knit on 00 knitting pins. I hand dyed the yarn for his scarf. Cashmere takes kool-aid and food coloring dyes beautifully, and I’m working on another hand dyed, recycled cashmere project right now.
This is a Lands End cashmere sweater that I picked up for about $5 at Goodwill. When you’re looking for sweaters, look for high quality sweaters. Inexpensive cashmere will easily break, and very cheap sweaters will be cut rather than knit into shape (“fully fashioned”). You don’t want the ones that have been cut from a large piece of knit fabric, because you can’t unravel the pieces as one piece of yarn. It is also nice to find sweaters that are assembled with a chain stitch, which is easy to pull out. Once you have disassembled your sweater, you’re ready to start unraveling it.
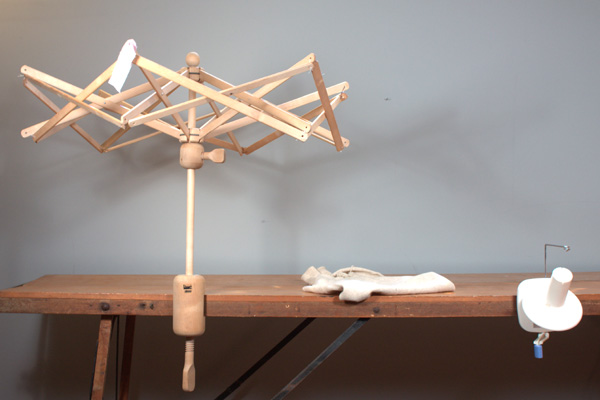
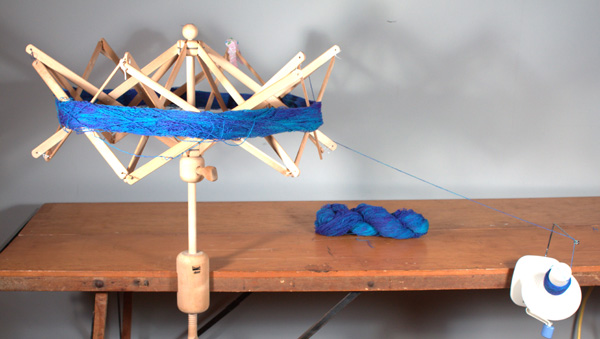
The easiest way to unravel a sweater is to use a swift. Here, you can see mine. They are not cheap, but are well worth it if you use a lot of recycled yarn, or buy a lot of yarn in skeins. When I first started out, I would unravel the yarn and wrap it around an 18″ piece of cardboard, so I could count my yards. The swift is nice because it does the unraveling for you. Just hold onto the sweater and spin the swift! Of course, you may enjoy pulling the knitting apart. Kristin sure does—she spent her childhood pulling my knitting projects apart every time I set them down!
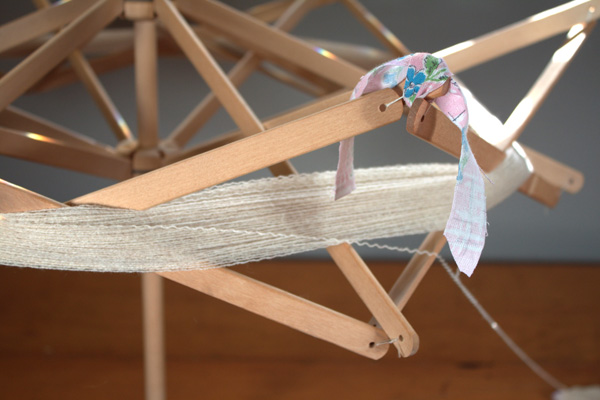
Here you can see the yarn part way unraveled. The pink tie is there so I can count the number of turns (and thus keep track of yardage).
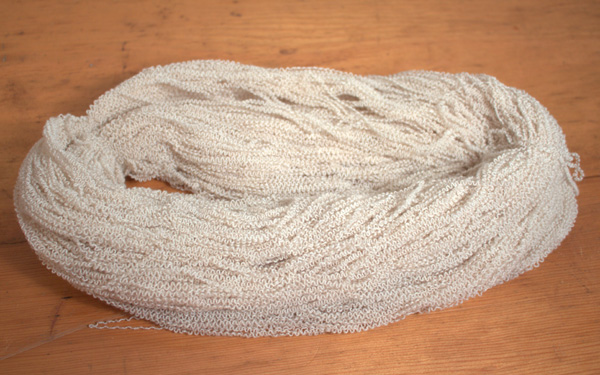
When you take the completed yarn off the swift, it looks like this. It’s easy to straighten back out by wetting and weighting it. But first, I plan to hand dye these two skeins.
A lot of dyes are toxic, or use toxic mordants even if the dyes themselves are natural. These aren’t the kind of substances you want to use in your kitchen, especially around kids or pets. Luckily, you can dye protein fibers like wool and cashmere with kool-aid or food coloring. I’ve tried both with great results. Kool-aid dyes are more limited in color, and leave your yarn smelling fruity, so I prefer Wilton icing dyes. They come in a wide range of colors, and a little goes a long way. For this project, I’m using Royal Blue and Violet.
There are a lot of great tutorials on the web for dyeing with food coloring. I used both this tutorial from PieKnits (though I did not bother to use a thermometer. I just winged it and it came out great), as well as this YouTube video from Chemknits. Both were very helpful.
When my yarn was dyed, I stretched it in the tub to remove most of the kinks.
Here, you can see my highly scientific method! Just hook the yarn over shower rings and put a heavy bottle on the bottom. If you’re not hand dyeing your yarn, just skip to this step.
Once dry (and make sure it is very dry), it is ready to wind into a ball.
Here, I’m just getting started winding it onto the ballwinder. You can do this step with someone’s arms and just wind the yarn into a ball. I like the winder because it makes my thrifty recycled yarn look very expensive and fancy.
Speaking of, here is the finished product:
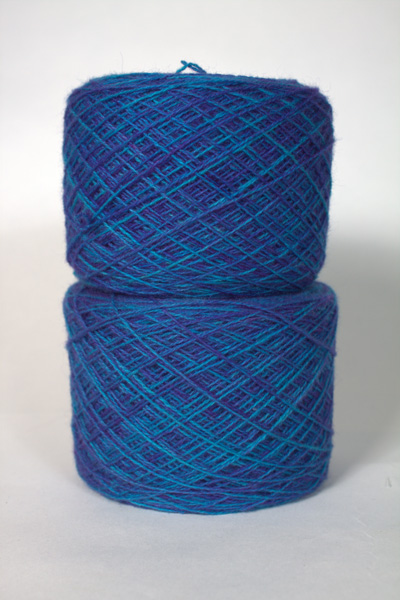
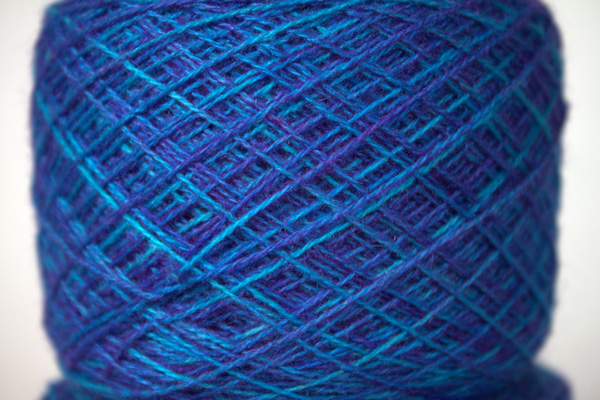
I love the color variation you get from hand dyeing! Here is a close up:
Cashmere yarn can be in the budget of the thriftiest knitter! I’ve even found a few worsted-weight cashmere sweaters at the thrift store, so keep an eye out! I only unraveled the sleeves, for a total of 640 yards of lace-weight yarn. Now it’s ready to knit!
—Loryn
Trout Fishing—What a Cat!
Finished Objects! Paisley Bag
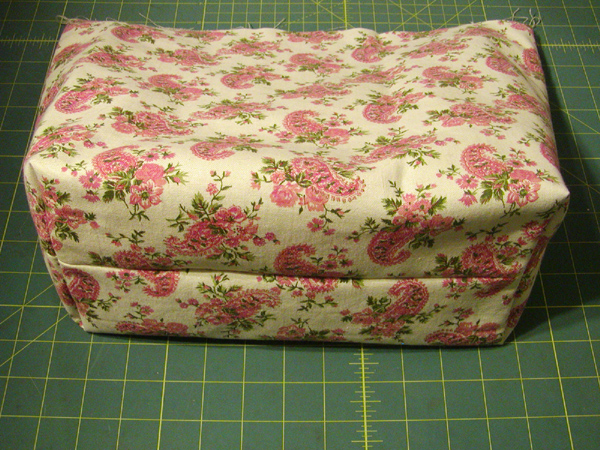
Loryn: I have a finished object! This is the first one from my Unfinished Projects post. Last week, it looked like this:
I sewed up the bottom of both the bag and the lining first:
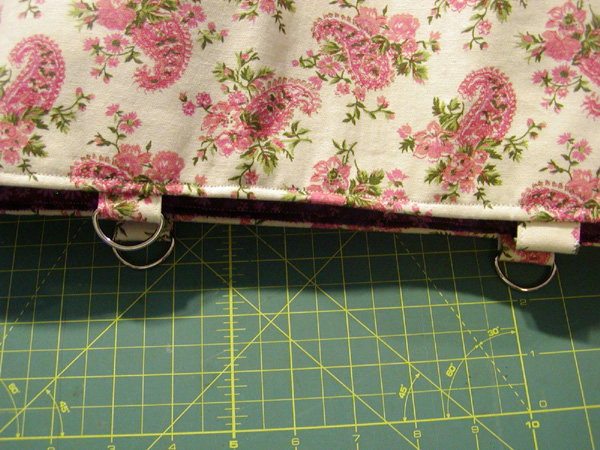
Then I made the small pieces that attach the hardware to the body of the bag, and sewed them to the top of the bag:
The next step was to sew the lining in with the right sides together. I leave an opening in the bottom of the lining so I can turn the bag right side out. With a row of topstitching around the top, it was ready for handles.
The handles are doubled, so I ironed them into a bias tape shape, threaded them through the rings, and sewed the ends together. I then did the edgestiching. It was a little trickier, but it prevented two of my sewing pet peeves. One, I didn’t want a bulky spot from sewing two four-layer, edgestitched ends together. Two, I hate turning tubes. I have a nifty bodkin, and I’ve read scores of tips in Threads, but I still end up with frayed pieces of fabric and even more frayed nerves. So, I cheat, and just fold the edges in on one side. If you stitch carefully, no one will ever notice. Here is one of my cheater pieces:
And here are the finished handles:
I love my new bag! I’m making up a small wristlet to carry with it, and I’ll post that in a few days. One unfinished project finished!
—Loryn