An envelope rhyme comes alive,
when the lines have eight syllables.
With strict straightforward simple rules,
lines two, three, one and four must rhyme.
-Lynne
An envelope rhyme comes alive,
when the lines have eight syllables.
With strict straightforward simple rules,
lines two, three, one and four must rhyme.
-Lynne

Link once made his living on the vaudeville stage. Cats are good at talking without moving their lips.
–Cheri

Lynne: This guy stayed a scribble and turned into a walking squiggle reptile. I liked the primary colors which were done first with markers. I did the shading with colored pencils.
I’d have a lot of fun walking one of these down the street.
I want to do a three six five,
and start on January one.
A poem complete neatly done,
an envelope rhyme come alive.
-Lynne
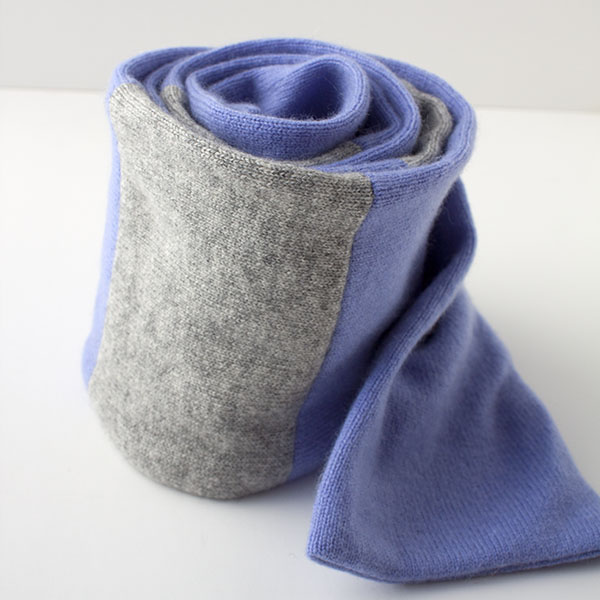
Loryn: We Crafty Sisters bounce a lot of ideas off of each other, and this cashmere scarf design was the result of a great collaboration. My stepdad (Lynne’s husband) asked for a cashmere scarf for Christmas. Lynne found one for $55 on Amazon, but she was sure there was a thriftier, crafty way to make one.
She and I started brainstorming. I did have a stockpile of thrifted cashmere sweaters to take apart for yarn (see my yarn post here), but she didn’t want to knit a scarf. What about sewing a scarf from the sweaters? The sweaters aren’t big enough to make a complete scarf without seams, making stripes ideal. A tube design hides all the seams and makes a double thickness that feels wonderful. Lynne took several sweaters to experiment with, and came back with this:
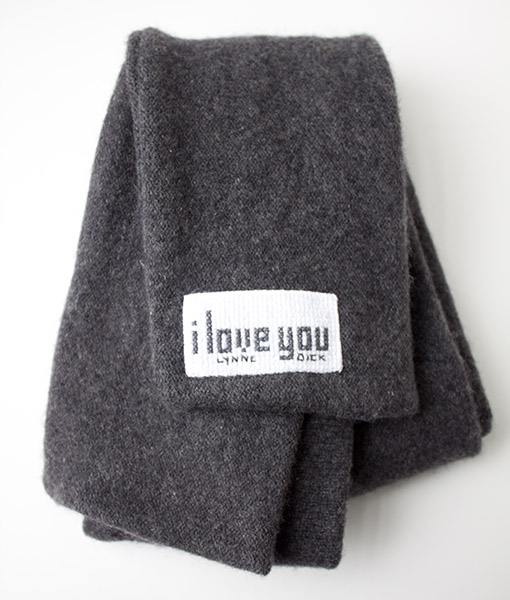
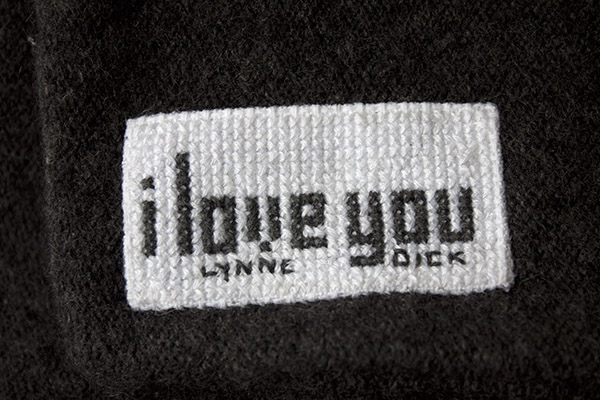
She made it in one solid color for an understated look. The fabric came from a vintage Scottish cashmere vest, so it is the most unbelievably soft scarf you’ve ever felt. She also made the fantastic cross-stitch label:
I loved the scarf so much that I immediately began planning to make a few of my own. Here are the steps:
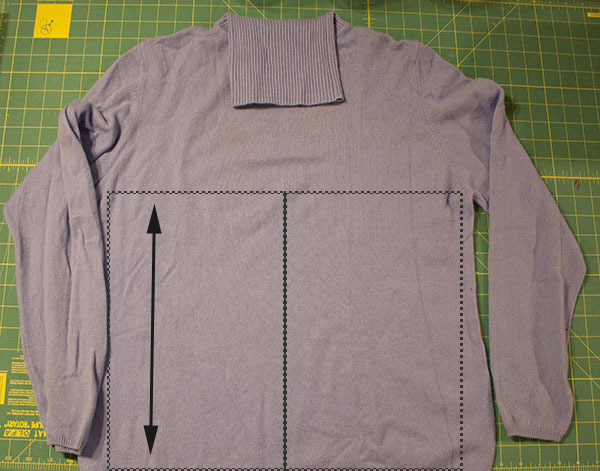
Lay out your sweater so you can plan your scarf. I used four rectangles from each sweater, two from the front and two from the back. The width will depend on the size of your sweater. For this Medium size, I made each rectangle 9 1/2″ wide and 13″ long (up to the armscye).
The scarf will be less likely to stretch out of shape if you keep the rectangles aligned with the vertical length of the sweater (the direction of the arrow). If you cut the rectangles in the other direction, they will stretch more. This rule can be broken like any other, though, so experiment away!
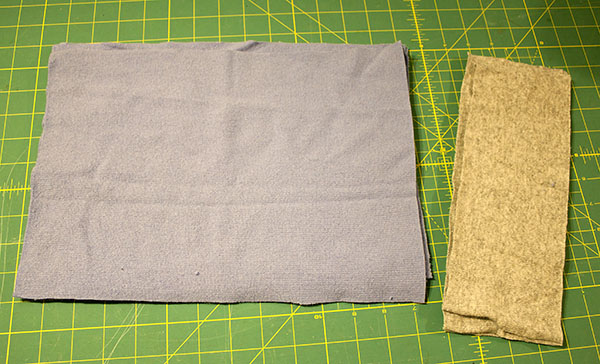
In addition to the four rectangles from the blue sweater, I also cut three 9 1/2″ by 4″ rectangles from a gray cashmere sweater. Again, keep the stretch of the knit crossways to your pieces.
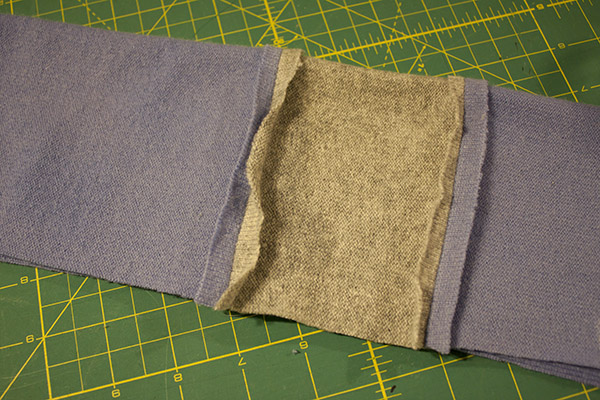
In this step, I’ve sewn the stripes together on the 9 1/2″ edge, alternating colors. Press the seams open when you’re done. Then, fold it in half and sew across one short end, down the long side, and turn the corner of the other end, leaving a small opening to turn the scarf. Turn it, and slip stitch the opening shut (see a slip stitch tutorial here). I gave it another pressing, and it’s done!
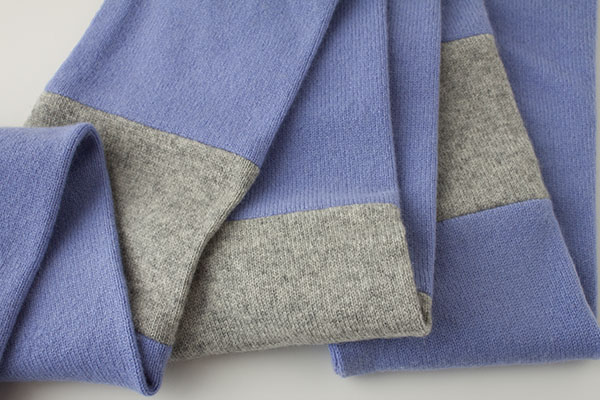
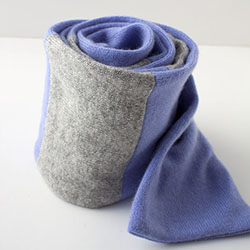
These scarves are very quick and easy, and we’ll be whipping up a lot of them for gifts and for ourselves!!
–Loryn

-Cheri

-Cheri
Cats have a titanic sense of balance!

–Cheri

Cheri: I thought I would post a few of the items that I made for my sis and my nieces for Christmas. I will start with the bracelet that I made for my sis.

Lynne does a squiggle usually daily, she then goes on to create a character or a person, or even a thing and then works on her color and shading of the squiggle. I especially love her squiggles and look forward to seeing them each day.
When I think about making something for someone, I try to consider what I would like to receive. I know my sister likes bracelets so I was pretty sure that I wanted to make her a bracelet. When I thought about it a little more, I realized that her squiggles would be awesome shrunk down and made into a bracelet for her.

I bought a bracelet blank at Hobby Lobby. I then copied her squiggles from our blog and shrunk them down to size. I chose which ones I wanted to use and cut them out. I then glued them to a small piece of card stock and then glued all of that to the blanks. After I was sure that these were dry, I filled the blanks with Mod Podge Dimensional Magic medium. There are a lot of other resins that can be used but I really wanted a medium that would be very low fuss.
I am really quite proud of how it turned out and she really loved it.

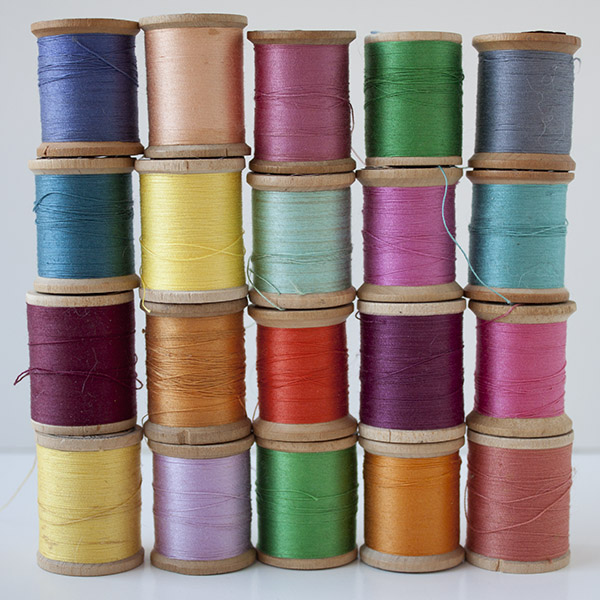
Loryn: Conventional sewing wisdom says that shouldn’t sew with old thread, because it breaks too easily. This is one of those areas where I ignore conventional wisdom, and I think you should, too.
I see lots of vintage thread at garage sales and auctions, and I buy it whenever I can. The best part is that you can get a wide range of colors that are hard to find in modern thread. I haven’t had any trouble with old thread breaking, but I wouldn’t use it for parachutes or the crotch seam of your pants!
My favorite use for old thread is for topstitching, especially the small, brightly colored spools from the 30s to the 50s. You can find it in great colors, it’s usually 100% cotton (so it has great luster), and only using it for topstitching makes a small quantity go farther.
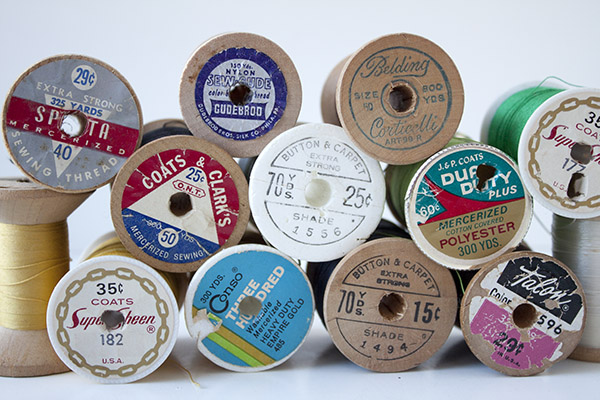
I use larger spools of thread from the 60s and later for general sewing. Just like with the older thread, you can find it in unusual colors to match vintage fabrics, and you can find lots of different weights. And you just can’t beat the price!
–Loryn

