Category Archives: Creativity

Goblin Ball Halloween Costumes Pt. 2

Happy Halloween (again) to all our readers who celebrate this weekend (and Monday)!

This year my SO and I decided to be attendees to the Goblin Ball, from the movie Labyrinth and here is an excellent video of the ball scene (and yes, that is David Bowie as Jareth, the Goblin King).

In my previous post I talked about and had pictures of our masks. This post is all about the rest of my costume. I will start from the top!

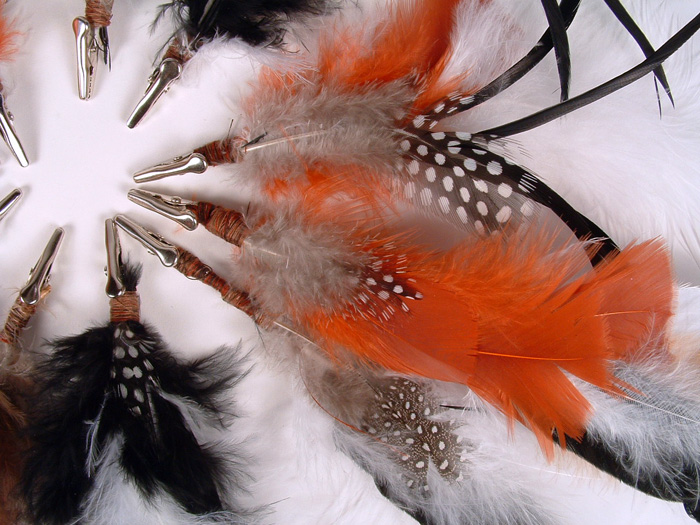
My hair is going to be huge. I have some blonde spray to put some streaks in it and made these wonderful feather clips to add volume, color and texture.
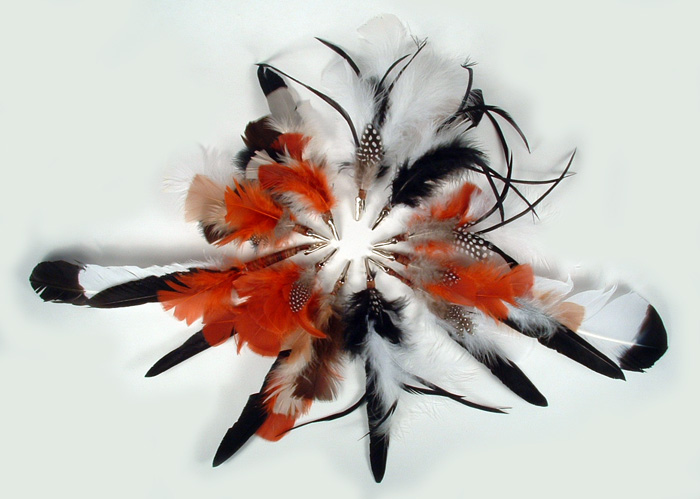
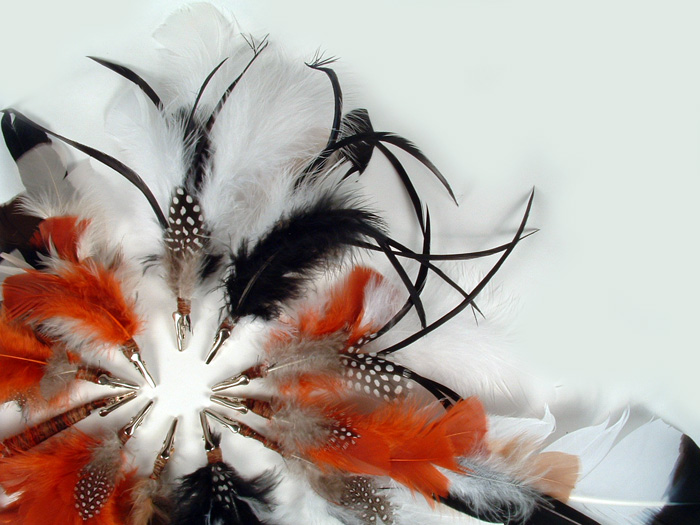
Photo of feather hair ornaments.

Photo of feather hair ornaments.

Photo of feather hair ornaments.

Feather Hair Decorations
Feathers wrapped around clips.

They were pretty easy to make. I bought a bunch of alligator clips and wound the feathers on with thread.

My dress was a bit trickier. My SO and I wandered around a bit and finally landed in a costume shop. There wasn’t much on the shelves that wasn’t Leggy Lane (sexy whatever) and I was getting a little disappointed. Then, one of the ever so helpful salespeople told me that since they are planning on moving to another location next year, they are selling as much of their rental costumes as possible so they don’t have to move them. This sounded promising and there it was, the perfect ballgown type dress. And even better, it needed some work which meant I could negotiate a price.
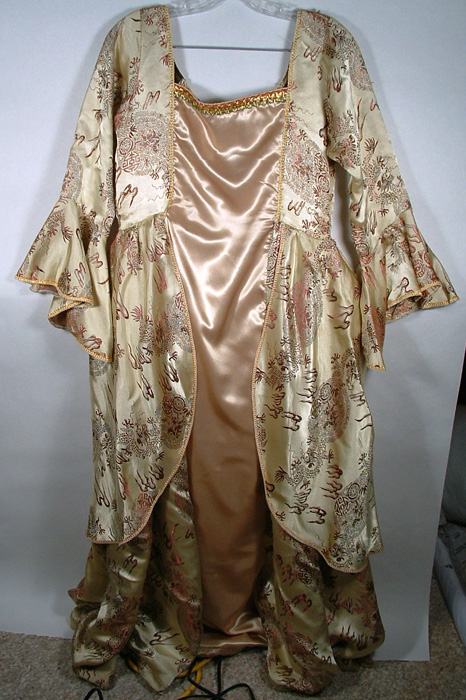
Photo of ball gown costume.

After talking to the owner of the costume shop (and making sure he saw the tears and problems), I got the dress for $15. I didn’t have to put too much work into it, it needed cleaned pretty badly and a couple of seams had ripped. So, thankful for polyester, I threw the dress in the wash, stitched up the seams and ironed it and it looks pretty good.
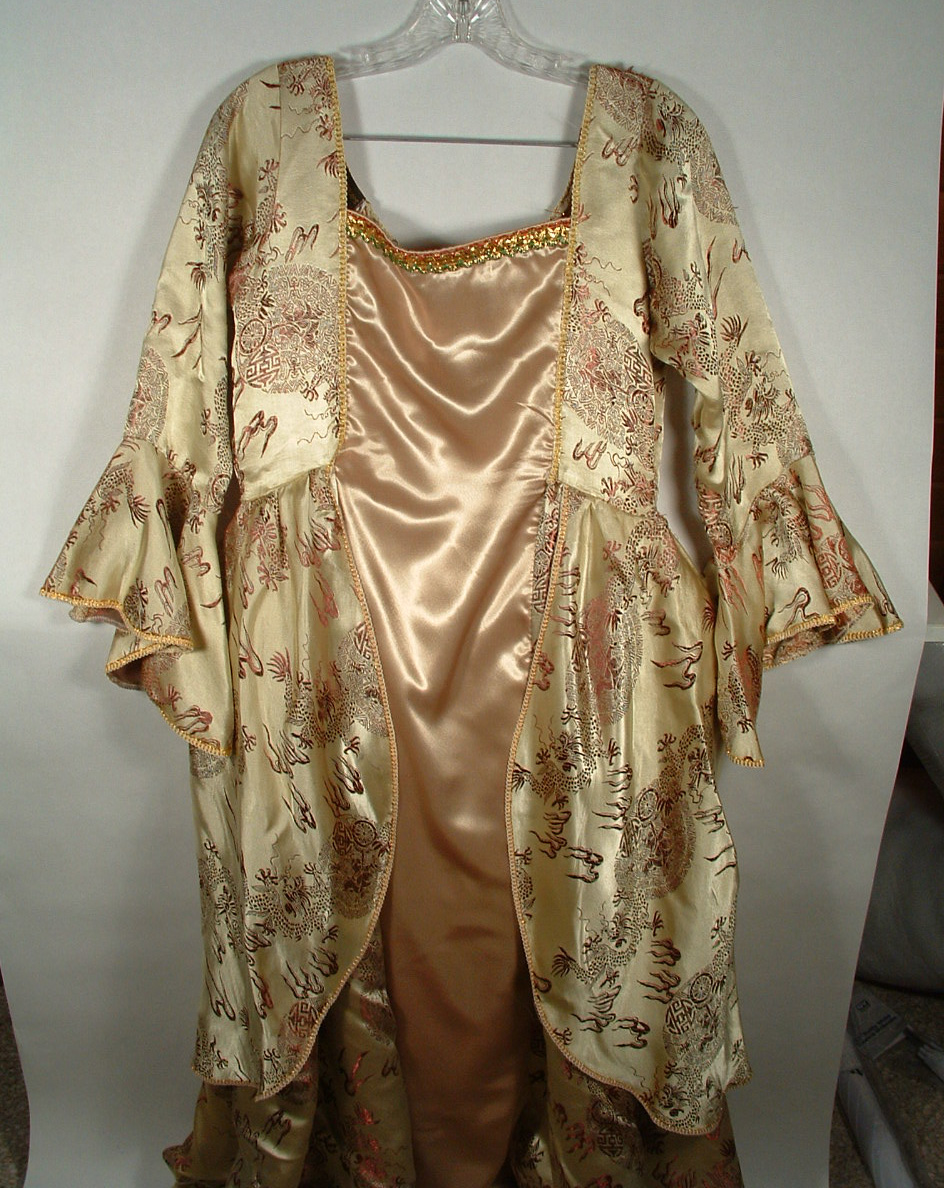
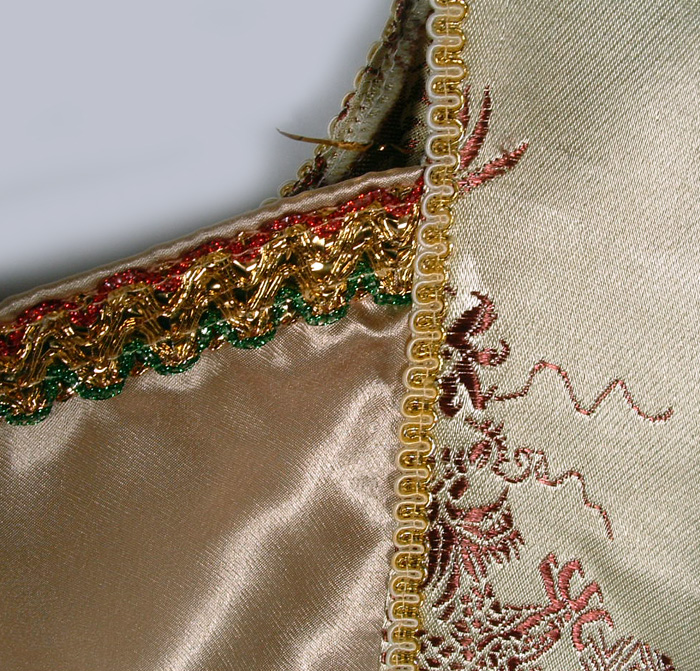
Photo of ball gown costume.

Photo of ball gown costume.

As Halloween was going to be a cold night I knew that I would be grateful for a wrap of some sort to put over my shoulders. I decided to splurge a bit and made myself a shawl of velvet and brocade with some pretty lace that I could use for regular use if I was so inclined. It is made of maroon royal velvet and silver brocade and has lace edging and tassels at the end corners.
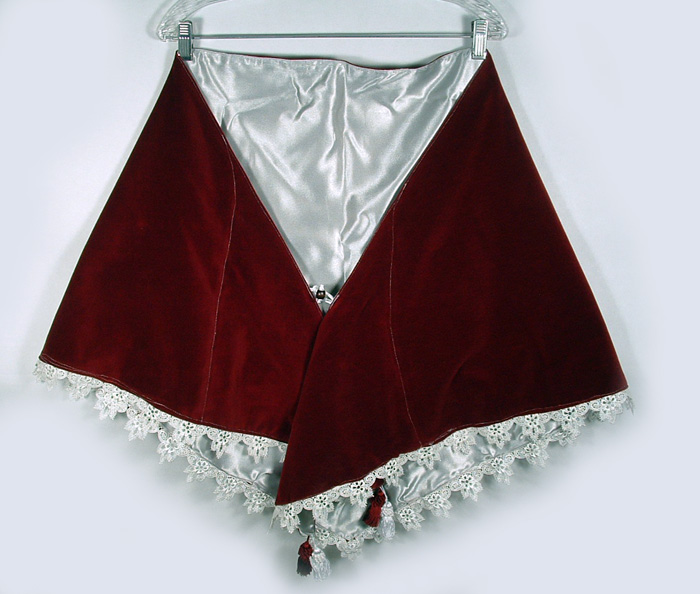
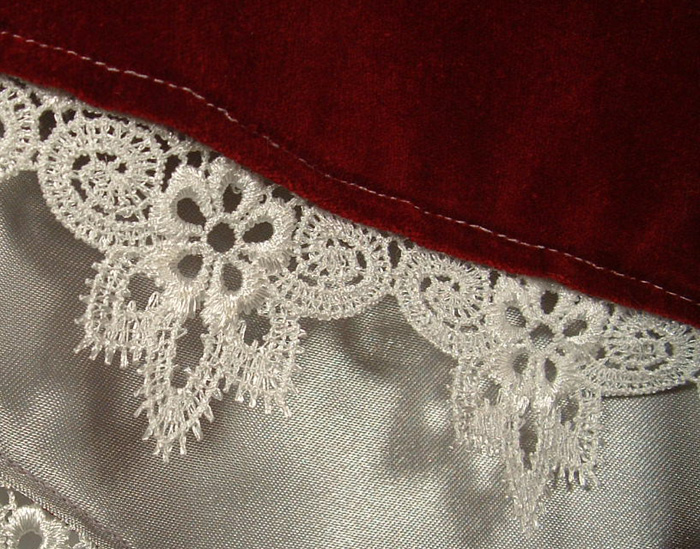
Photo of velvet and brocade cape.

Close-up photo of lace on the velvet and brocade cape.

Under the dress was a little more interesting. I will state here that if I had any idea how hard tulle is to work with, I would have bought a crinoline (although I do like what I made much better than what I saw in the costume shop). For this, I looked at patterns before I made it. It came out pretty well, and I now have an off-white crinoline if anyone needs to borrow one.
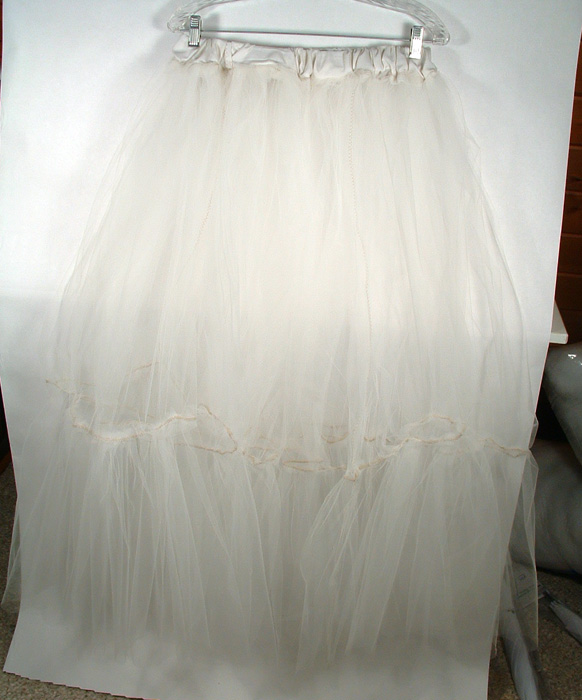
Photo of crinoline.
It is so pale in color that it makes it a little hard to see here.

My only problem now was that the dress was really just a little too short for me and the crinoline really showed at the bottom. It wasn’t unattractive, just not what I had in mind. I thought, why not make any underskirt that would hide the crinoline and match the dress. I decided to make it out of some pretty green organza that has little sparklies all over it that I found at Joann’s (I have been to Joann’s practically every day for the past week).
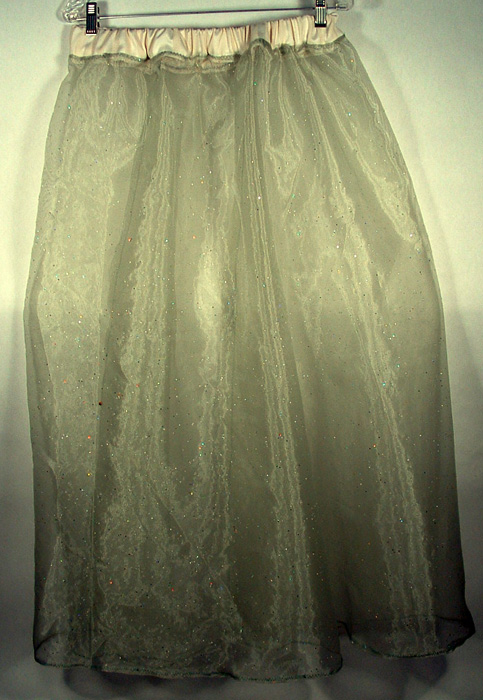
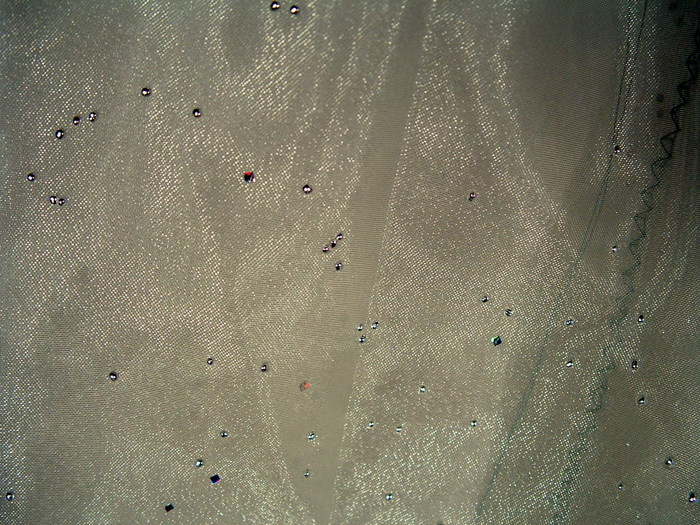
Photo of organza underskirt.

Close-up photo of sparklies in organza underskirt.
Here you can see the sparklies in the organza.

This brings us down to my shoes. I wanted something that would have a Victorian era (not that our costumes are even remotely accurate to the era), but wouldn’t cost much. One more trip to Goodwill found me the perfect shoes, in bright blue. This wasn’t a deterrent for me at all, especially as these are the dye-able type of shoes. I bought some fabric paint and painted those suckers gold and voila! The perfect shoes.

Now to make them even better, my M-I-L had these gorgeous rhinestone shoe buckles that are absolutely perfect. I love my family!
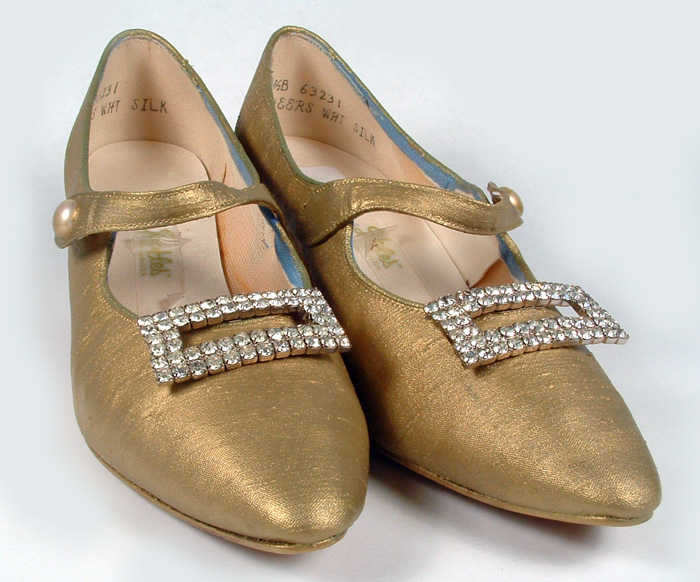
Photo of shoes.
You can still see a little of the bright blue color they were originally on the inside of the shoes.
Close-up photo of shoe buckles.
Aren

After all this, last night I was considering how on earth I was going to carry around any personal effects and decided to make up a quick drawstring purse to match.
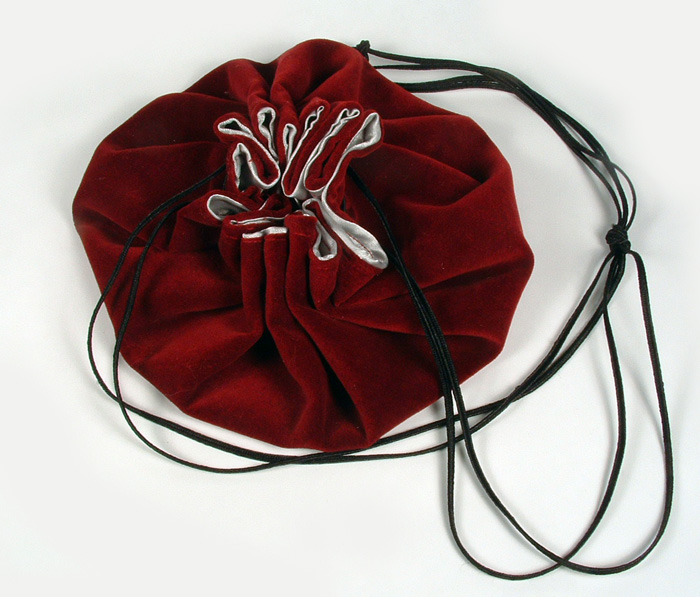
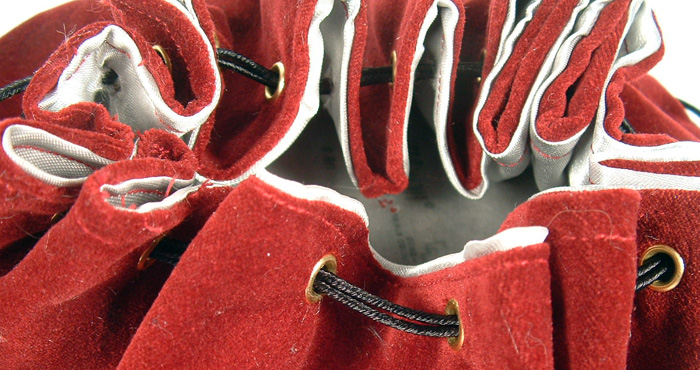
Photo of drawstring purse.

Close-up photo of eyelets on drawstring purse.
Here you can see the gold eyelets.

I cut a round piece from the same velvet and brocade used to make the shawl, sewed them right sides together, turned it (like a pillow), stitched the edges flat, made a medallion of cardboard for the inside and outside covered with the same fabric to give it shape (which I then stitched together), used some gold eyelets for the drawstring, threaded with some black cord and voila again! A great little purse for my cards and chapstick (and some touch-up makeup).

I cannot wait for tonight! I will post pictures of both myself and my SO all done up. This is going to be so much fun!

Goblin Ball Halloween Costumes Pt. 1

Happy Halloween to all our readers who celebrate this weekend (and Monday)! My SO and I have a particular fondness for this particular holiday. Not for any specific reason other than we like to come up with good costumes. This year, after some serious debate and wishy-washiness, we decided to be attendees to the Goblin Ball. For those of you who are devout Brian Froud and Terry Jones fans and who love the movie Labyrinth, you should know what I am talking about. For those who don’t know what I am referring to (or who have forgotten, after all, the movie is getting a little old now), here is an excellent video of the ball scene from the movie (and yes, that is David Bowie as the Goblin King).

The most time consuming part of this was trying to decide how we would go about creating our costumes and how much of an homage we wanted to pay to the creators. We ended up doing our own versions of two guests at the ball with a little more color added as we were no longer just background scenery for Sarah and Jareth.

The masks were the first things we started discussing and working out designs. My SO based his on a raven king plastic mask found at the costume shop while mine is based on a paper-mache (papier-mâché) domino mask found at the same costume shop. Then we added lots more paper-mache and plaster to complete our goblin masks.

My goblin mask before painting.
My goblin mask after painting.

Front view of my goblin mask.

At this point (for my mask much more so than his) there was quite a bit of carving to do to get a sinister, craggy face. With a dremel tool and some clay carving tools I had left over from an old art class, we proceeded to make an absolute mess on our kitchen table and floor. After some agony and repairs done by my SO to my mask, we both finally had something that we really liked. My SO painted his with a tea stain and mine he painted green, then overlaid that with a darker pearlescent green. Overall, my SO finished his mask in about a day and a half, and we worked on mine for about the same amount of time in total.

If you haven’t figured our between the lines, the masks were mostly done by my SO. He is an excellent artist and crafts-person when it comes to plaster and painting. He used to make the scenery and set pieces for the table-top role-playing games he played.

His goblin mask.
His goblin mask.

Side view of his goblin mask.

Front view of his goblin mask.

Our costumes were a bit more difficult to come up with and I will dedicate a whole other post to those tomorrow. We are definitely going to have some fun tomorrow night! I will certainly post some pictures of us in our completed costumes.

Daily Squiggle

SquiggleCome quick. It’s the aurora borealis.

I used markers and colored pencils on this squiggle. The shading in the pants is not as smooth as I like, but the texture of the paper has that effect. Markers tend to fill in the valleys of the paper as in the shirt. Yet, I do like the glitter on her pants. Maybe it’s the reflection of the northern lights.

-Lynne

Daily Squiggle


Squiggle
All squiggles can run, but some run faster than others.

I started with markers on the shirt of this squiggle and finished with colored pencils. I think I like it better when I start with colored pencil and then marker. The pencil keeps the marker from bleeding through and the color spreads and blends better. The pants look more like the yellow green I wanted than the shirt looks like the red violet I wanted.

This squiggle boy sees the finish line and is determined to be the first to the tape. Maybe if his form was a little better?

Pistachio Shell Animals, Whimsical Cards

Pistachio Shell Alligator
Pistachio shell alligators grin so you can admire their teeth.
Pistachio Shell Alligator
What big teeth I have!

-Cheri: About 15 years ago I discovered this wonderful nut, that for some reason I had very little knowledge about up until then. It was pistachios. Pistachios are extremely yummy nuts. I love them and really can’t say anything bad about them other than the frustration of the shell not being open enough on a few.

I love to eat the nuts but I also like to use the shells. The shells are these pretty little half clam shells. They have a woody feel to them and take paint, marker and glue really well. They are really a nice item to work with. When I first started making items with the shells, I would very carefully tease the nuts out of the shell to leave it whole and would glue them together to make little Mallard ducks. I would then take the ducks and put them on a pond I had drawn on a piece of cardboard.

After I grew tired of the ducks, I started looking closely at the pretty little ovals and started thinking about all the creatures I could make out of them. Thus, the creatures featured here were created. Eventually, I ran out of ideas. But the funny thing is that every time I eat pistachios I usually save a handful of shells back just in case…..

-Lynne: These make whimsical cards of all kinds. Eat some pistachios, collect the shells, grab your scissors, construction paper and markers and have some fun making your own creations.

Pistachio Turtles
Pistachio shell turtles sunning on an island in the middle of the river.
Pistachio Lady Bugs
Pistachio shell Lady Bugs looking for aphids among the rose leaves.
Pistachio Tree
Pistachio shell tree all decked out in autumn colors.
Pistachio Beetles
Pistachio shell beetles on a window screen dazzled by the lights.
Pistachio Spider
Pistachio shell spider working on a special web for Halloween.
Pistachio Fly
Pistachio shell fly zeroing in on a bread crumb.