
-Cheri
-Cheri
Okay, so Cheri and I have started a sort of Christmas ornament creation countdown. We are each going to post a new ornament every other day for the next 16 days, which will put us at 8 each before Christmas. We both wanted to do something a little extra as our Crafty Challenges are on hold until after the holidays.
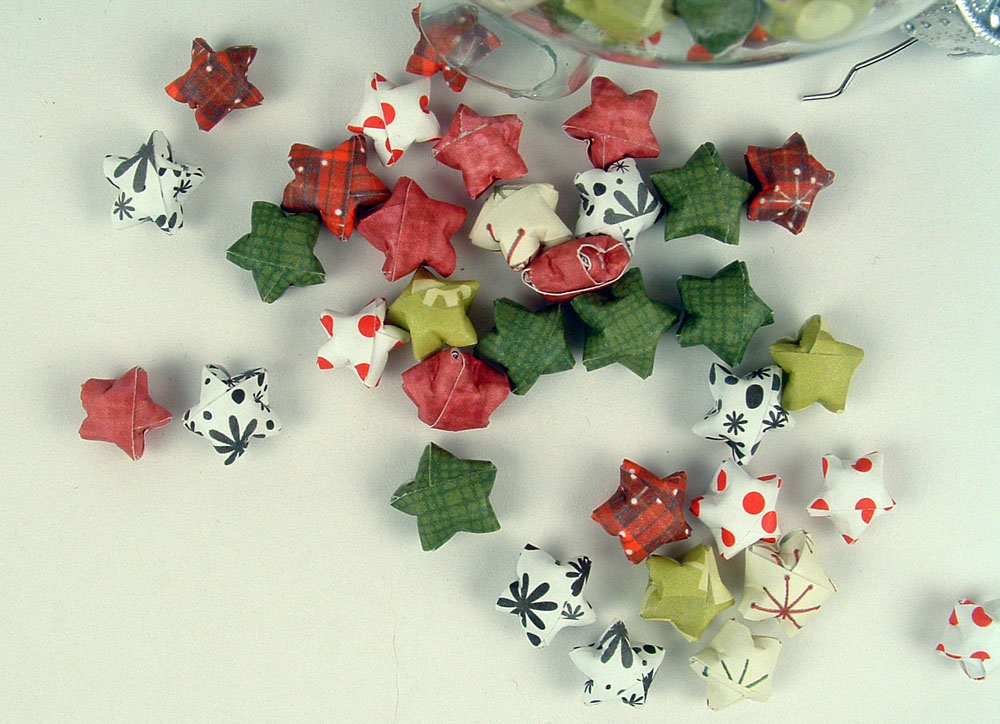
My first one posted here was actually going to be the last one I posted, but it didn’t take me nearly as long as I had first thought to finish. It is based on the paper lucky stars that seem to be everywhere now. Here is the excellent tutorial on Youtube that taught me how to make the stars if you want to make your own: Paper Lucky Stars. They are really easy to make and I found myself watching TV and folding paper stars and suddenly I was done (okay, two and a half days later I was done).
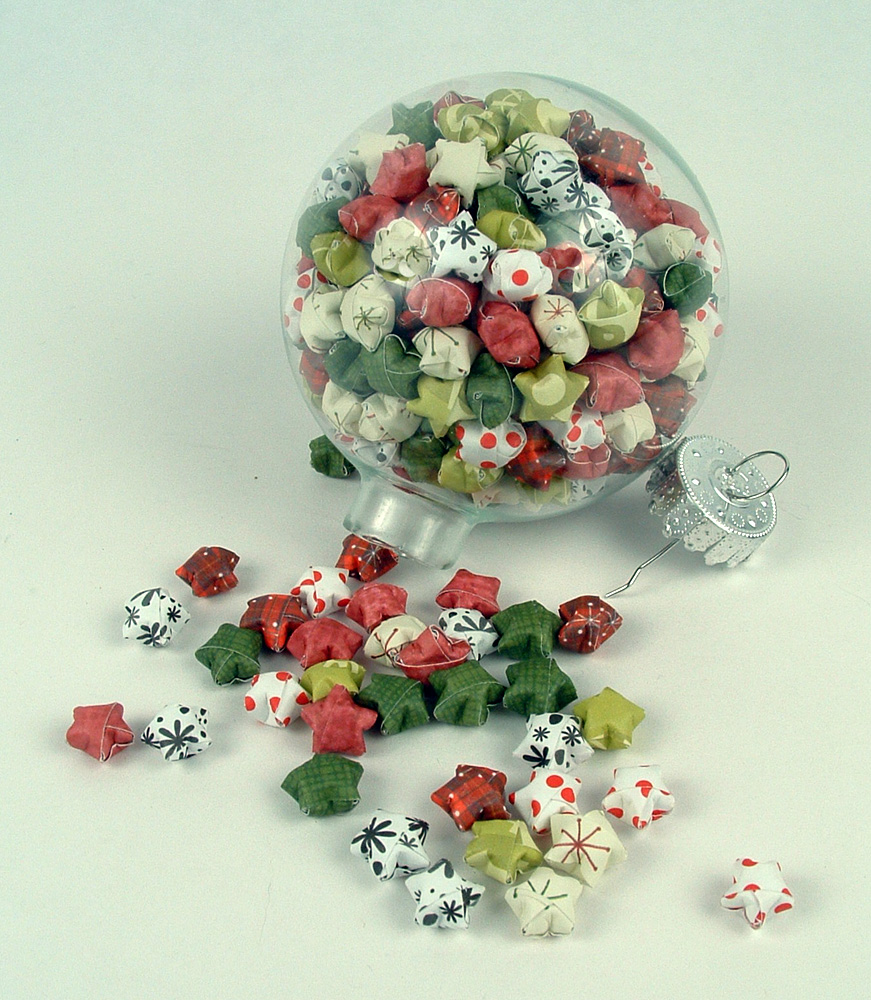
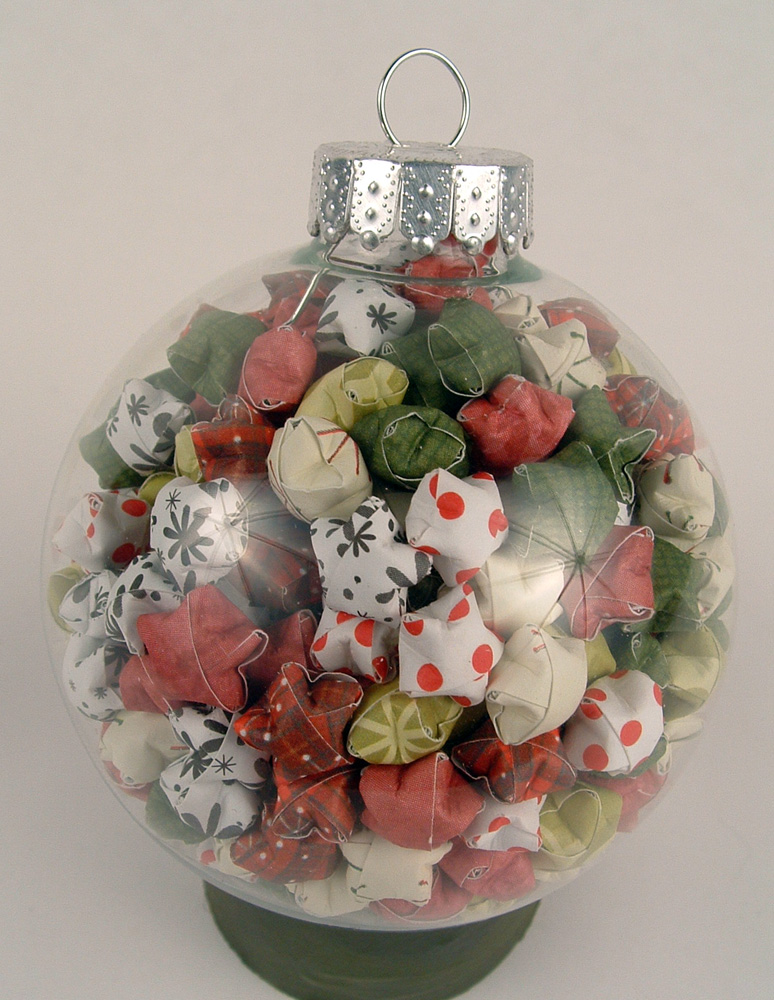
I bought a clear glass ball ornament and six different colors of scrapbook paper. I used my brand new Fiskars paper cutter and cut tons of 1/4″ by 6″ strips and began my journey into stardom and this is the wonderful result! I love the effect and the sound they make when you shake the ball.
Happy Holidays from Kristin!

-Cheri

-Cheri

Cheri: Well, another project come and gone. This one did not freak me out too much. I am always making little projects.
Sometimes I will see an object that I really like because it stirs up memories of being a kid. That is what happened when I bought these Christmas tree light bulbs at a garage sale a few months ago. I was drawn to the color, (pink) and I really liked the vintage feel of them too.
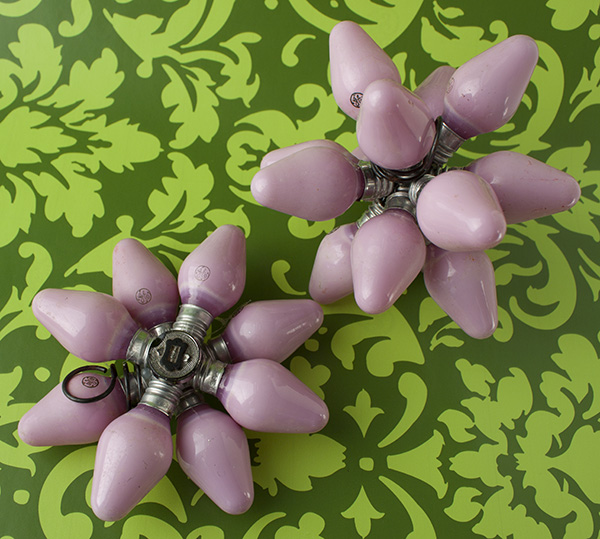
I knew that I would never use bulbs like these on a lighted string (who could trust them), but I still liked the look of them. They were the kind of lights we had on our tree when I was a kid. I don’t even know if these are sold anymore. They do have a tendency to get hot and really the newer, small lights are brighter.
When I saw them for 50 cents, I couldn’t think of anything to do with them at the time so I tucked them away for when an idea came. When this project was discussed, I felt that I could possibly use the light bulbs for something. I was pretty sure what I wanted to do and I was also sure that the idea would work pretty well. All I really needed was hot glue, ( I am the Queen of hot glue).
For the 14 point star ornament, I started out with glue on the metal tips and then I put one light bulb in the center on each side. I tried to do this mathematically but as I am math challenged, I decided to go by sight. It came out pretty well the first time and I knew that I really didn’t want to press my luck so I decided it looked pretty symmetrical.
For the eight point stars, I just glued 4 together and glued 4 more together and attached them. I hot-glued buttons onto them to cover the glue in the center.
I then decided I needed a hanger that was not very noticeable. In the box were 2 bulb clips, so I took one bulb off the star, attached the clip and then glued the bulb back on. This way I can attach a hook to it.
All in all I was quite pleased with the outcome and I think it will look terrific on a tree. The best thing is it was really simple and cheap. I just love it when a plan comes together.


-Cheri

-Cheri

-Cheri

-Cheri

-Cheri

