All posts by thecraftysisters
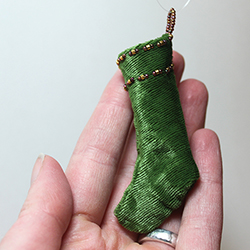
Miniature Beaded Velvet Stocking Ornament

Loryn: I’ve been doing a lot of sewing and beading for Christmas this year, and I wanted to make an ornament that would come together pretty quickly. I used a scrap of vintage silk and rayon velvet. This miniature stocking is perfect for tiny scraps that you might have lying around – I used less than 5 square inches for the stocking. I sewed it by hand because the fabric is so slippery, but you could use a machine if your fabric isn’t so touchy. I had planned to make a cuff, but it was too small to fold over the stocking body. That’s why I made a simulated cuff with the beads. I also made the toe way too big, so I cut it off and reshaped the bottom. Little pieces like this are fun because even when it goes wrong, you can still end up with a cute result.

Here you can see the beaded detail. I used number 15s and gold delicas for a little sparkle. I sewed the beads on in groups of three. The stocking is very cute, and you could easily make a dozen to decorate a small tree! — Loryn

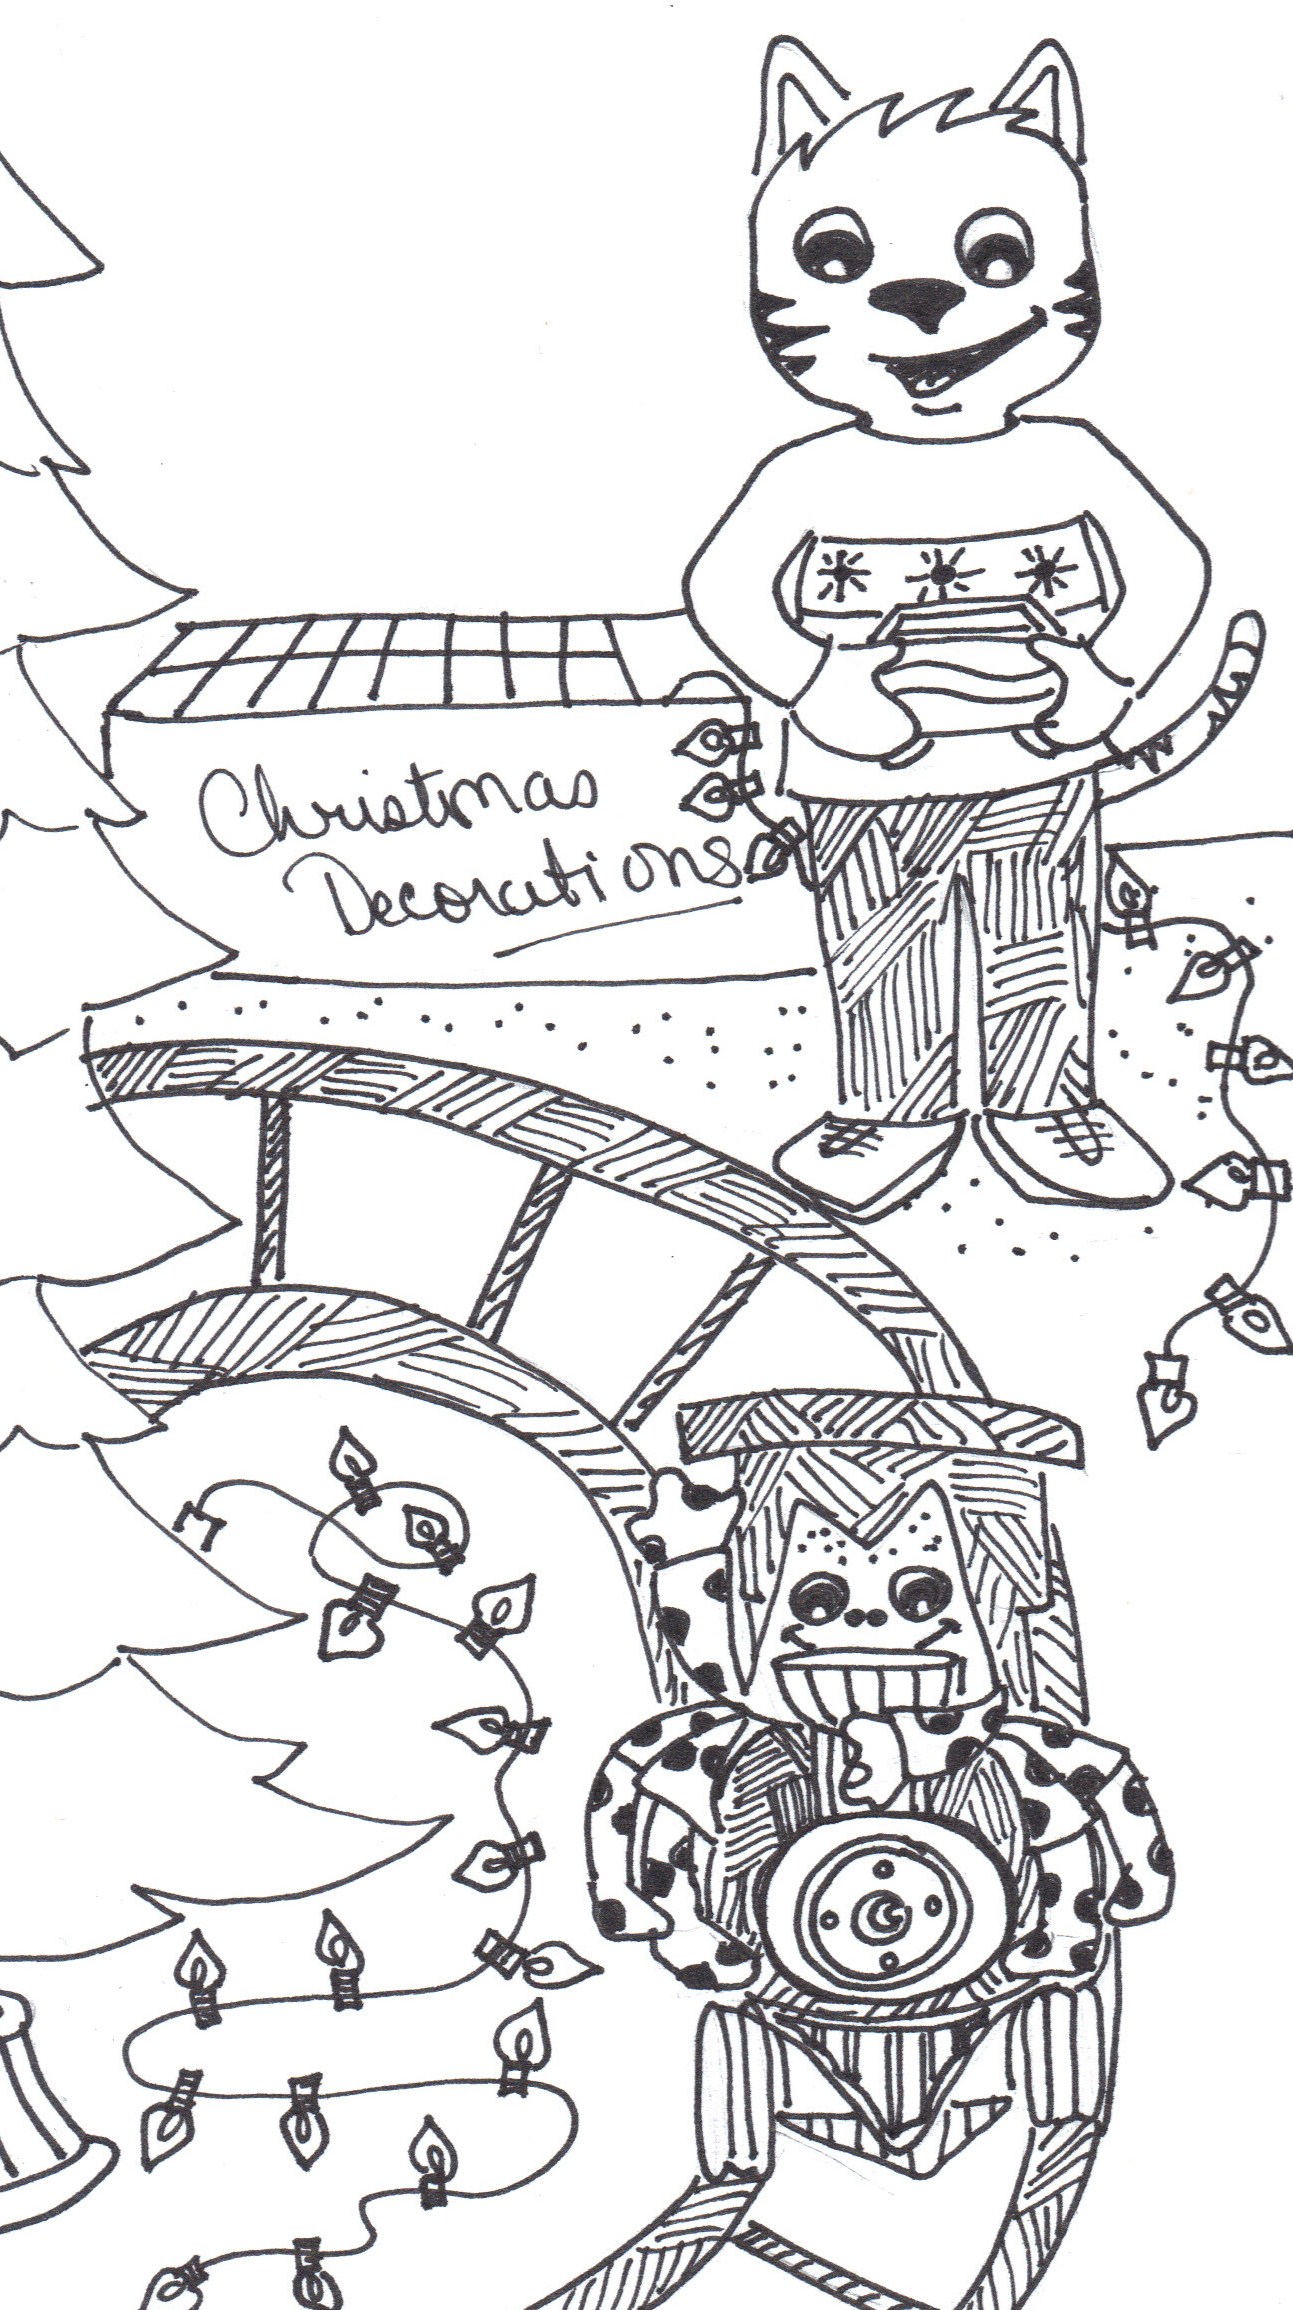
Taking a ride on the train. What a cat!

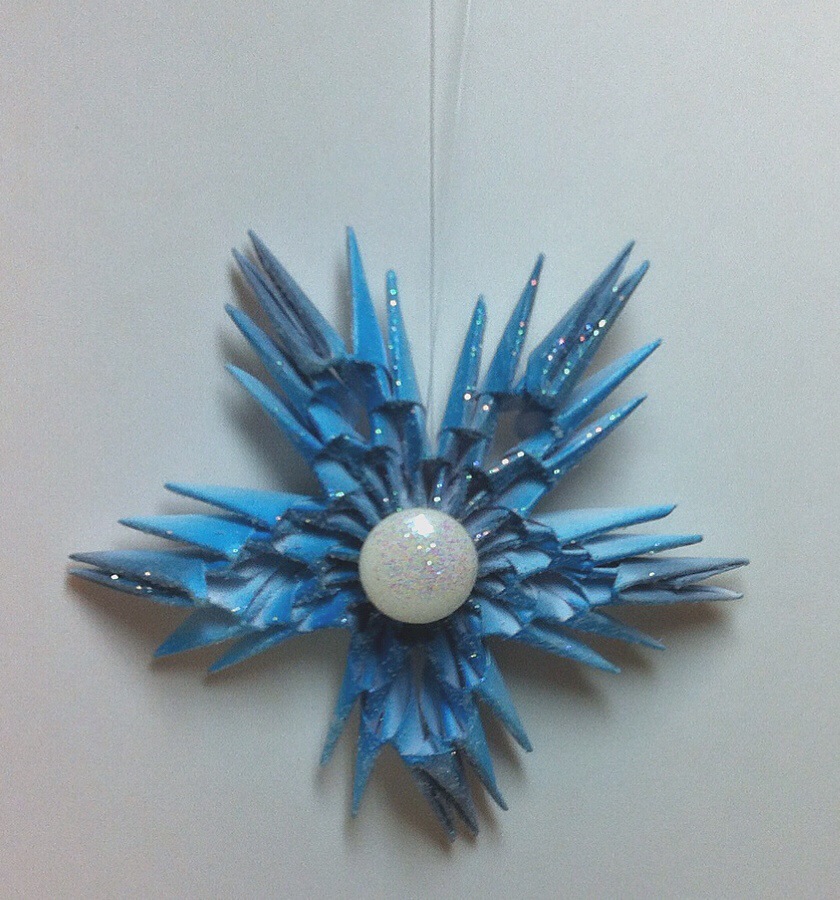
3D Origami Snowflake
Lynne
The other day I was looking through pages and pages of Google images of origami figures for some new ideas when I saw this terrific dragon. Red Dragon Origami from Papercraft
I was keenly interested in how it was made and I began to search for instructions. I found that the process was called 3D origami and involved folding small rectangles of paper into triangular pieces that could be interlocked to build figures of amazing complexity.
Of course I turned to youtube and began to look for instructional videos. I find that I can learn better by watching than by reading complicated directions. So I will give links to a couple of videos that were very helpful in the process of making these intricate Lego-like pieces. There are many other videos and each one has something different to show. Watch as many as you can.
3D origami tutorial
3D origami tutorial 2
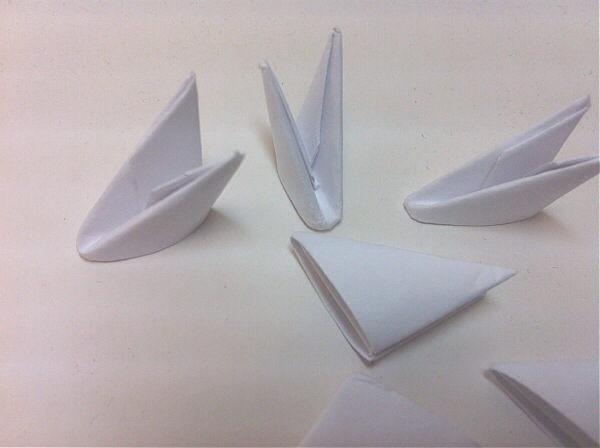
I hoped that I could use this folding technique in our Christmas challenge and I found this video on how to make a snowflake with a little less than 50 pieces. It’s a good way to learn how the process works and still have something creative to show for your time. The video is well done, but I found that I did not pay enough attention to the position of the pieces as they were interlocked. The second color is placed differently than the first. If you look closely you will see that how the pieces are shown is how they are attached to the model.
3D origami snowflake
I made my first snowflake using two colors of copy paper as shown in the video to help me understand what I was doing, but I wanted a subtler change of color on my model. I have recently discovered the Copic airbrush system and on my second effort I used that system to achieve the color and effect I wanted. I really like using markers for airbrush painting. It is easy to switch colors quickly and there is very little mess to clean up. Here is a link to a video of the air spray system in action.
Copic airbrush system
I attached a button to the front of the star and then used a light coating of spray adhesive to adhere some glitter for a reflective shine. I used some fishing line to hang the ornament but ribbon or string would work just as well.
I hope you have fun as much fun making these snowflakes as I did and I will post again in four days with another project.
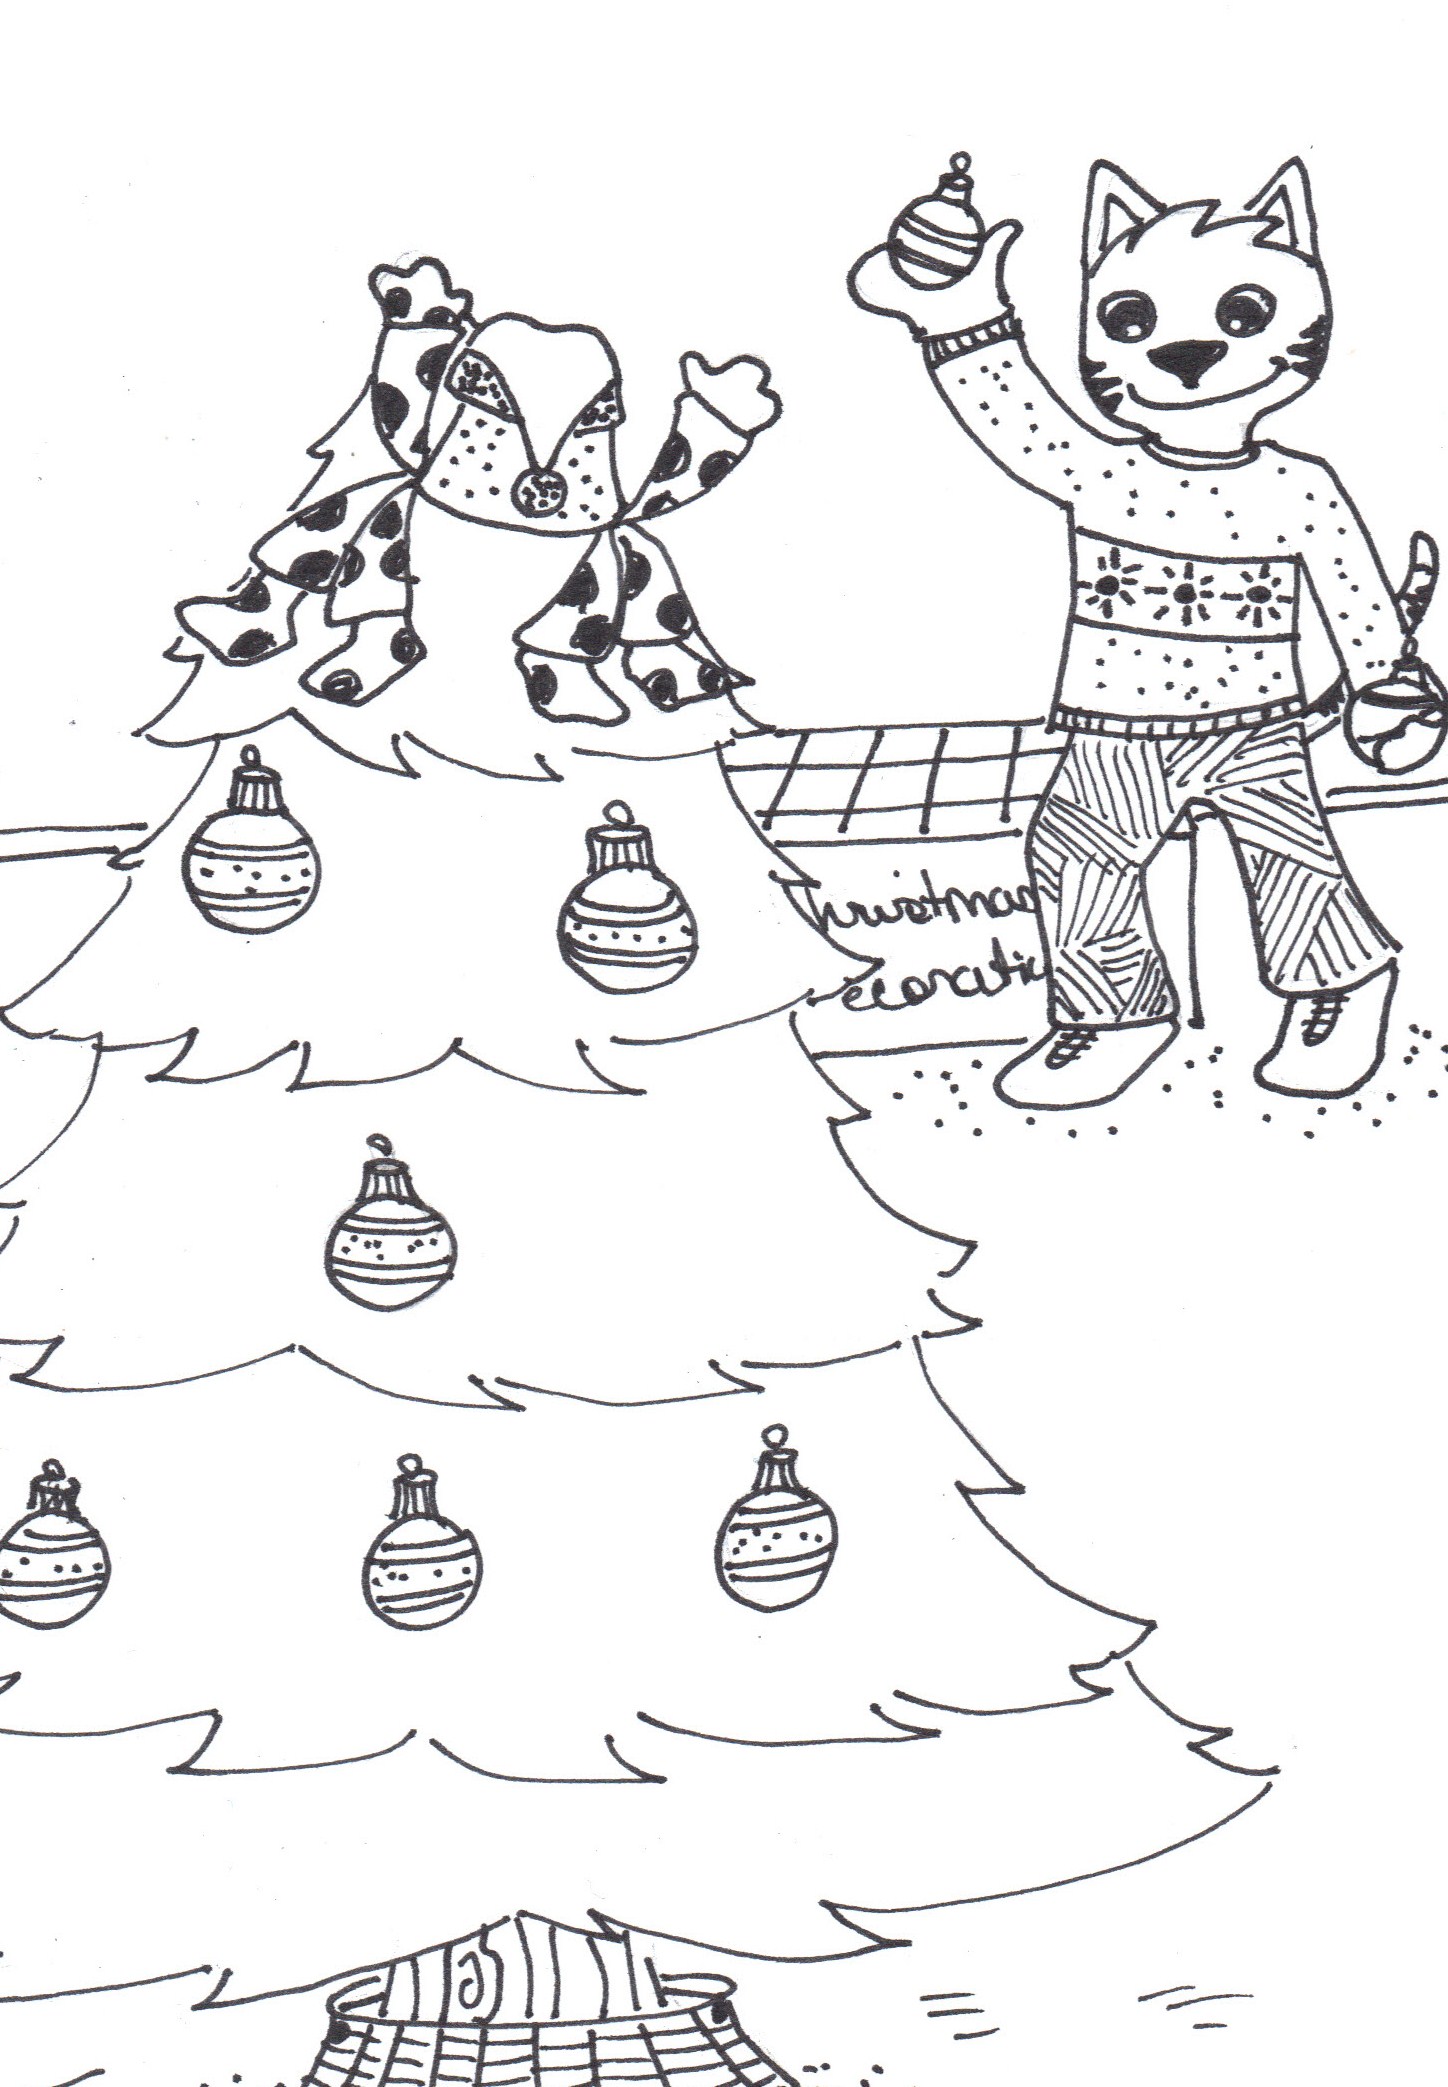
Pulling out the decorations. What a cat!

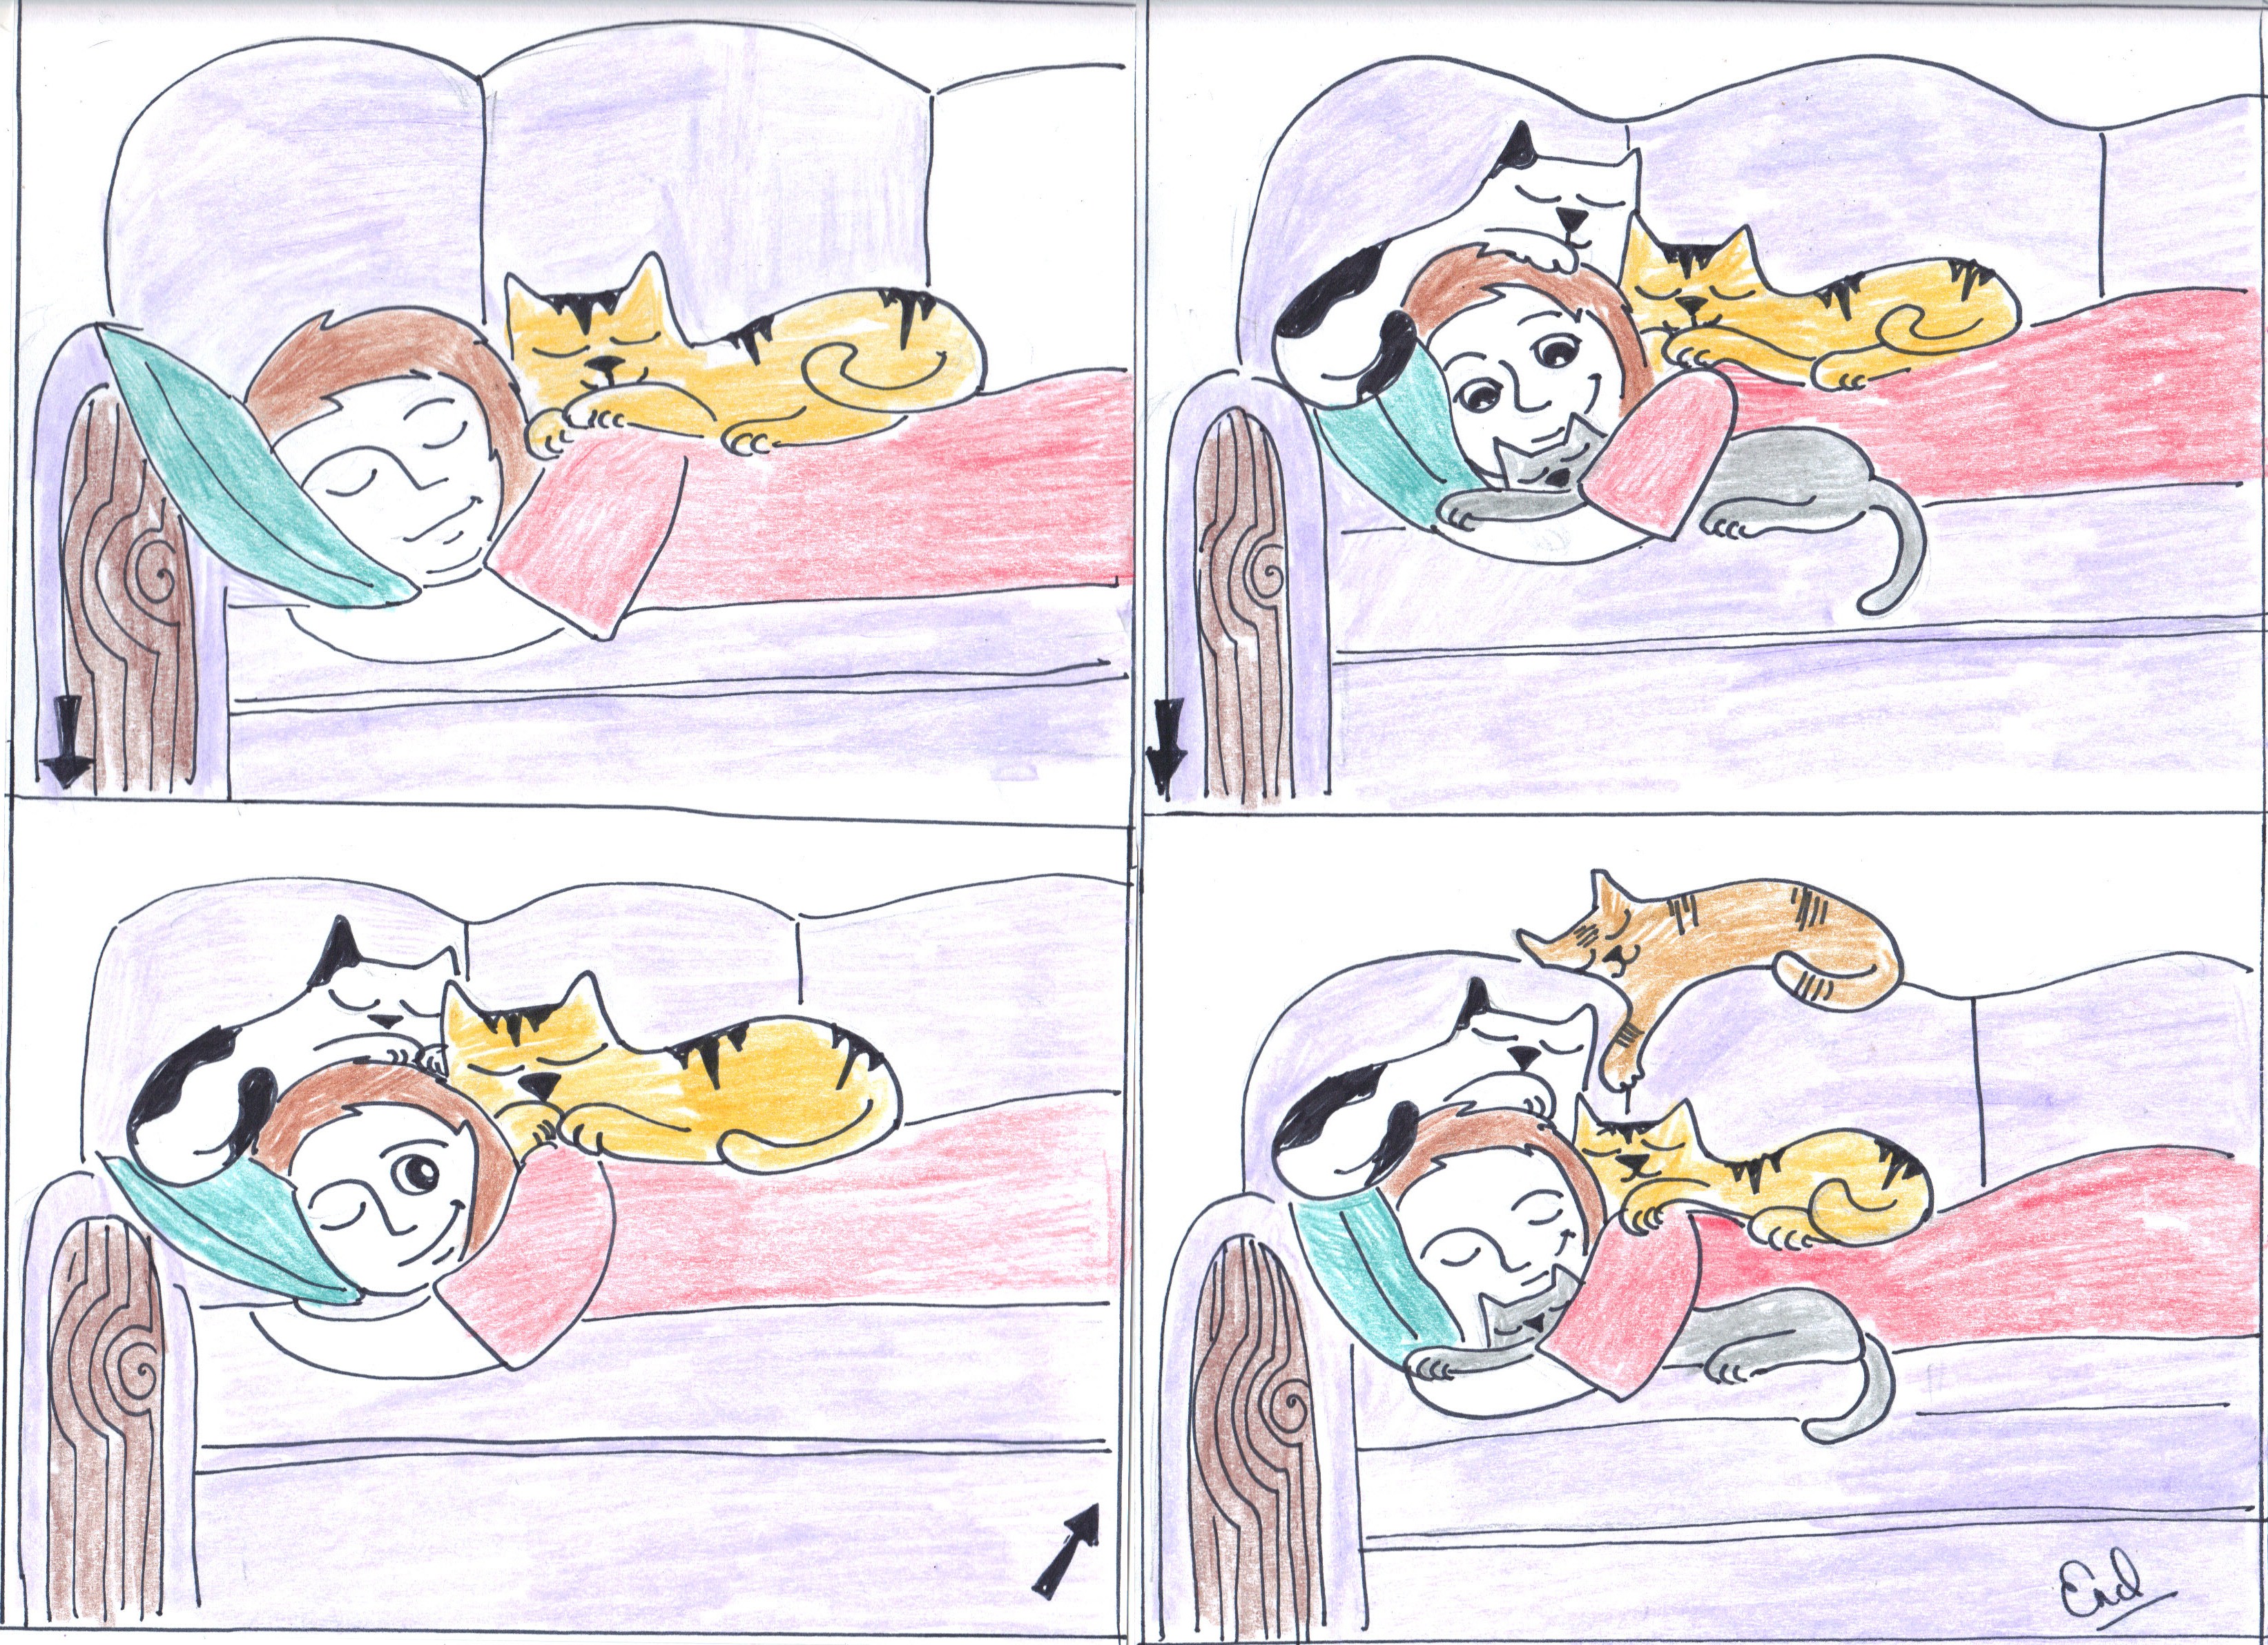
The Crazy Catz’ Lady. Sweet dreams.
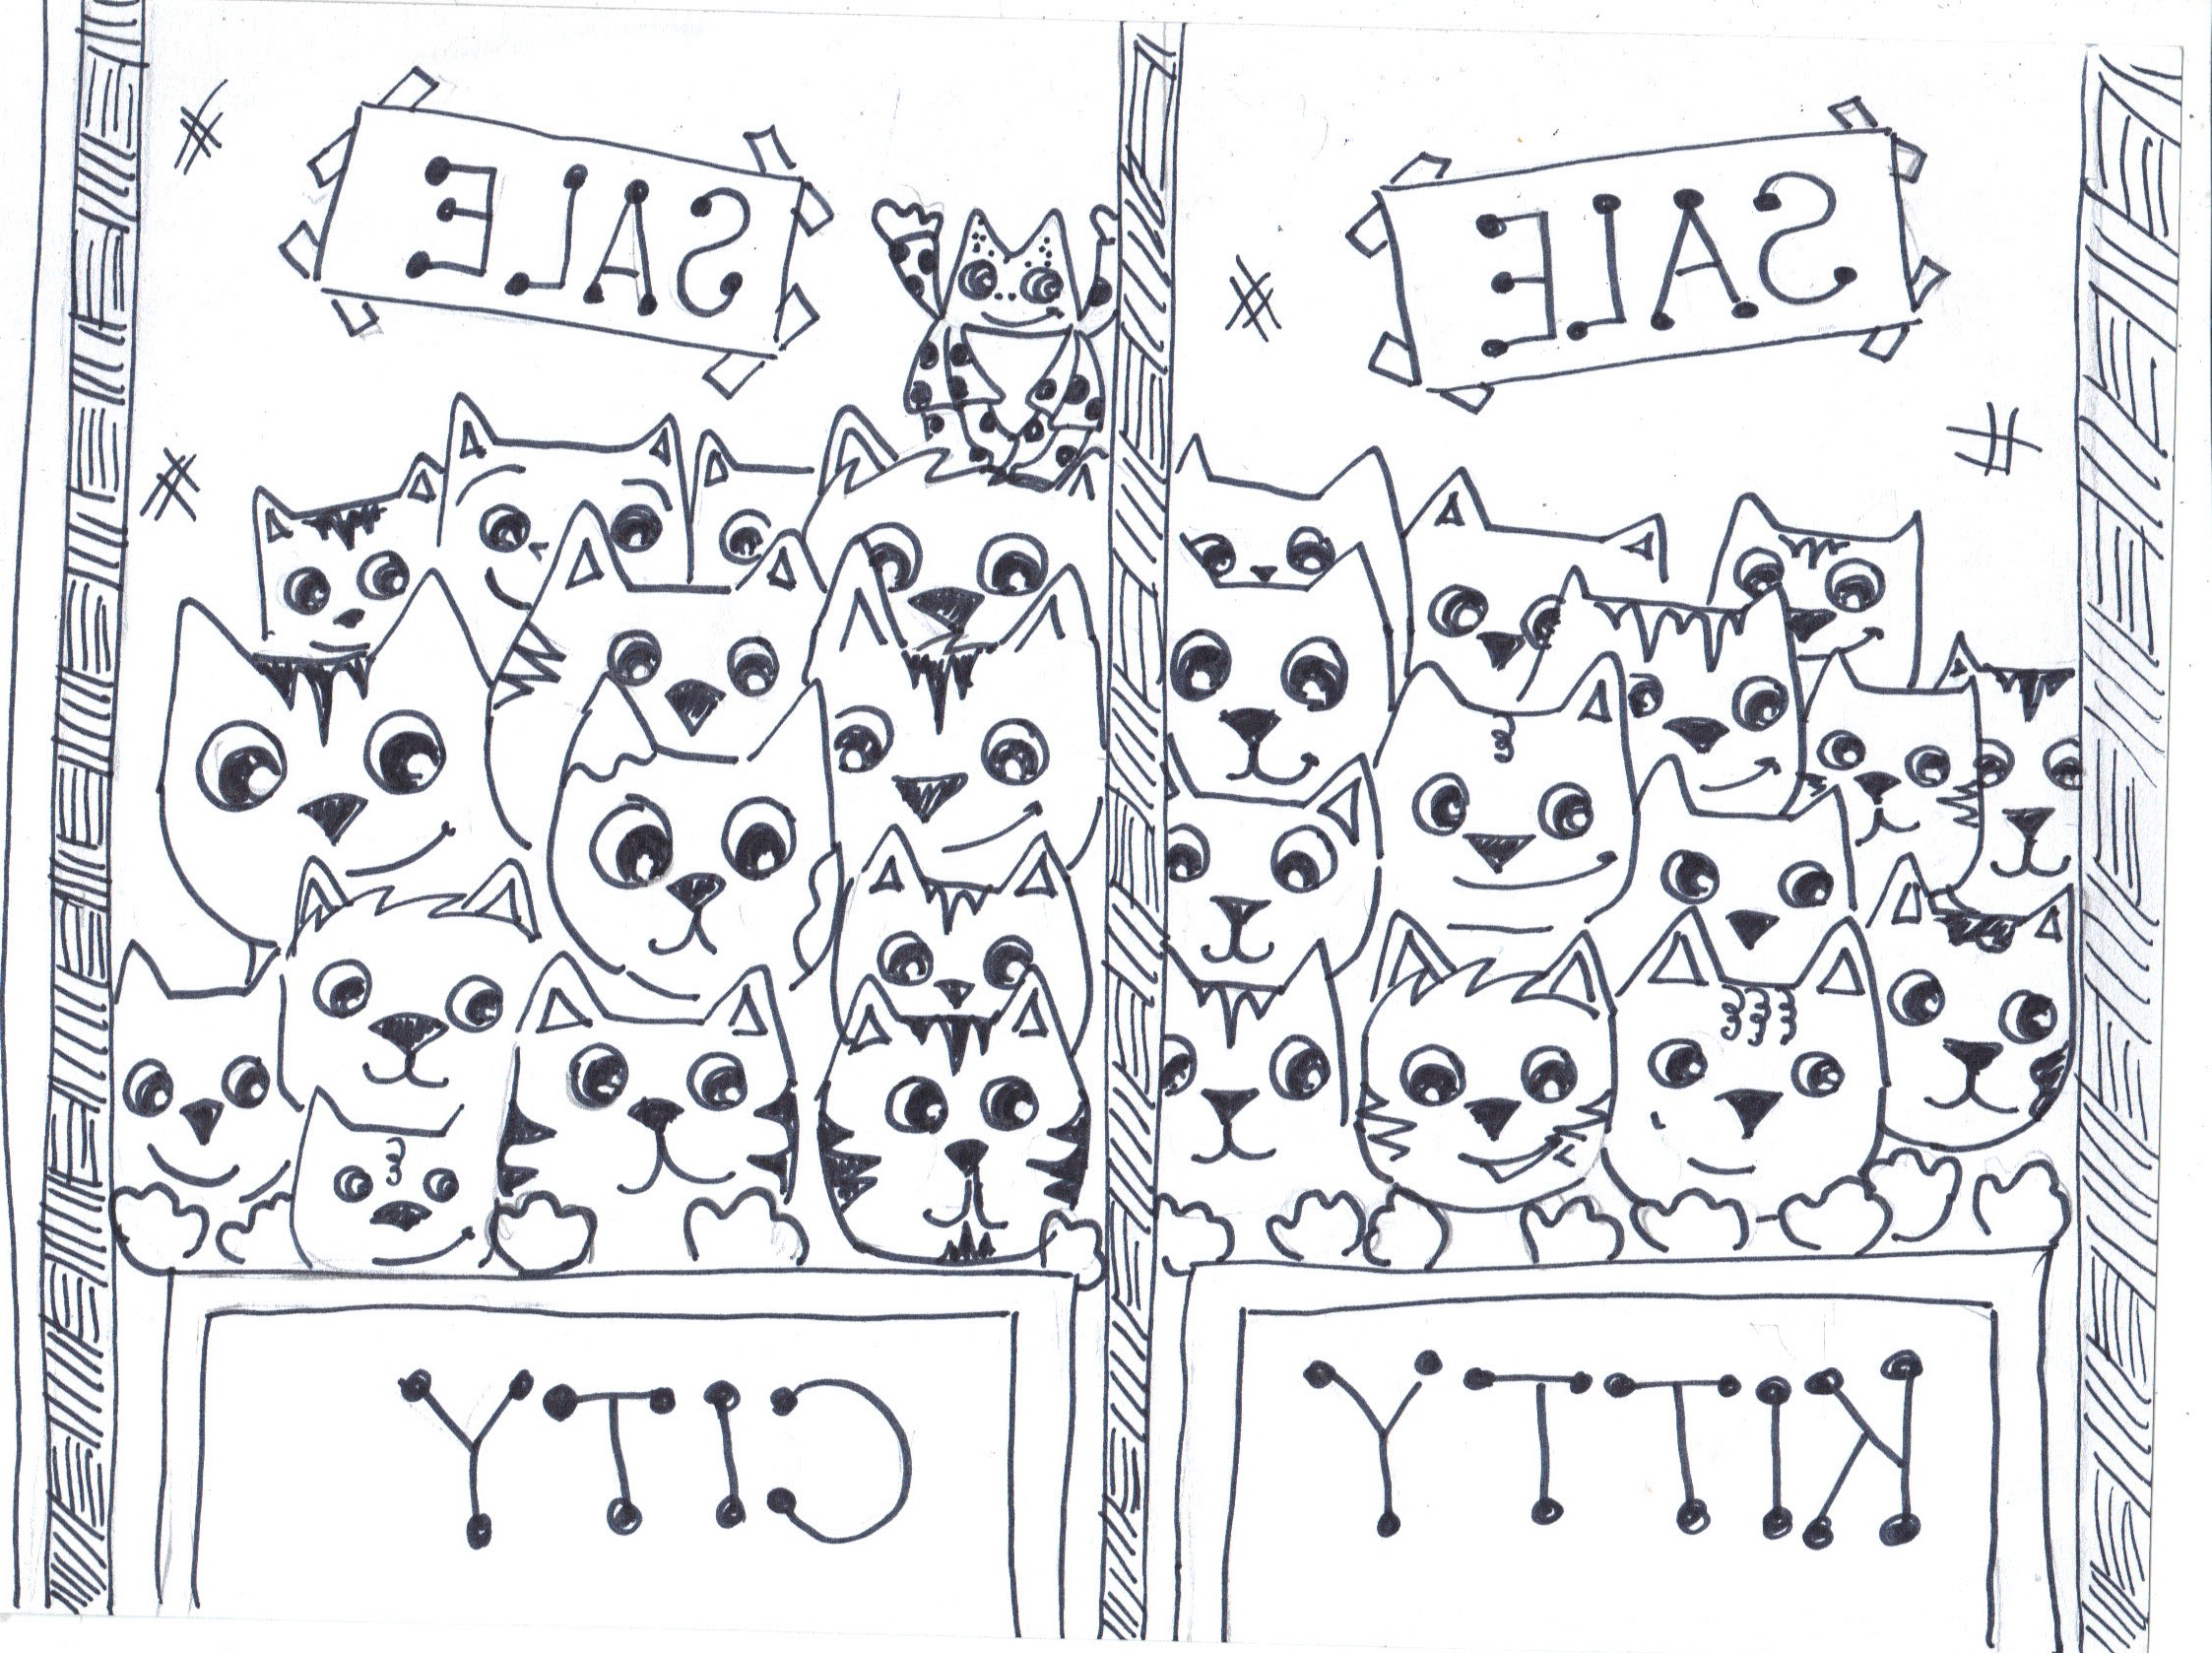
Christmas Cat Shopping. What a cat!
That was some Thanksgiving dinner. What a cat!

Happy Thanksgiving from Link and Nettie. What a cat!

That is a lot of groceries. What a cat!

