All posts by thecraftysisters

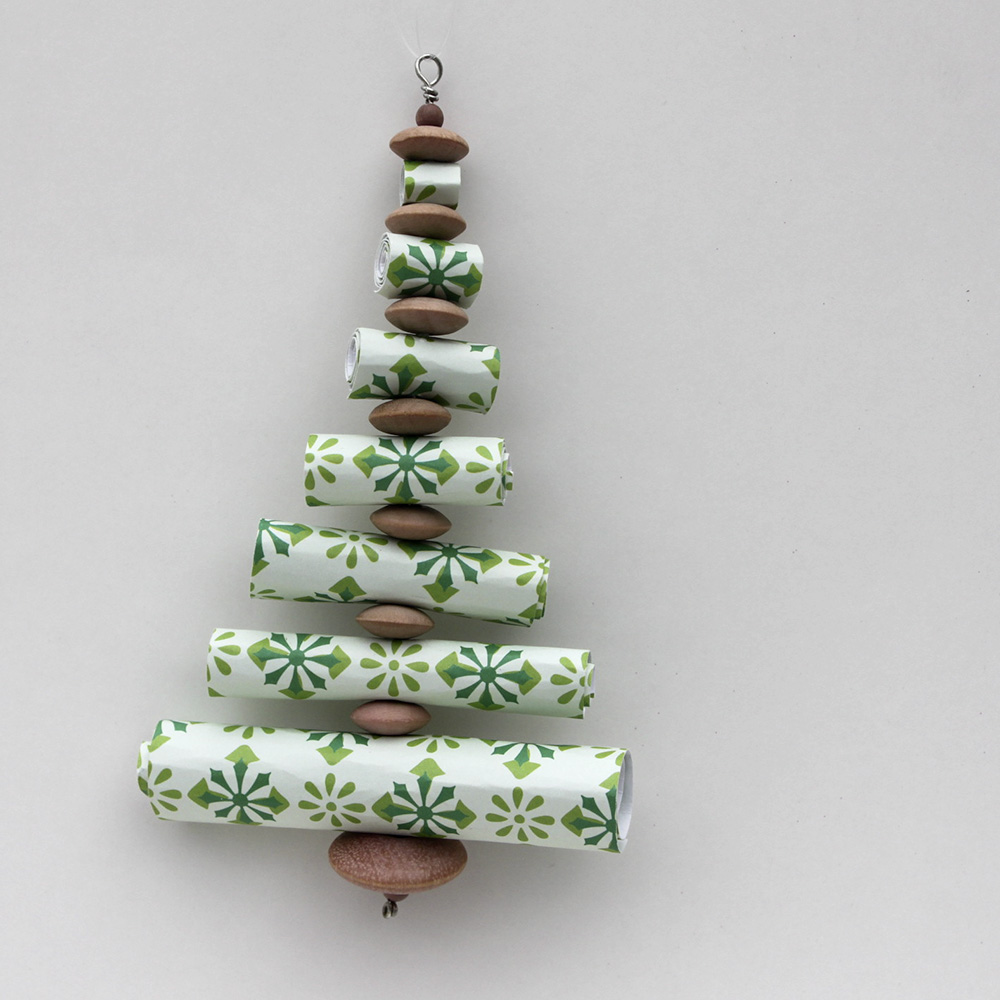
Ornament Advent: Day 10 Paper Roll Christmas Trees
Cheri: I cannot believe I have done 3 ornaments so far. Christmas is coming way too quick this year.
Scrap Paper Christmas Trees
Supplies:
Scrap paper or scrap book paper (I used a gift bag for the green tree)
Hole punch or a needle (the hole punch needs to be a small one)
Wire
Beads
Glue (If you would like to glue your tubes closed)
The easy part:
Cut strips of paper, in different widths. I think mine were 4 inches, 3 ½ inches, 3 inches, and down to maybe a ¼ of an inch. I made all the strips about 4 inches in length. Roll the strips like you are making little straws. After you have them all rolled, just find the center in each one and put a hole in it. Make sure you go all the way through it. This can be a little tricky if the paper is thick. This is when a needle is helpful. Run the wire through the tube. You can make a loop in each end of the wire and string them separately, or you can string all of them in a row on a wire, moving from largest to smallest. I put a bead in between each one.
I really like how these ornaments turned out and I think they will be a great addition to our Ornament Advent Tree.


Just chillin’. What a cat!

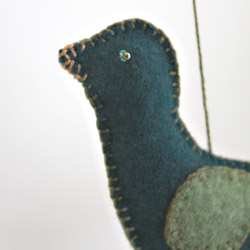
Ornament Advent: Day 9 Upcycled Felt Bird

Loryn: For Day 9 of our Ornament Advent challenge, I’ve made a bird from old sweaters that I felted. Wool felt is expensive, so upcycling old sweaters is a crafty way to have a good supply cheaply. I sewed the bird together using blanket stitch. (For a tutorial, see my felted ornament post from last Christmas). I wanted the bird to be delicate, so I used fine gauge sweaters so the felt isn’t too heavy. I loosely stuffed him with cut up felt scraps, which gives an old fashioned look.

For the details of the face, I used gold embroidery floss for the beak, and a bead with a few blue backstitches for the eye. He went together quickly and looks great on the tree!
— Loryn
Link Spielbert. What a cat!

Ornament Advent: Day 8 Tissue Paper

Lynne: I make flowers from tissue paper and I wanted to try to use the same technique for an ornament. I needed just a few materials:
about 8 inches of silver-colored wire
3 jingle bells
tissue paper, cut into 3 and 4 inch diameter circles
I used a small plate and a glass to trace around and cut approximately 20 four inch circles and 20 three inch circles. I used this tutorial for paper carnations from FoldingTrees.com with just a few modifications for my ornament.
Silver-colored wire replaces the floral wire and I used 2 different sizes of tissue paper circles to make the ornament spherical. The larger ones are in the middle with the smaller ones towards the ends. I painted the edges red with a permanent marker.
To hold the circles on the wire, I attached one bell under the circles and another bell on top of them. I also added a bell in the middle to give more support to shape the paper circles around. I had Cheri give me some tips on how to shape the wire for the hanger. She forms the spirals around a pencil and the hook around a permanent marker.
Start crimping the papers around the 3 bells until you’re happy with the shape and you’re done.
I’m really pleased with the way this came out and the small number of materials needed.
Happy Holidays.
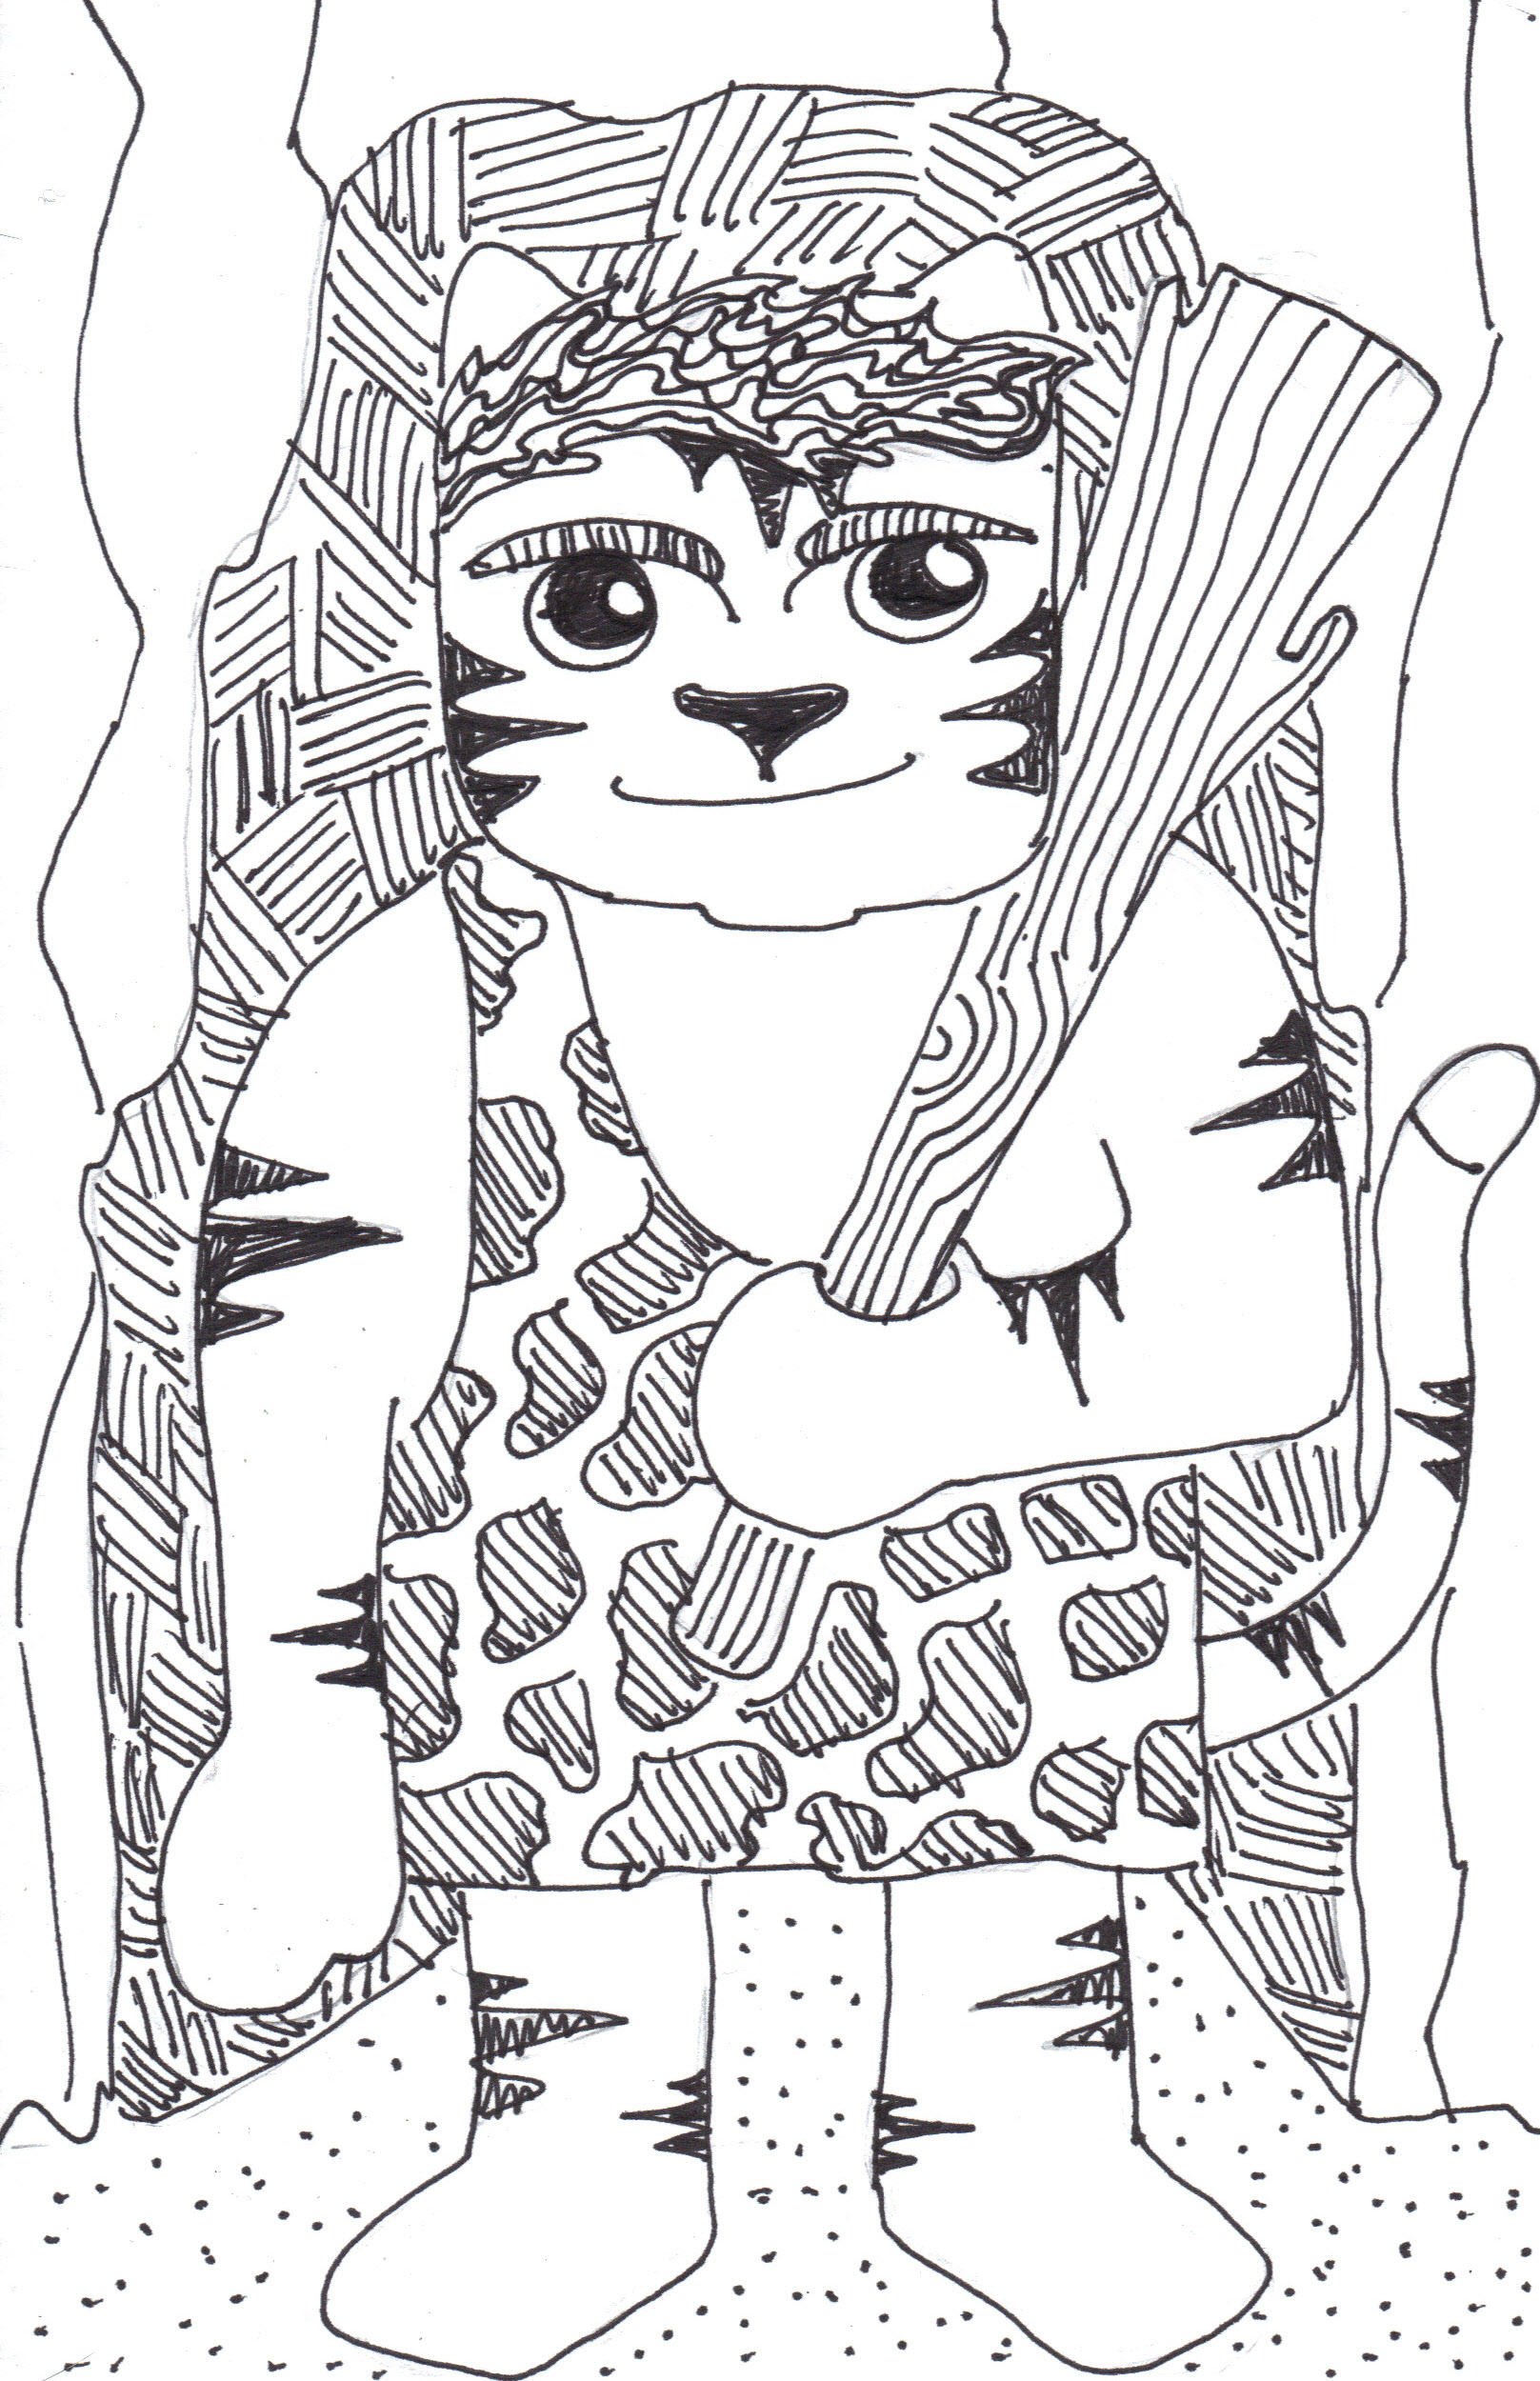
Link the Cavecat. What a cat!
Admiral Link Peary, the first cat to travel to the North Pole. (He was looking for Santa). What a cat!


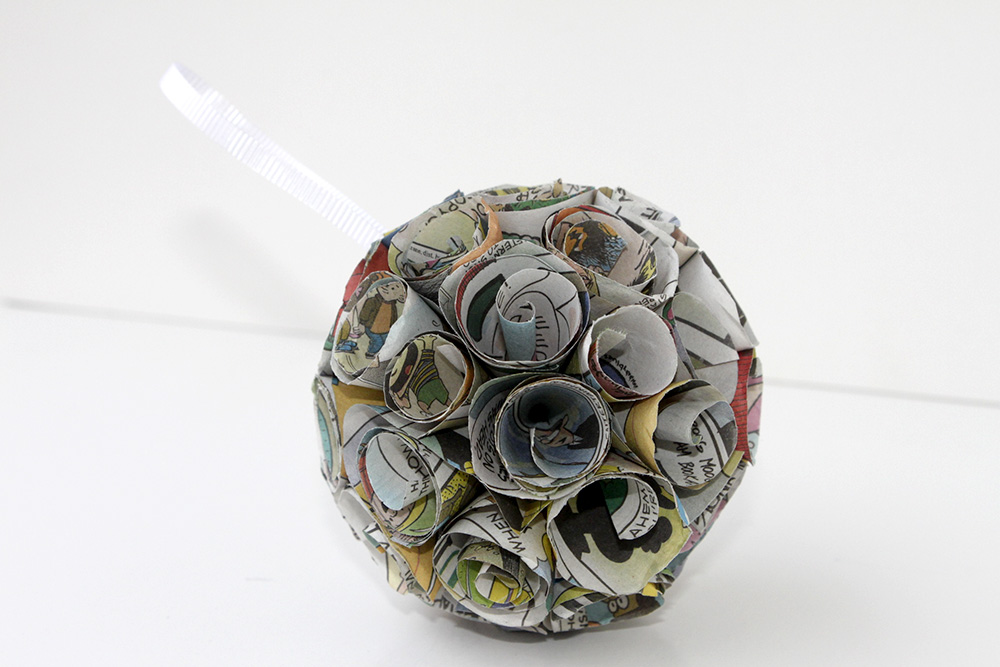
Ornament Advent Day 6: Sunday Comics Christmas Ball

Cheri: I love comics, funnies, and cartoons. And I really love using comics for craft projects. This one is a favorite of mine. I hope you like it.
Supplies:
Sunday Funnies
Circle template (cup, glass, anything circular and in whatever size you would like, my circles were about 2 ½ inches in diameter).
Glue (any kind is fine).
Cardstock, (just a small circle is needed).
6 inches of ribbon
Instructions:
Fold the Sunday paper up so you can cut as many circles at once as possible. Then cut all of the circles in half. When you roll the paper, you want the circular edge to be the outer rim of the cone. Make about 45 cones and lay them aside.
Cut a smaller circle from the cardstock, this is just for a base to glue to.
Lay your cones around the cardstock circle, with the points touching, when you like how it looks, put a small amount of glue on each one and glue down. Place the next row of cones, try to put these in the little valleys created by the first row. You will be using a few less. Finally, glue one straight into the center, there should be a small spot for it. Do the same on the other side of the circle of cardstock.
Look at your ornament, and if you notice any thin spots just glue another cone into the spot. If you would like, you can glue more cones inside of the first cones. This gives the ornament a rose bud look.
What a fun project to make with the funnies, just make sure you read them first.
Merry Christmas

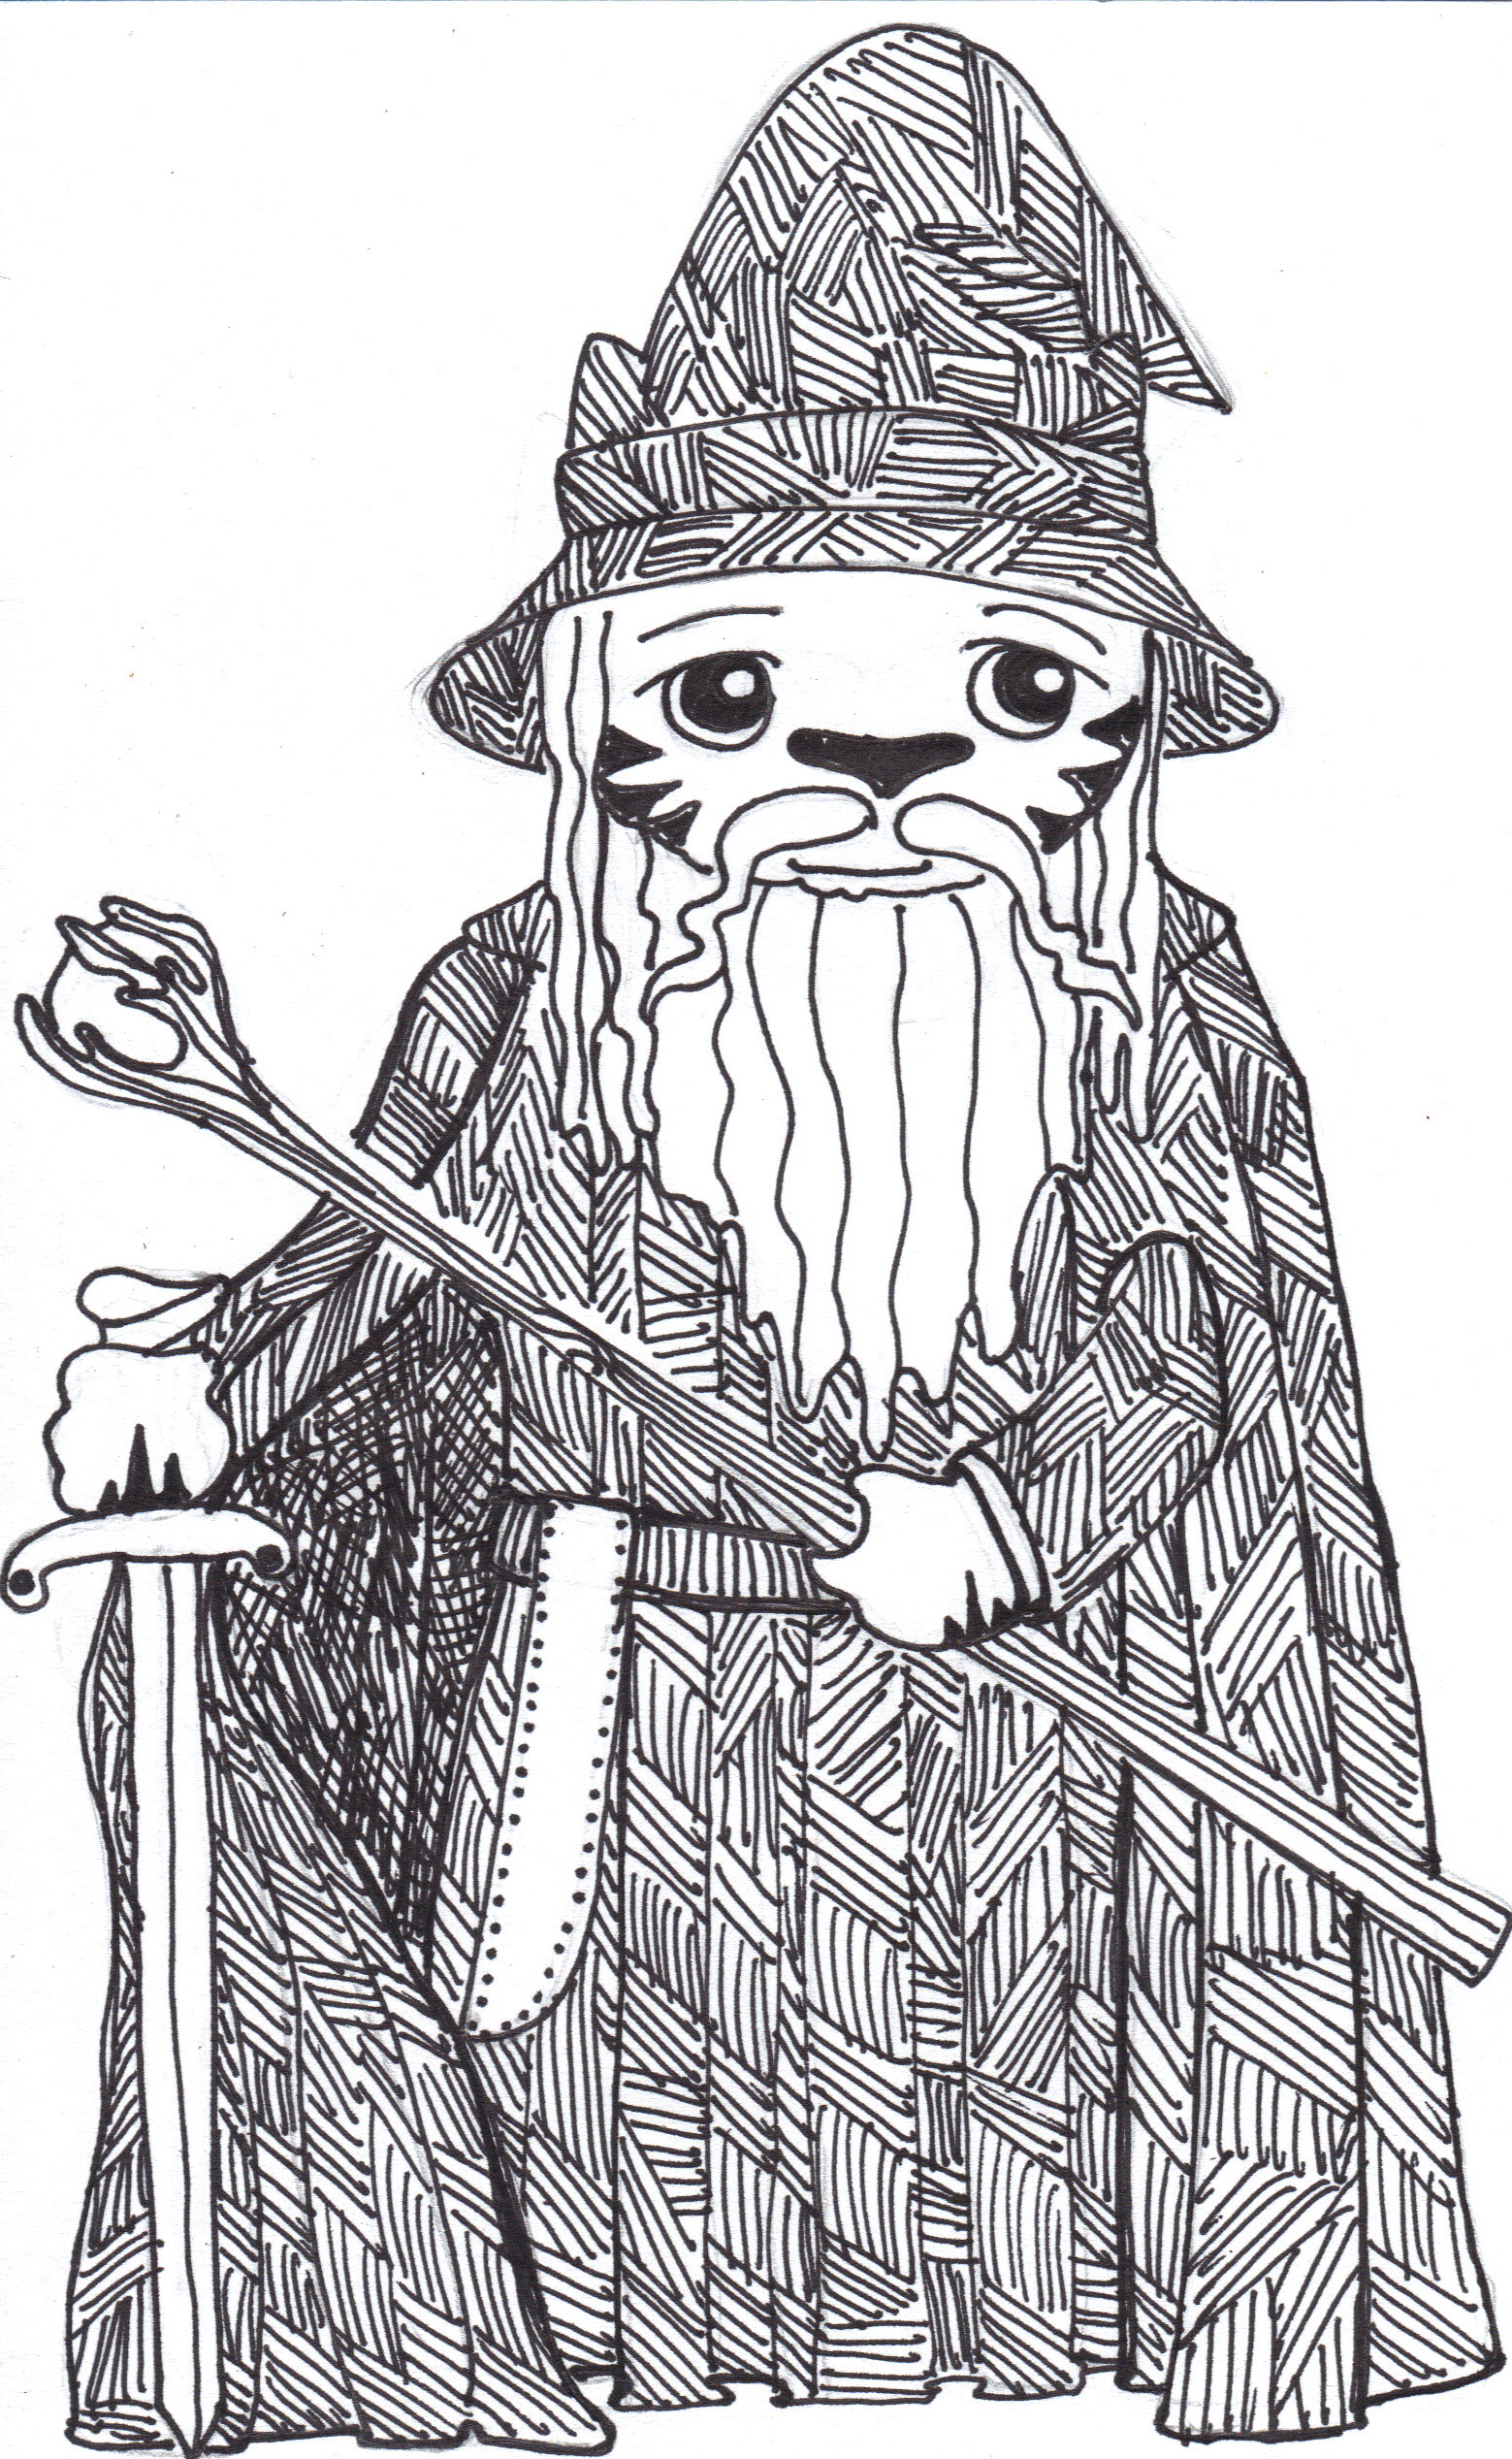
Gandalf the Grey. What a cat!