The studio is moving along! Once the walls were finished and the carpet pulled up, I painted the baseboards, put the quarter round back in, and painted the window trim of the two windows. I still have three (!) doors and trim to paint, but I want to get the furniture in place first.
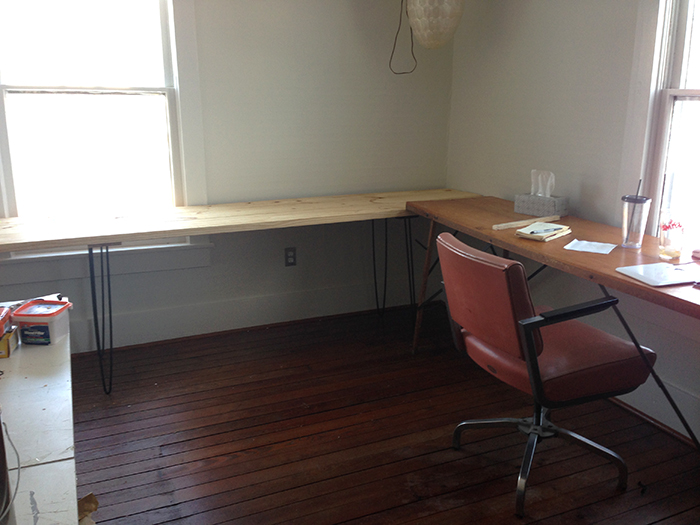
I want a lot of work space in my studio, so I have two big desks. The one to the right is an antique wallpaper table that my mom picked up at a garage sale twenty years ago. It folds down into a long narrow box not any bigger than a couple 2x8s, and I had forgotten about it up in the attic. I stumbled upon it the other day, and I’m glad I did, because it makes a good desk for my laptop and office supplies.
The desk on the left is one that I built. I’m trying to use only things I have on hand, and I happened to have three 12′ long 2x8s that I got for my bathroom remodel and didn’t end up using. I cut them down to 9′ and used some scrap wood to connect them.

The hairpin legs are some I picked up many years ago. They were attached to a horrible piece of hacked up counter top as a makeshift table, so they were very cheap. This is the third desk that I’ve made with them. This one will hold my sewing machine, sewing supplies, and an ironing surface in front of the window.
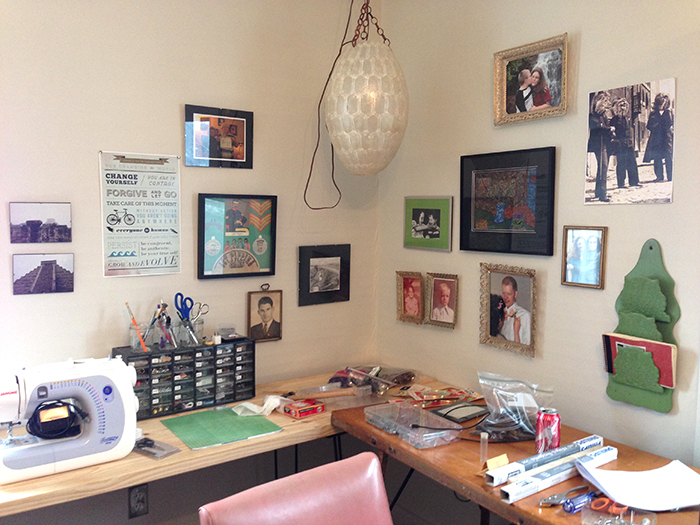
Once I had the desks in place, I immediately started hanging artwork and photos. I’m putting my most personal photos and pictures of my favorite people up here where I can look at them often. As you can see, the desk got messy immediately. My husband claims that even with fifty feet of desk space I still won’t have any clear work area, so I will have to prove him wrong!
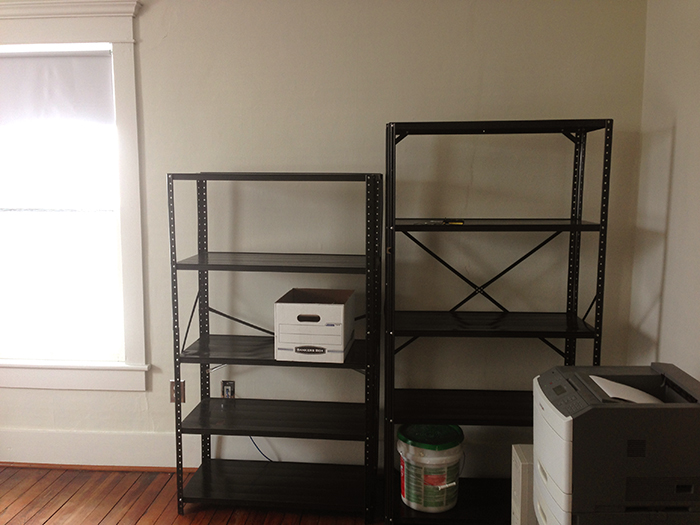
To the right of the desks, I am placing three shelves. These are the metal kind that bolt together. Frankly, they’re a pain, but I had several sets in the garage. Good shelving can be pricey, so I just used what I have. I did make one customization. The shelves are 6′ tall (the one on the right), overwhelm the room, and don’t leave any room for lamps or artwork above. I cut them down to 61″ (the one on the left), which better suits the proportions of the room.
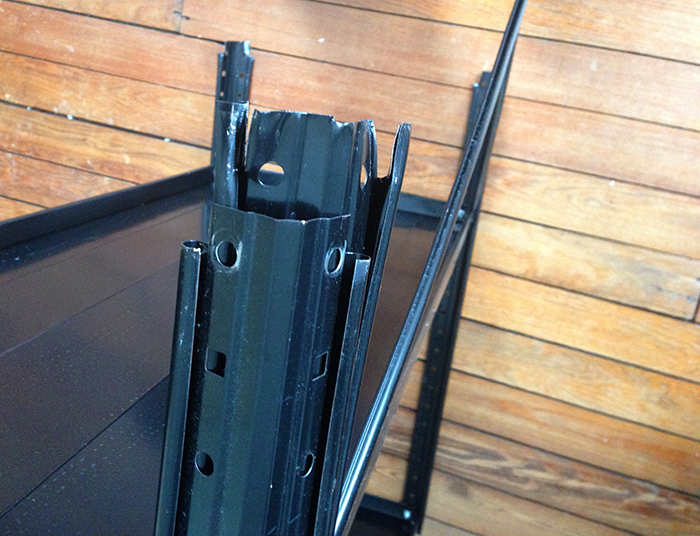
To cut them down, I used tin snips to cut down one of the standards where they attach in the middle. I’ve also cut them down at the top, but this tends to leave sharp edges. I may add plywood to the shelves to make them sturdier, but that’s a project down the road.
My next steps are to built a worktable and bulletin board across from the desks. I also need to figure out lighting, organize storage, and put in a lot of decorative touches!
— Loryn

Looks great!! Very inventive using what you had on hand.