Loryn – The Crafty Sisters are kicking off our Advent Ornament Challenge! For each day of December up til Christmas, we’ll be posting a fun and easy ornament that you can make.
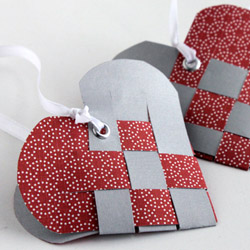
First up is this woven heart ornament. I remember making these in Girl Scouts in the early ’80s. I was fascinated by the technique. Weave the paper together, and it makes a basket. Magic!
To make the ornament, first pick out your paper. Back in the Girl Scouts, we used construction paper, but I had some double sided scrapbooking paper on hand that worked great. Use a medium weight paper, not too thin or they won’t hold up, and not too thick or you won’t be able to do the weaving. Fold the paper over the 3 1/2″ mark, then trim off the rest.

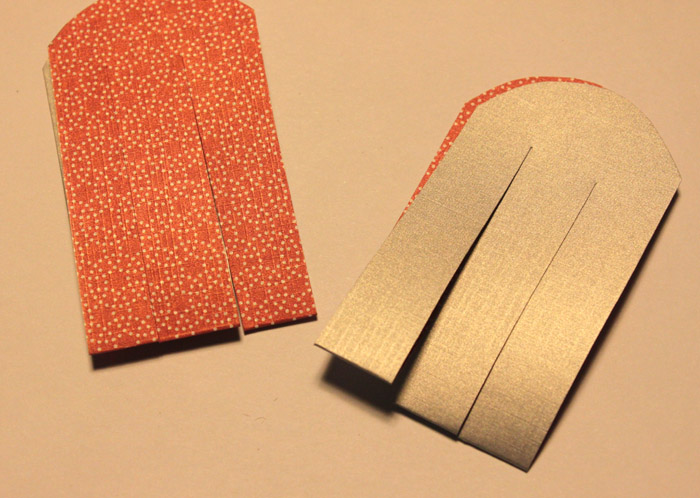
Then you’ll want to cut two pieces that are 3 1/2″ long (one side of the fold only) by 2″ wide. Then fold one of them the other way so the reverse print is showing.

Then shape the top of each piece into a semi-circle, for one part of the heart. Cut two slits into each piece, starting at the fold. The slits need to be more than 2″ long. You’ll end up with this:

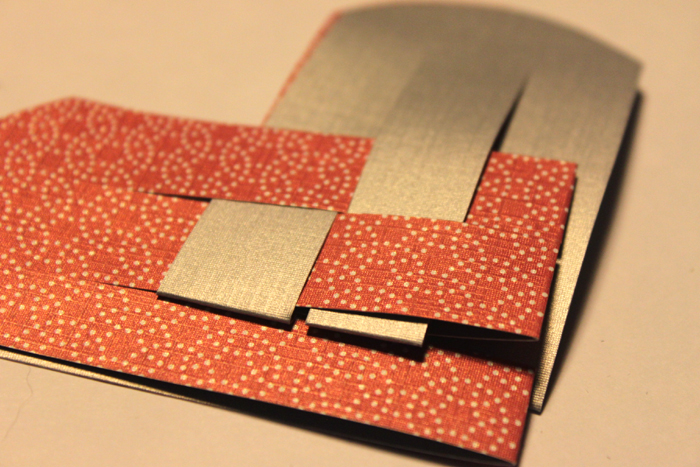
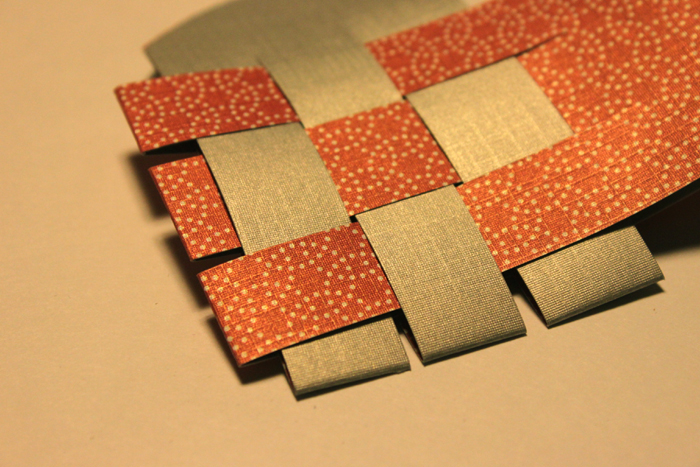
Now you’re ready to start weaving. The technique isn’t your standard over-under-over-under. Instead, you need to put the “under” pieces through the middle of the alternating piece. Here, I’m starting by inserting the gray piece into the middle of the pink:

Then the pink ones need to go through the middle of the gray on the next row. It’s best to do the first two on each side, then finish up the last three.

When you get to the last ones, you’ll see why the paper still needs to be flexible! Keep at it, and you’ll end up with this:

Now all you have to do is push the pieces into shape and add the finishing touches.

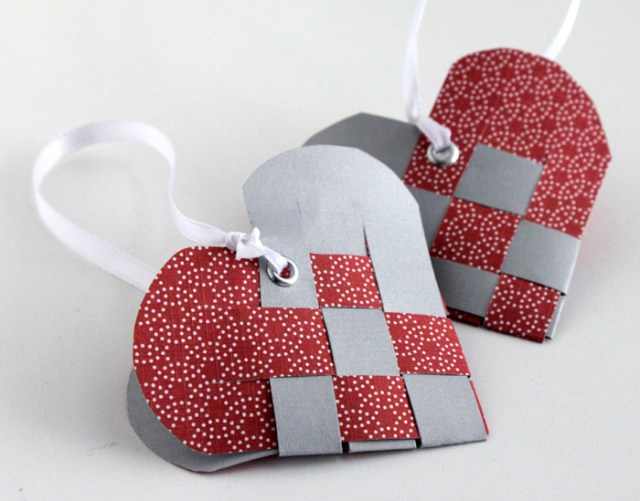
To give them a bit more finish, I put a small grommet onto each side of the heart, to thread the ribbon through. I used about 10″ of white ribbon and tied them off with square knots. Fill them with candy for a simple Christmas gift!
— Loryn