Tag Archives: creativity
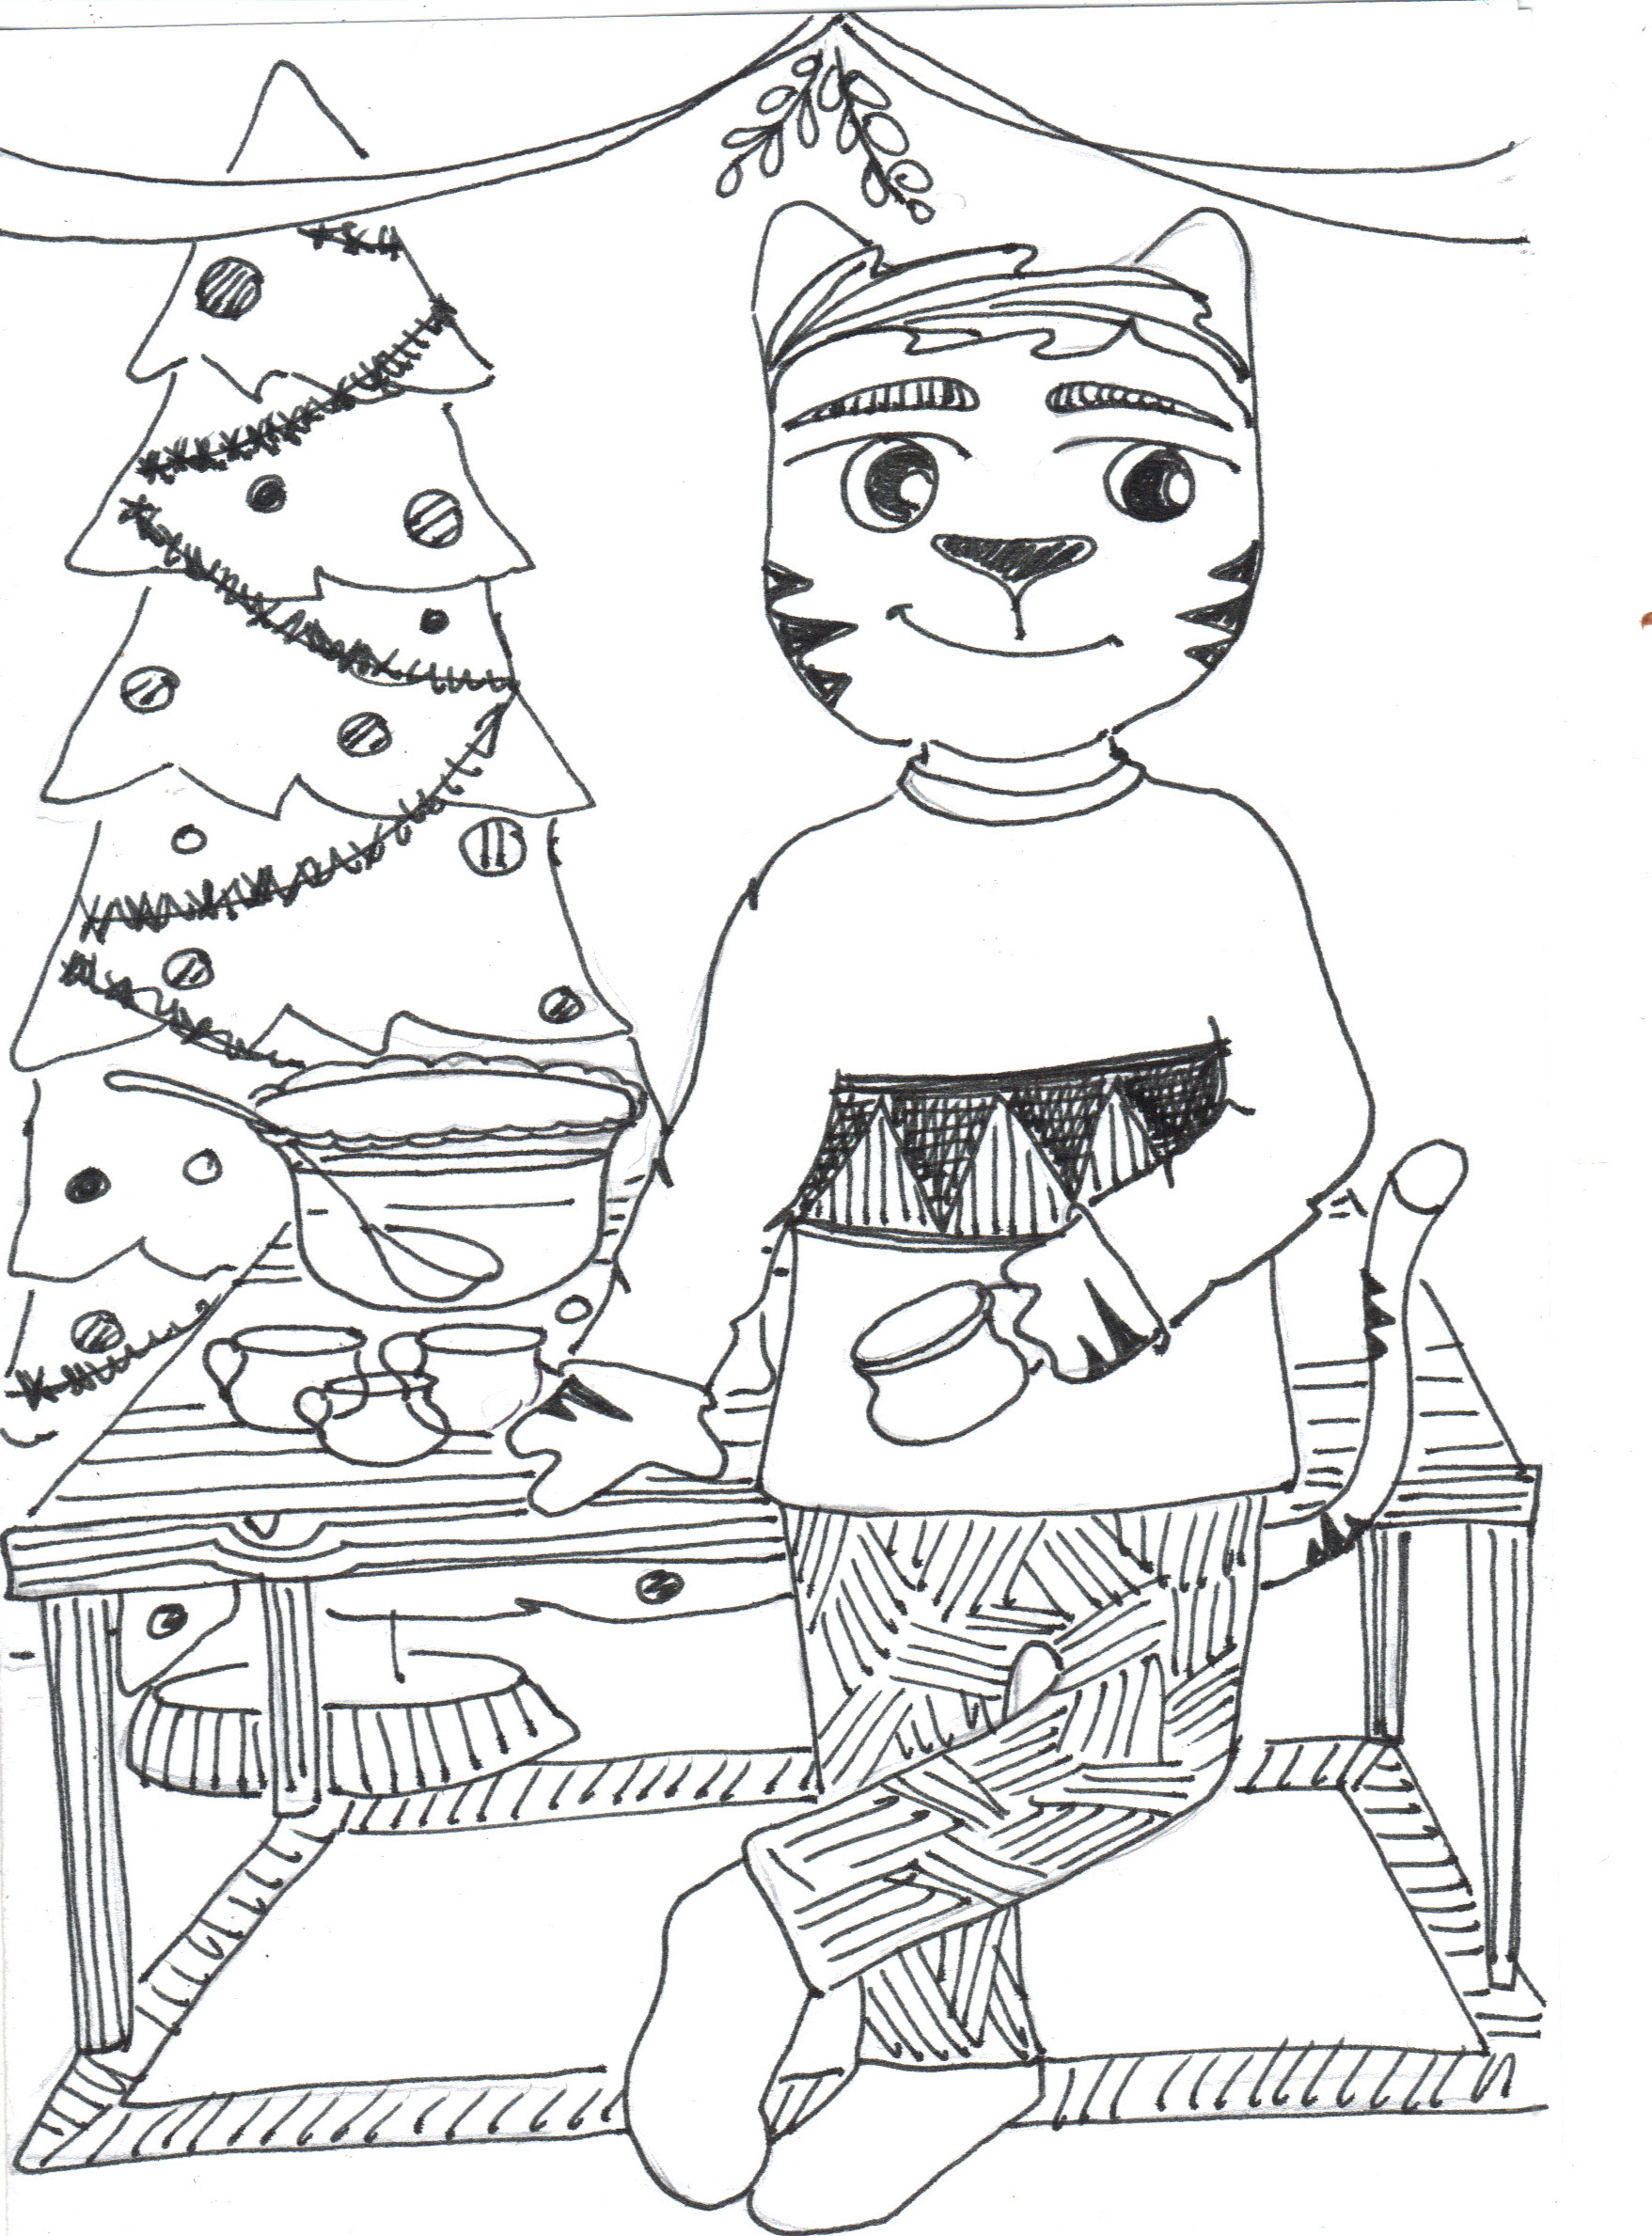
What a great Christmas. What a cat!

He does exist. What a cat!

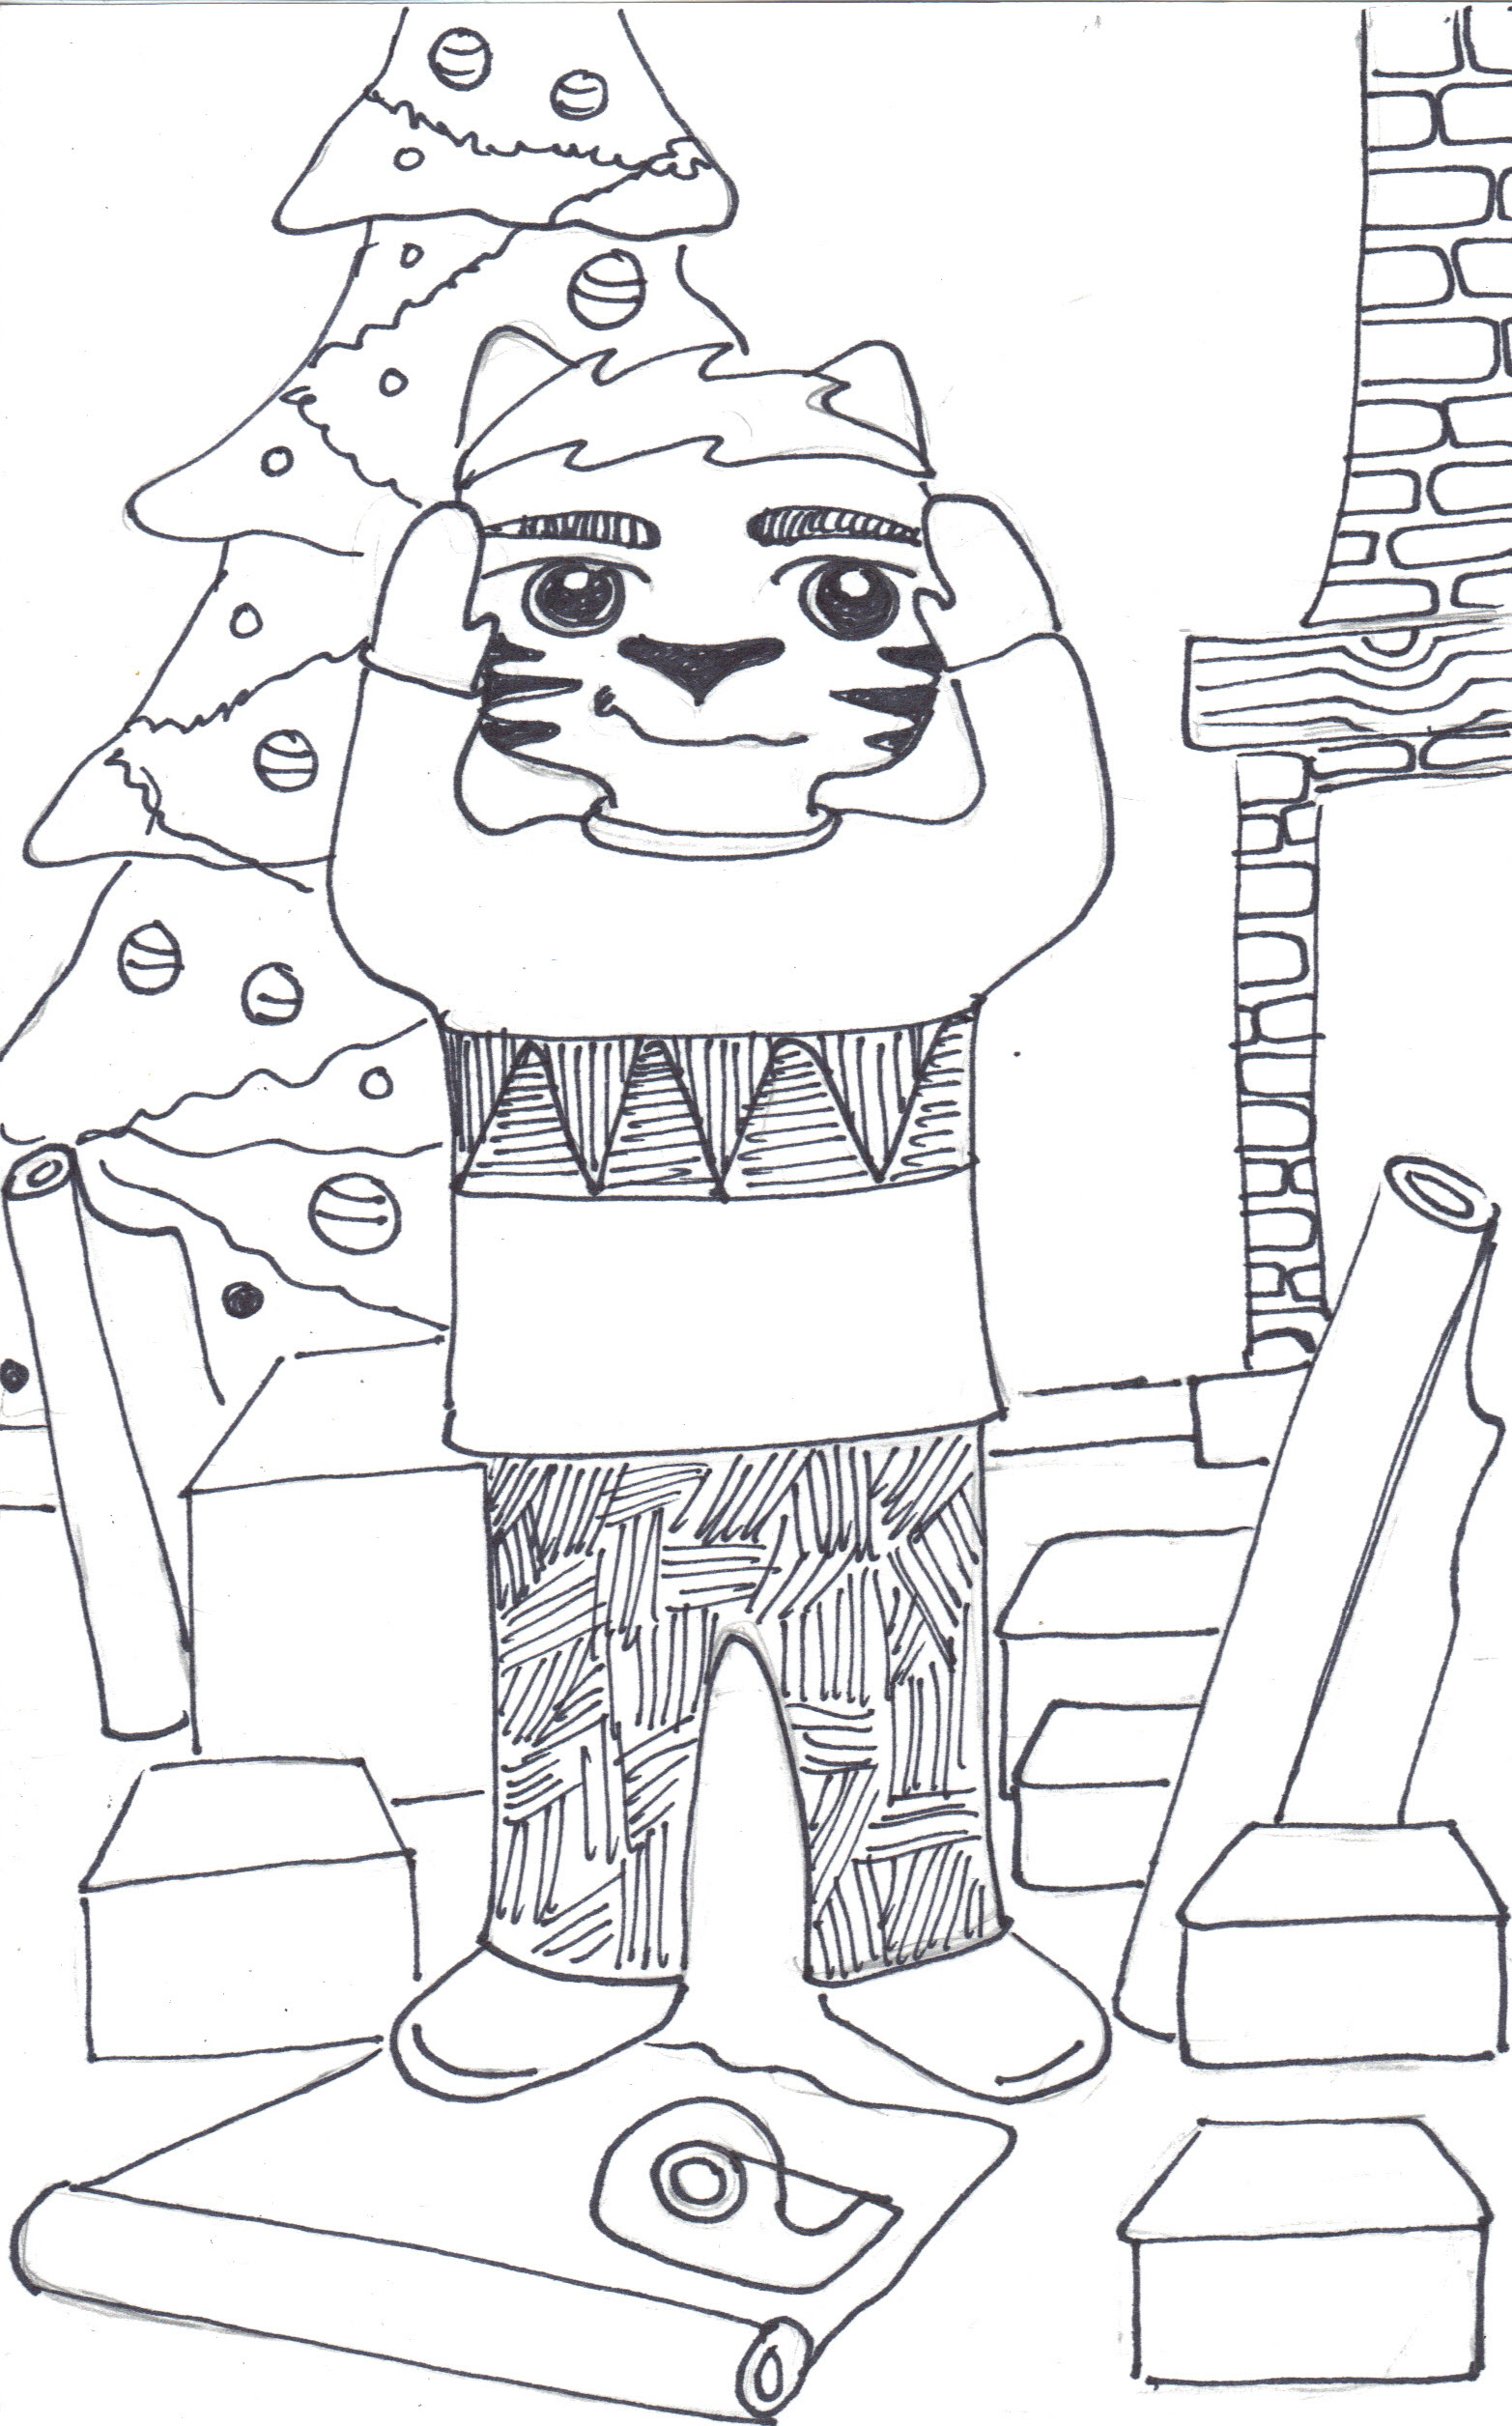
Ornament Advent: Day 22 Tissue Paper Garland

Cheri-Kristin and I always make similar projects and when I saw her garland from yesterday, I had to laugh. Without even being aware of it we both made garland. Her project is so pretty that it made me a little intimidated to post mine, but here goes anyway. I hope you like it.
Supplies
Tissue paper
Colorful thread
Sewing machine
Ribbon (optional)
This is such an easy project, if you can sew a straight line, you can make these. I stacked a bunch of tissue paper together and cut out several shapes. Circles, squares and rectangles of tissue. I started with the ribbon garland, and just placed one or two of the tissue paper objects underneath the zipper foot. For the garland without the the ribbon, all you do is run the thread over the tissue paper objects. For the tissue paper bows, just bunch up the tissue paper in the middle and sew over it.
It is really simple and sewing tissue paper and ribbon is a really awesome way to combine this medium together.
Merry Christmas
Eeeeek. It’s almost here! What a cat!
Bundled up for the cold. What a cat!

Making Merrier. What a cat!

Ornament Advent: Day 20 Wrapping Paper Christmas Tree
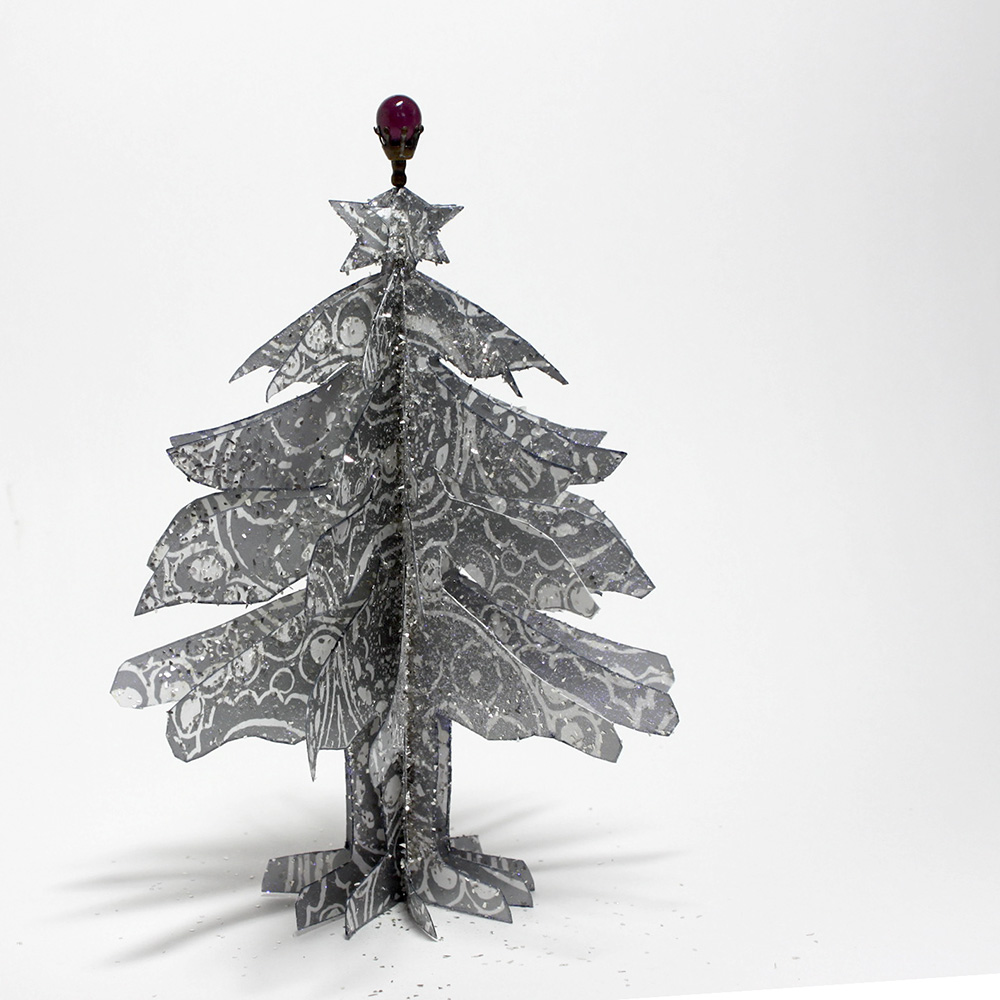
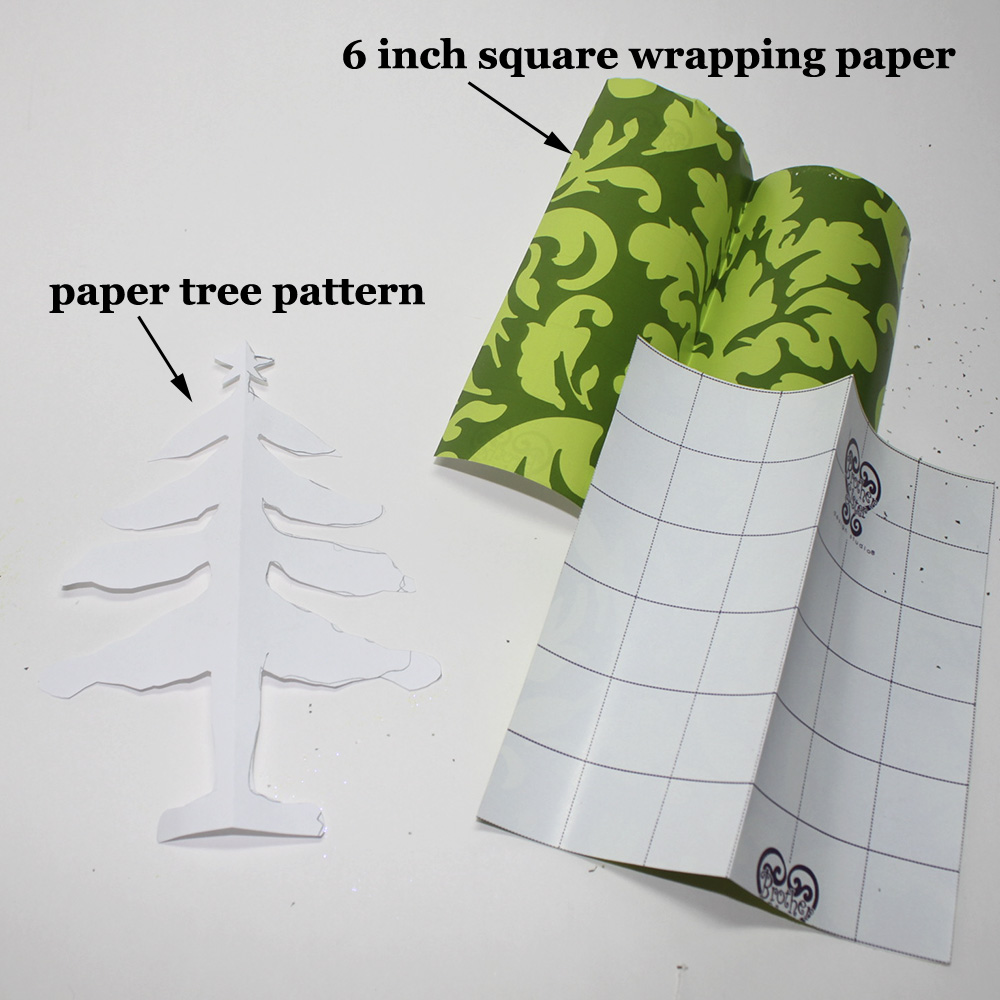
Lynne: I liked using scraps of wrapping paper to make my last ornament and I decided I would try to use up more of the pieces I have lying around. I found this tutorial on design and form with these terrific paper ornaments, but I don’t have that precision in my paper-cutting skills. Thus I drew a very loose, cartoon type tree and used that for my pattern.
You will need:
a 6 x 6 inch square piece of paper for the pattern
approximately 10, 6 x 6 inch square pieces of wrapping paper
a glue stick
When you draw the pattern, draw it full size and then fold it in half. This will be easier to do instead of trying to think of how one half of a tree will look. Don’t worry too much about how it looks. You will be surprised how good irregular lines will look in the finished ornament.
Glue the unprinted sides together and then start gluing to make a stack. Be sure to keep the folded edge straight so everything matches when the ornament is opened. I used a weight for a few minutes to make sure the glue would hold.
I traced around the pattern onto the stack and then began to cut. It seemed that more than three edges were too hard to cut, so cut what you can and then retrace the pattern from what has already been cut. When every edge has been cut, glue the two outside edges together and adjust the 3d figure until it is evenly spaced.
I added glitter and stuck an old hat pin in the top, but feel free to decorate any way you wish. I used a loop of fishing line for a hanger, but these ornaments will stand on their own if you want to use them in a centerpiece.

Happy Holidays and just one more ornament!
Hanging his stocking with care. What a cat!

Link’s Christmas Party. What a cat!